
How did all this start?
I currently have a nice Forest River 19RR Toy Hauler camping trailer. It suits me fine as I’ve dragged it cross country four times and in 5 years I put 50,000+ miles on it!

My wife and I shoot a sport called Cowboy Action Shooting. We travel to events all over the country and the trailer is our base camp while at these events.
But many times I’m attending events alone and really do not need the big trailer. Researching options I stumbled upon Roof Top Tents. This seemed to be just the ticket. Easy to set up. Don’t need a nice level spot like a ground tent. Easy to take down. I just had to find a used one as I didn’t want to pay the full ticket at this time.
I keep looking at Craigslist daily. Very few show up here in New England. And when one did, I was too late… One morning I woke early and a fellow had a Smittybilt RTT for sale. Hardly used and it came with a small trailer. The price was VERY reasonable. I called him and drove the one hour to purchase it.
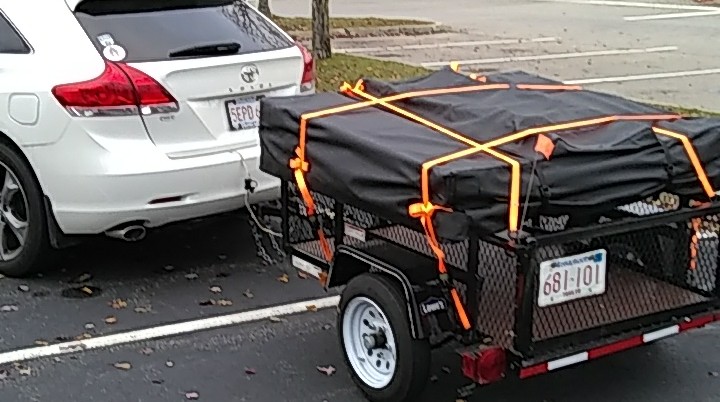
The trailer was a small, 4 X 6 utility trailer that he simply had it attached to. My plan was to sell the trailer and use the RTT on the top of the cap on my truck.
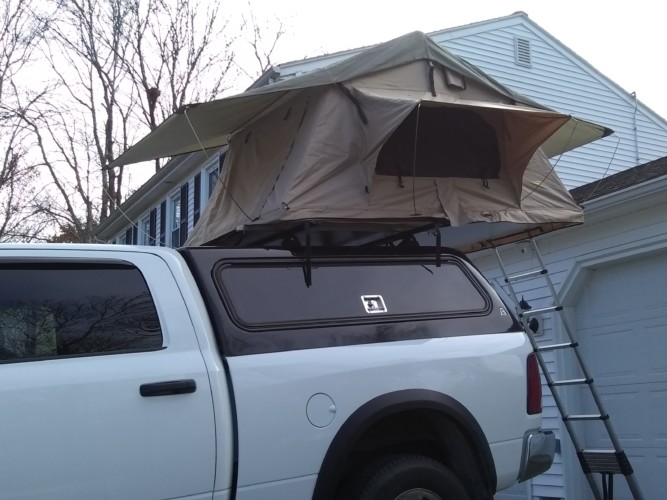
Once home I installed a couple of aluminum angle irons on the cap of my truck and was very pleased with how it functioned and how easy it was to load and unload.
I made a couple videos of the loading and unloading if you are interested
As nice as this setup was, it wasn’t perfect. Once at “camp” and all set up, if I wanted to use the truck to run an errand or to transport my shooting equipment to the line, I had to take everything down….And If I had the RTT mounted to a trailer, I could use my much better gas mileage Toyota Venza rather than the RAM truck. Better than twice the fuel efficiency.
So, eyeing the little trailer that I was going to sell, a plan was made….
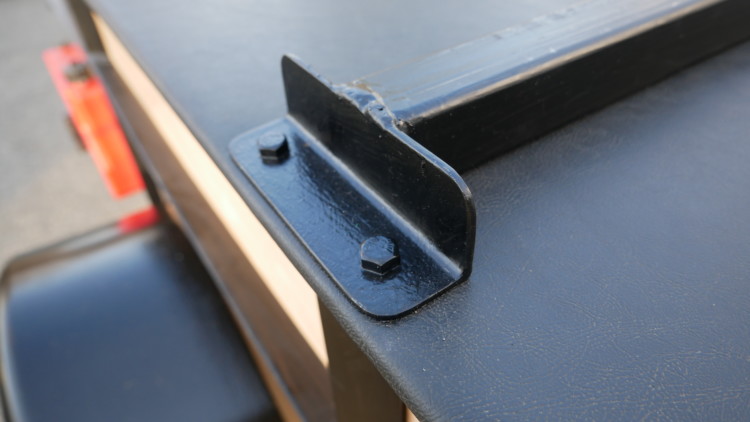
First I had to raise the sides as my 12V portable refrigerator and my camp boxes are both 22″ high. The walls had to go up to 24″

This was simple enough by welding a few pieces of angle iron to the existing top rail
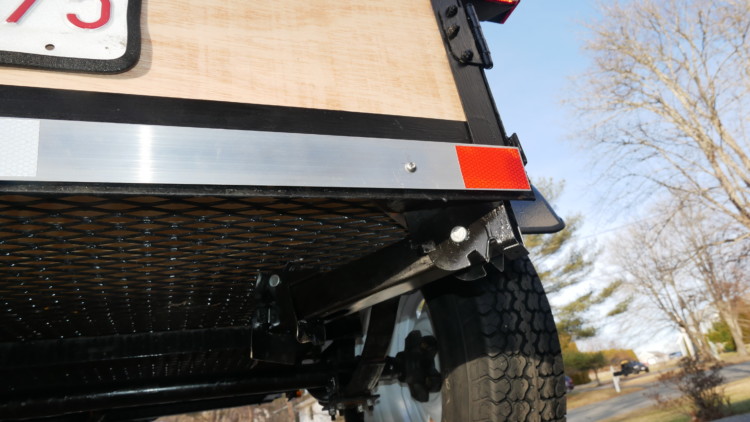
All the “chicken wire” was removed from the sides. But I kept it on the bottom simply to add more support as I planed on only using 3/8″ plywood to the deck to keep weight down. (In hindsight, I should have removed the CW and used 1/2″ or 3/4″ plywood. I bet the weight would have been the same)
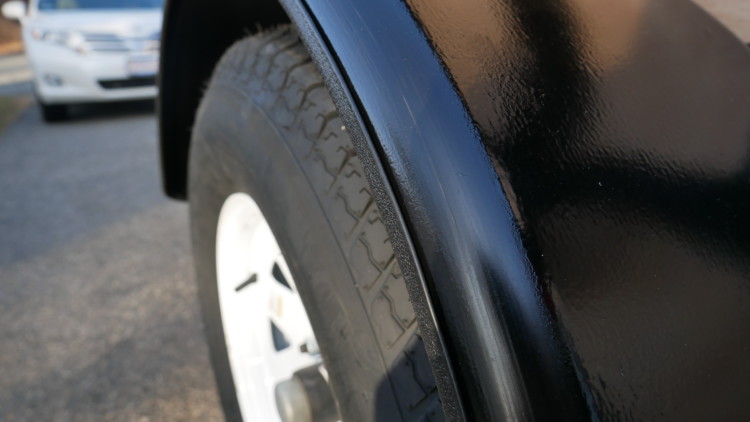
Once this was all done I decided to increase the size of the wheels and tires to 15″ from the 12″ it was wearing
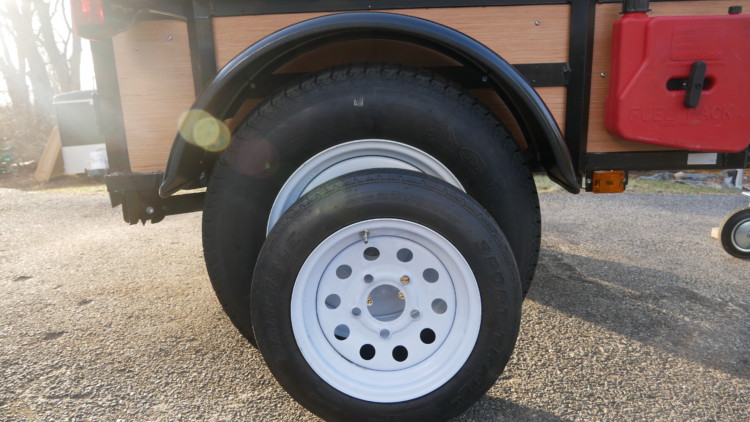
This created more work as the 15″ tires are much wider and rubbed on the frame of the trailer.
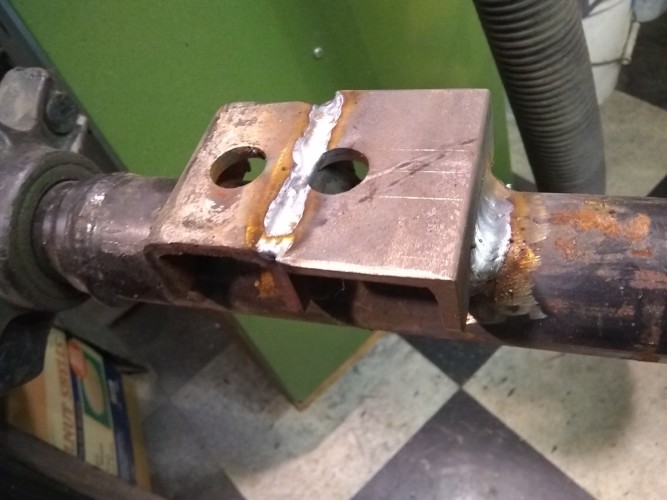
The axle was cut and a 2.5″ piece was welded in the middle to give the clearance I need

This required new spring pads to be sistered to the existing pads. Much easier and stronger than removing the existing pads and relocating them

DONE!
The square fenders that were on the trailer now didn’t fit over the new wheels and tires. Round fenders were ordered from Amazon and installed by welding tabs to them and bolting them on.

I had some edge molding that I used in a project over 30 years ago (I never throw ANYTHING away!) that I trimmed the fenders with
Next up was the interior.
To keep weight down I went with 5mm, exterior glue, plywood underlayment that I bought a LOWES. This was simply pop-riveted to the sides.

All the corners were fiberglass taped with West System epoxy. Hoping to keep water out during river crossings.
All the edges of all the plywood was encapsulated with epoxy. And then given three coats of water based marine polyurethane in Semi Gloss finish.
Next up was the top. I decided to make it non opening. A piece of 3/8″ exterior plywood was covered with the vinyl from an old tonneau cover that I had on a truck over 15 years ago (remember I never throw ANYTHING away?)

This cover was simply bonded to the trailers top frame with 3M 5200 adhesive.
I then welded up a couple of support racks out of 1.5″ X 1/8″ square tubing. The cover was screwed to these supports from the underside.
Next on the list was some type of rear door. I decided to hinge it on the right rather than a tailgate style. This will make getting contents in and out of the trailer easier.
On the inside of the door, I installed some “survival” gear. I made the clips to support the saw and axe out of some stuff I had laying around. The Army Surplus store supplied that neat Swiss medical bag.
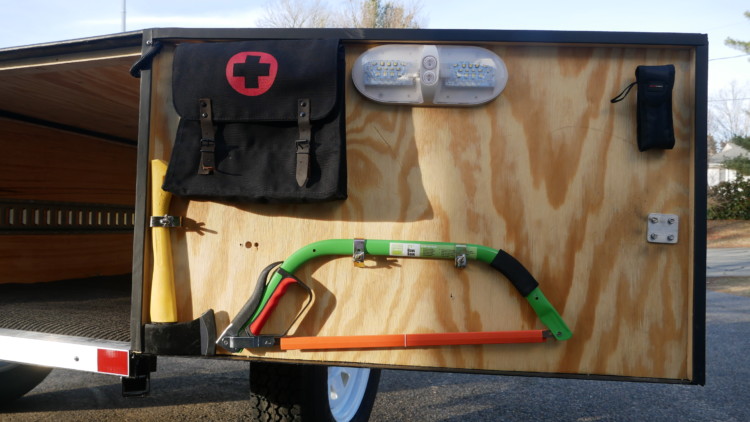
The LED light was found in my junk pile , installed and wired
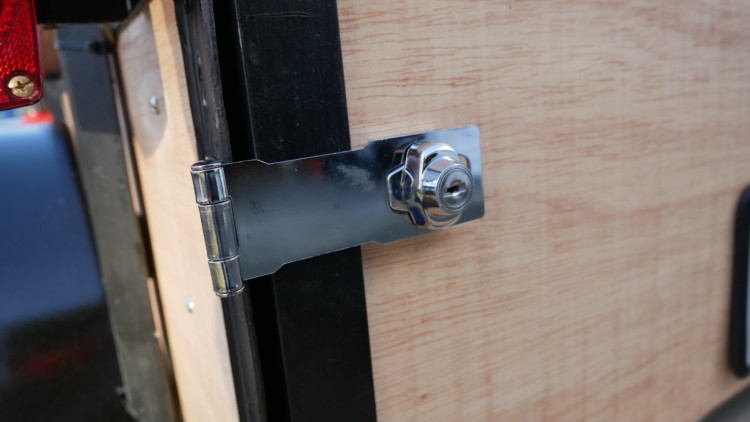
The tail door locks with yet another “find” in my junk box…
LED lighting was installed around the inside perimeter

A small USB and cigarette lighter socket was installed near the door
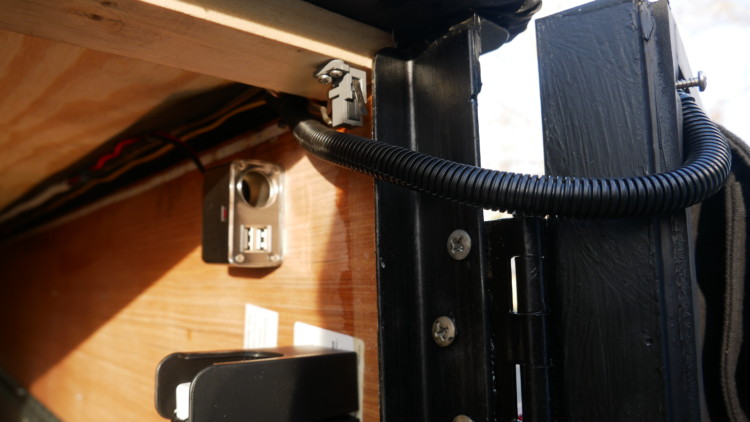
That little Micro Switch turns the LED strip lights on and off as the door is opened and closed
And a small fire extinguisher found a home
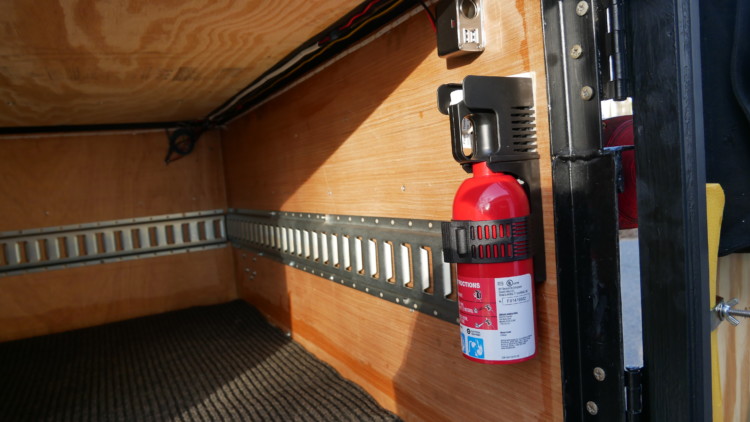
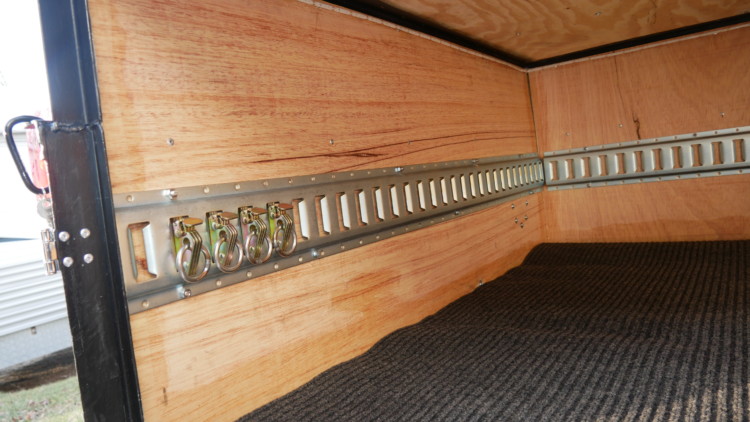
“E-Trac” was installed around the entire trailer
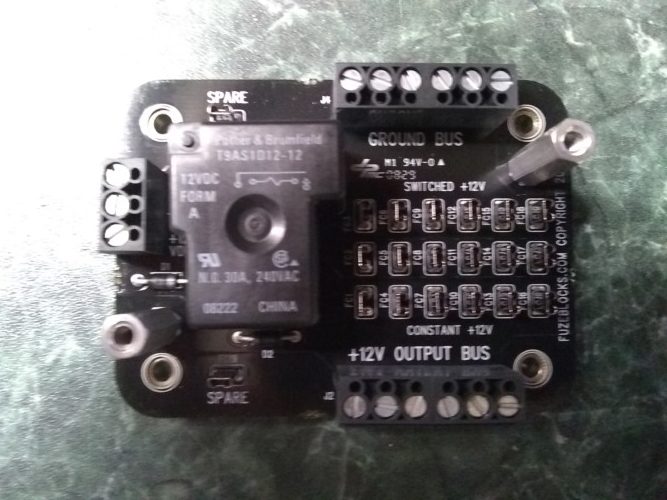
And all of this lighting and the accessory sockets are wired to a fuse block that lives on the front of the trailer in a “Otter Box”.

Unfortunately, these fuse blocks are no longer available. Too bad because they are great. Built in 30amp relay and by simply moving the circuits fuse, left or right, you can create an always live or an interrupted circuit. A simple LED indicator switch turns the whole trailer on or off.

The battery to power this trailer will live in the tow vehicle.

Being charged with a RENOGY DC to DC charger running off the tow vehicles alternator.

The DC to DC charger will be used in multiple vehicles so it needed Anderson Plugs for input and output. I’ll be writing an article about this in the near future.
A heavy, #4 wire will connect the battery to the trailer via that large “Anderson” plug. Shown here with a weather cap.

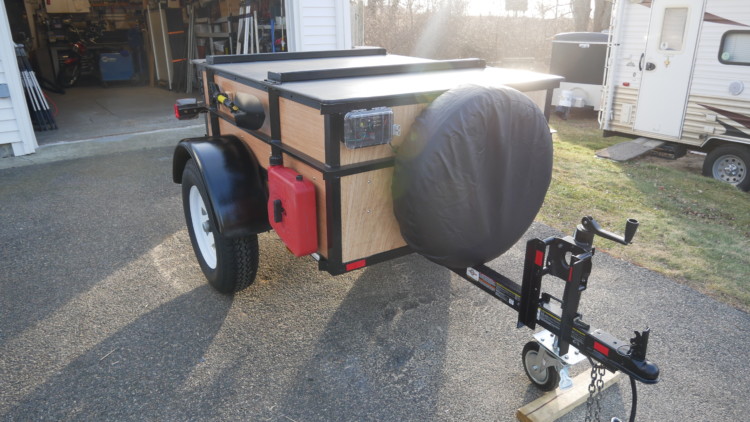
A spare tire mount was welded up and a nice black cover from Amazon installed on the front
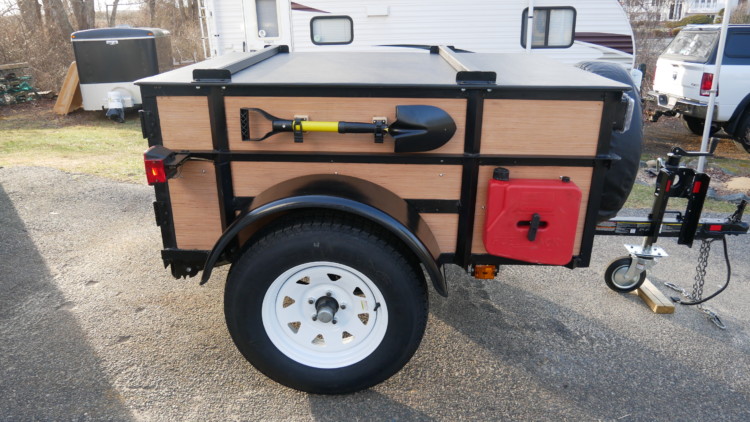
The obligatory off road shovel was attached using FitBit clips along with two Pioneer Products gas can. (These gas cans went with me on a motorcycle trip to Alaska 15 years ago. The company is now out of business and I had to modify attachment mounts to use them
With the new tires and wheels, the tongue jack wasn’t at the right height. Not sure how the previous owner was using it with the smaller tires. So I raised it up with some 3/6″ angle iron
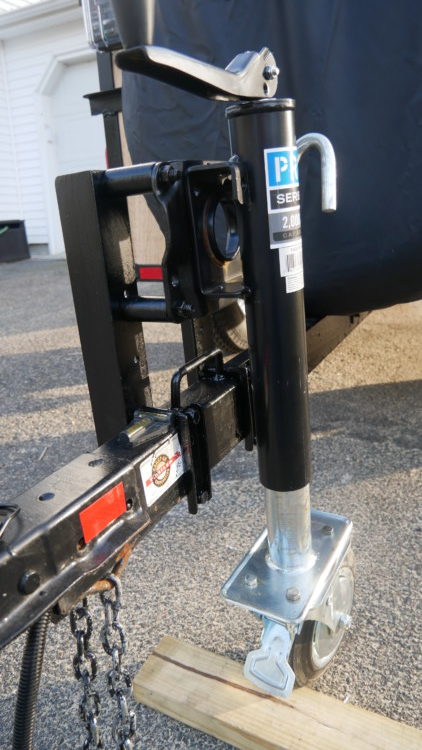
And a wheel with a brake that once again I had in my junk pile was attached to the foot of the tongue jack. Makes moving the trailer around a breeze

Stabilizer jacks were welded to the rear corners

Outdoor carpet was installed on the bed to make sliding gear in and out easier

Here is a quick “Walk Around” video for your viewing pleasure…
All that is left is to mount the RTT and do some camping.
Be sure to check out a bunch more articles about this subject and other areas of interest on my web page
RVB Precision http://rvbprecision.com/
UPDATE 2-2-20
Today I finally mounted the RTT to the trailer
Two pieces of 1″ X 1′ X 3/16″ angle aluminum were bolted to the cross bars to act as guides when loading the trailer.

Holes were drilled through the trailers mounting rails and these guide rails to accept stainless steel bolts
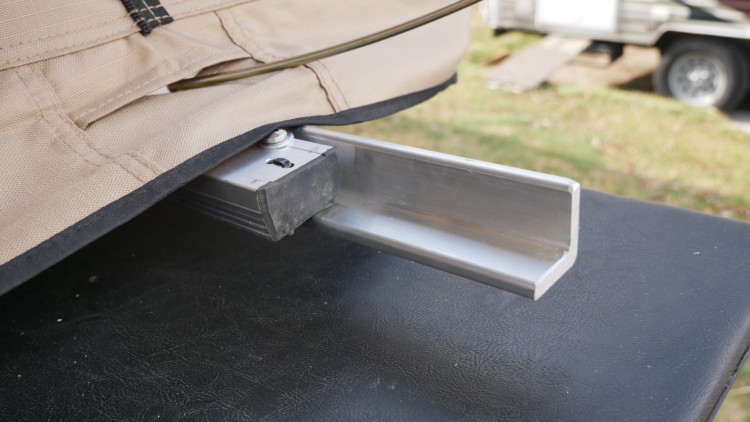
For the moment I’m keeping them long so I can move the RTT trailer forward if I need more hitch weight. Once settled they will be cut as needed.
The tent works great folding off the back of the trailer. I was concerned about it being unstable when unhitched from the tow vehicle. With the stabilizer jacks I mounted on the rear of the trailer, it is rock solid! Deploy the jacks and use the front mounted hitch jack to remove weight from the tires and there is no bouncing around when in the tent.

A quick review if the RTT itself
LED lighting with dimmer switches

Volt meter and USB ports

All running off the portable battery box which will reside in an enclosure one I finish building it. During travel it will live in the tow vehicle as I don’t want excessive weight on the trailers tow bar.

I redid the tie down straps. Went from ratchet straps to cinch straps and relocated them farther under the RTT so the cover can be tighter to the bottom of the RTT when under way

Now I need to load it with all my camping gear and take it for a test ride….
THANKS FOR LOOKING!
UPDATE!!!! 8-24-20
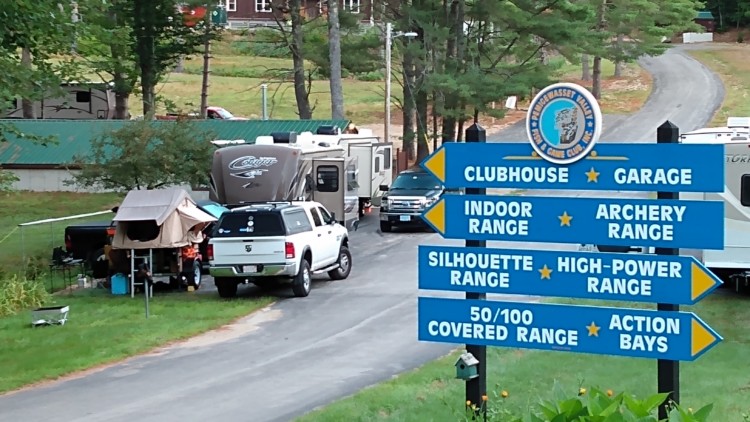
This past week I had reason to travel to New Hampshire to compete in a Cowboy Action Shoot and instead of taking the big travel trailer I decided to take the wee overland trailer.

In a word…..FANTASTIC! Everything worked out great!…….BUT….some observations and maybe a total rebuild…
One issue I had was I’m using two “Grub Boxes” that I built over 30 years ago when I did a lot of canoe camping. Getting these heavy chuck boxes in and out of the trailer is a bear. And a hurt back was never far away.
A better solution is to incorporate these chuck boxes into the trailer itself with access doors on the side of the trailer. No reason to have them portable for this type of camping.
The portable stand up shower enclosure with the propane heater and 12V pump worked great. But it should be part of the trailer and not an erector set to set up and take down.

The mattress in the Smittybilt RTT could use a little bit more loft. Maybe a 2″ piece of memory foam would rectify this…..
So this winter, I might sell this trailer and build another one with more devices permanently installed……I’m sure by then I’ll need another project to occupy my time!
Pingback: TENT TRAILER to UTILITY TRAILER....A Covid Project! | RVB Precision
Pingback: Roofnest Falcon Modifications | RVB Precision