I’m bored! This is week two of Covid19 isolation. Sitting at home with a garage full of tools, I need a project.
This spring I plan on filling my lawn to level it out and reseeding. I need a small garden tractor with a plow and able to pull a York Rake. But I have no way to transport it. So a utility trailer seemed like a worthwhile project.
I went online and found a trailer supply company on Ebay that will sell me a trailer kit consisting of 3500# axle, springs, shackles, hubs and fenders. All for $360 with shipping included (March 2020)! This seemed like a great deal. I would need about $250 in steel to build the chassis and then another $50 for hardware, chains and a coupler. Wheels and tires are $120 (Amazon March 2020) and an LED light kit will be $25. Add another $100 for wood and I’d have a nice 5′ X 9′ Utility trailer for under $1000…..This added up way too fast. I simply didn’t want to spend $1000 on a trailer.
I’m kind of a trailer junkie. I’ve built dozens of trailers over the years for various landscapers, boy scout troops etc.
Just a couple months ago I built a RoofTop Tent trailer for camping.

You can read all about this build here:
One of the neatest trailer I ever built was a “Drop Deck” utility trailer. Back then I was buying and selling machine tools. I needed an easy way to load them into a trailer. This idea came to me in the shower. A simple hand winch raises and lowers the entire deck of the trailer to ground level.

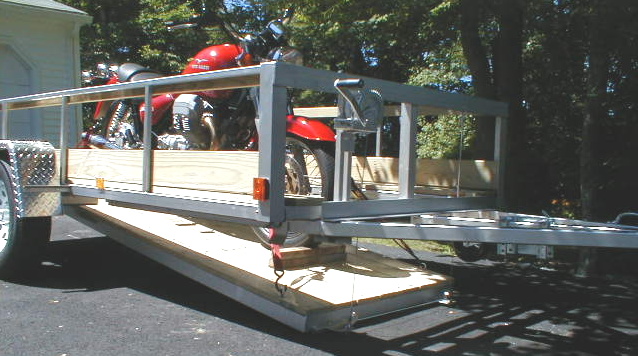


A friend liked it so much he bought it and used it to move from Massachusetts to Colorado. One of these days I’m going to build another one…
A few years ago, in preparation for a hunting trip in Montana, I needed an off road trailer. I built this one in record time….Three days from raw metal to road test!


So this brings us back to the “Covid19” trailer.
Since $1000 was just a bit too much for a trailer, I decided to see what the used market had to offer.
Facebook Market Place and Craiglist were searched heavily. Yikes! Any good utility trailer in the size I was looking for was well over $1000!
I needed to look further at other options.
I had built a Harbor Freight 4′ X 8′ trailer kit last year, but it was too small to haul a tractor with a 50″ mowing deck or a 54″ plow. I sold it to a fellow on Craigslist to haul his motorcycle down to Arizona. Posted it and it sold in 11 minutes!
On Facebook Marketplace, a fellow was selling an old tent trailer frame, just the rolling frame, for $200. And it was only a couple miles from my house. During an absolute pouring rainstorm I drove over and bought it. Didn’t even look under it to see if it was rusty or other condition. He assured me he just useed it to haul a load of stuff about 50 miles each way. I took a $200 chance

Once I got it home and removed the semi rotted wafferboard deck I was pleasantly surprised!
The frame was in fantastic condition. Not a spec of rot anywhere.

It included a fresh water tank, four stabilizing jacks and a winch that was used to raise and lower the tent


It also had a tongue jack and a set of pull out side steps!
The tank and side steps were removed as they would not be needed.
The wheels and tires were 13″ and junk…

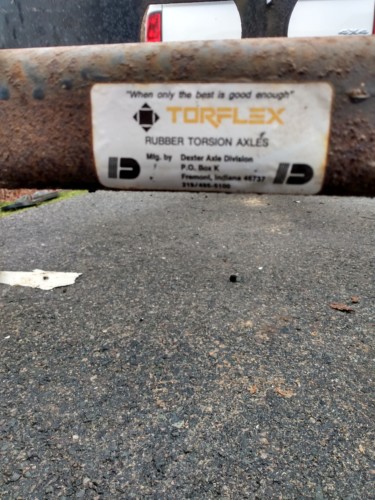
But the best part of the whole deal is the axle….A 2500# Dexter Torsion Suspension axle. My favorite kind!


So, now lets build a trailer!
First order is to remove the outriggers. I did not want inboard fenders.
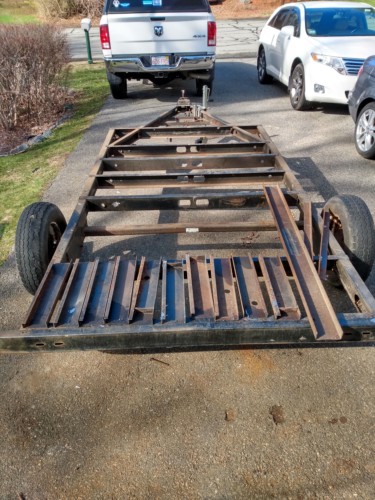
And the metal I cut from the out riggers would be used for the uprights to support the sides. Saving $$
The trailer was shortened by 24″ bringing the cargo box to 5 wide by 9 long

This set the axle back a bit which will make backing easier and it should track great.
An 8″ section of the rear bumper was removed and welded back together

The outrigger steel pieces were cut to 18″ each and welded to the trailer frame

The entire frame was sanded, wire brushed and painted with a “Paint Over Rust” semi gloss black paint and the wood deck was installed.

I decided to use 5/4 Pressure treated deck board on the deck and the sides. Easily replaced if damaged and thick enough to screw down unwieldy items I might be transporting.
The decking was secured with 2″ X 8 Tek Self Tapping screws. Pockets to sit them flush was drilled with a Forsner Bit.

Those steel uprights could not have worked out better. The 5/4 PT decking fit right in without any modification! Will make attaching the sides sooooo easy!

The sides were now screwed to the uprights using the proper coated deck screws.

A top rail was fabricated out of 3″ X 3″ angle iron and welded to the uprights

All corners were mitered and welded
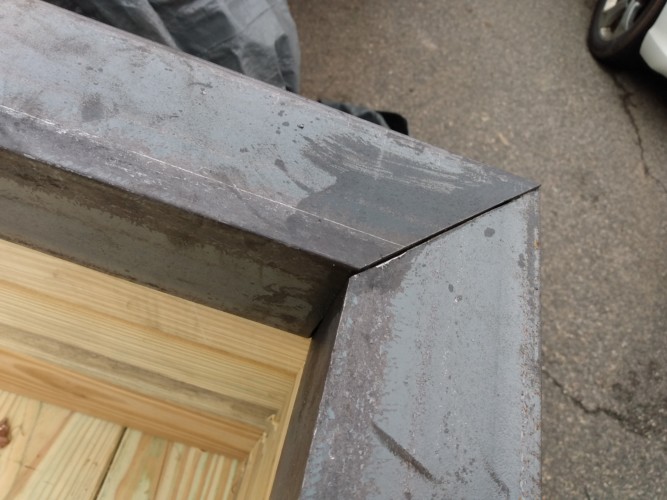
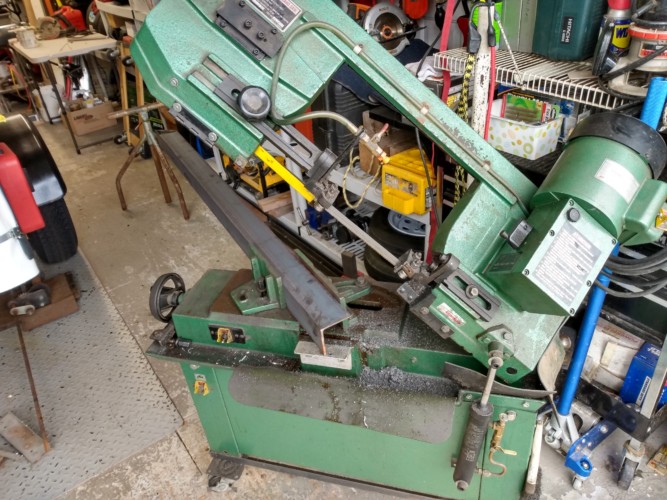
Thank God for this little fellow!
Fenders were bought on Amazon $50, located and bolted on New 15″ trailer wheels and tires were purchased from Amazon.

A lift out tailgate was fabricated


Then everything was painted in Semi-Gloss Black and the back bumper in Ford Grey

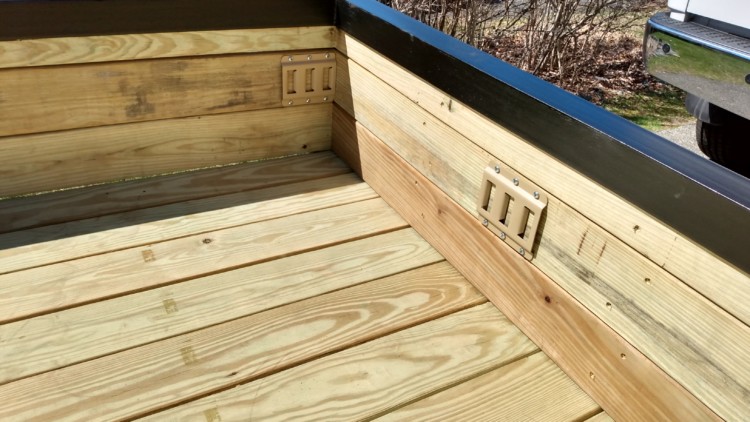
Some “E-Track” pieces I had hanging around were attacked to the sides for tie down straps.

Rear light brackets were fabricated and welded on. A set of LED trailer lights and side markers were installed and wired.

And thats a wrap!

Hope you enjoyed my little travel down trailer street!
A Couple Updates 4-14-20
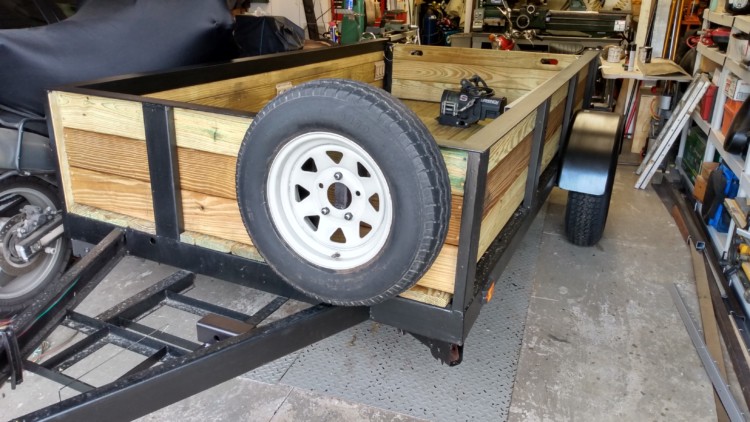
Spare Tire Mount
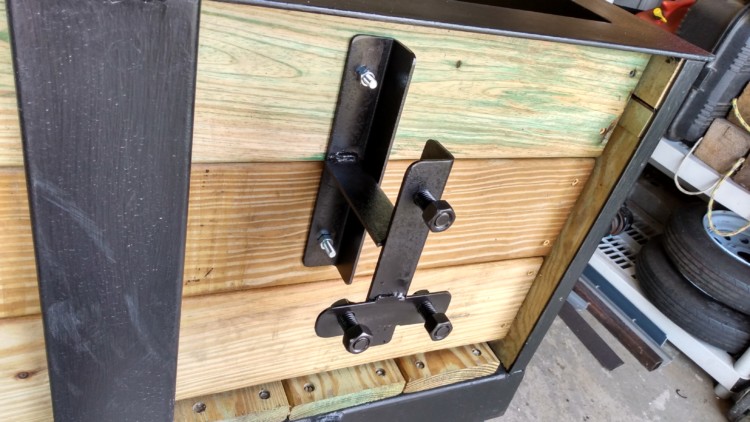

I wanted some way to mount my 4500 winch to the headboard of the trailer to haul logs and other things into the bed of the trailer. I welded up this device that simply attaches to the top rail of the headboard. Now I’m glas I used 3/16 angle for this top plate!
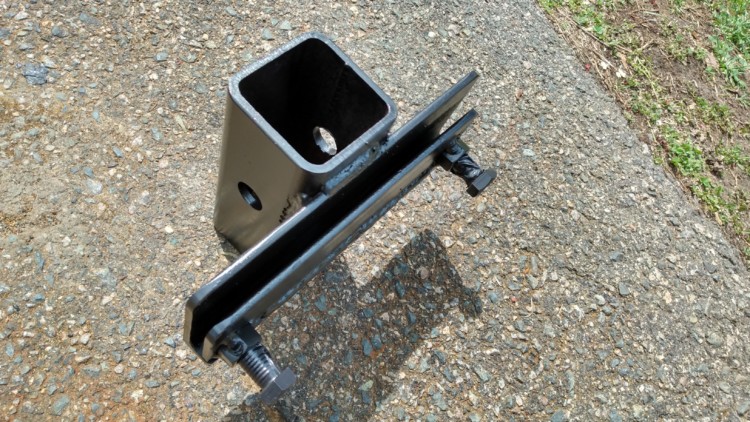

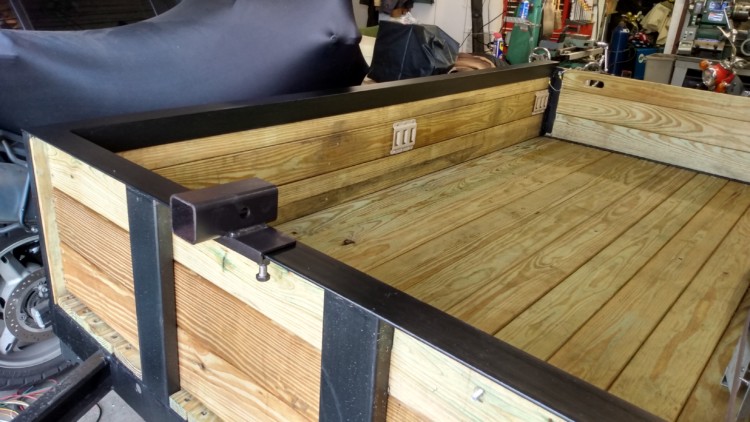

And I removed the tiny wheel on the tongue jack and welded on a “manly” caster with an inflatable tire. Makes moving the trailer around so easy now

Added PTO Pins to the tailgate to lock it down


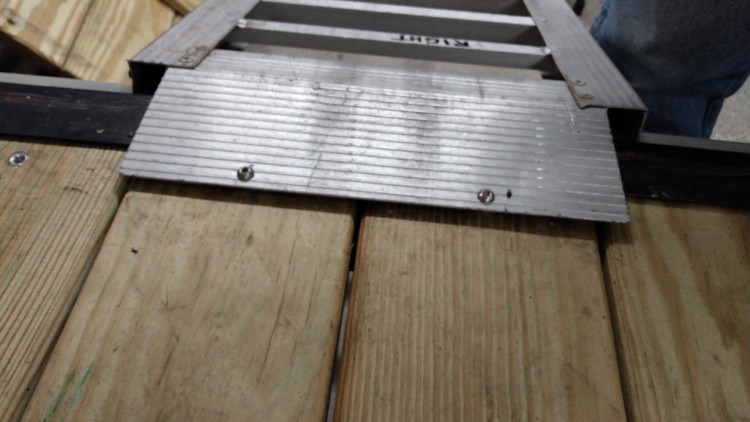
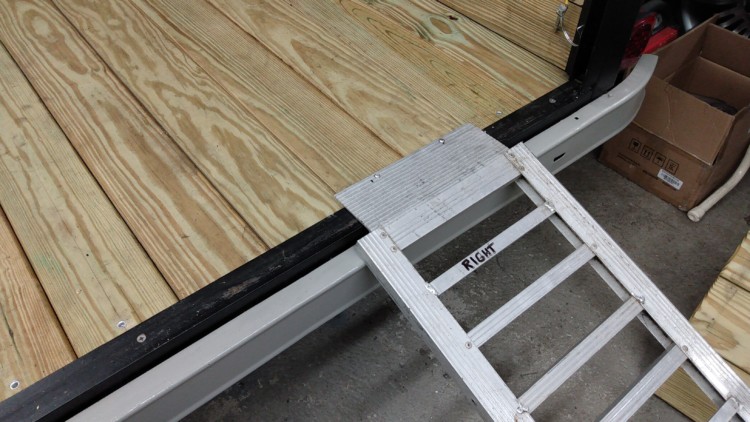
When loading powered vehicles like tractors or ATVs into the trailer, it is very important to secure the loading ramps from sliding out from under you. (Don’t ask me how I know this !!!)
I didn’t want to use chains like I usually do so I turned some bushings on my lather and super glued them into predrilled holes in the bed of the trailer
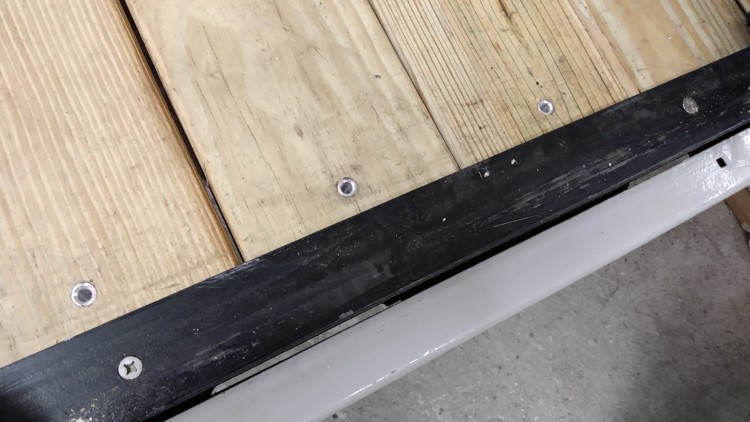
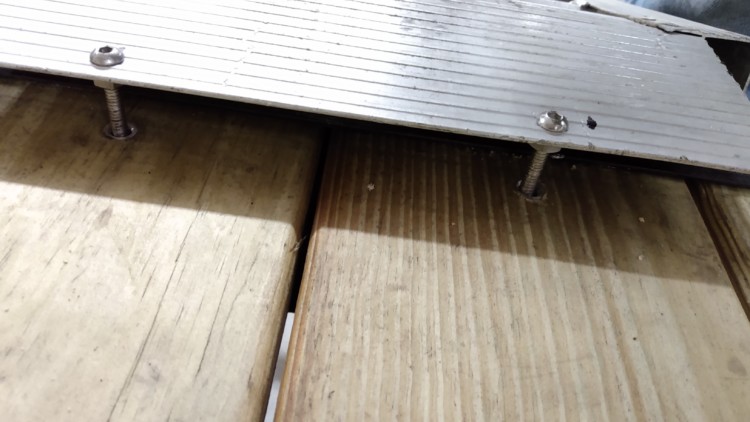
I installed two stainless steel pins into the lip of each loading ramp

The pins simply drop into the buskings and the ramp doesn’t move a bit. Multiple bushings allow the ramps to be moved closer or farther apart
Well….I Think that’s it….But youn never know what I’ll think up in the shower tomorrow!

2 comments on “TENT TRAILER to UTILITY TRAILER….A Covid Project!”