My wife tells me that I have more enjoyment “farkling” my vehicles than I do actually using them…..She might just be right!
Anyways, I wanted to add an air compressor to the mix. Very helpful to inflate tires and water toys but also to us a blow gun to clean of tools and other items as needed.
I had been using a portable, 120v, pancake compressor for this task. But this meant getting the generator fired up every time I wanted to use it if I wasn’t connected to AC.
Research led me to the “Overland Forum” http://www.expeditionportal.com/forum/forums/87-Expedition-and-Overland-Adventure-Planning . These folks are using portable air compressors that run of 12V extensively to air up their tires after riding in soft soil, sand, conditions. Twelve volt compressors run the gambit of $10 auto parts store up to Australian made $800 units. But many of these folks are using a Harbor Freight unit that costs under $60 with the monthly coupon.
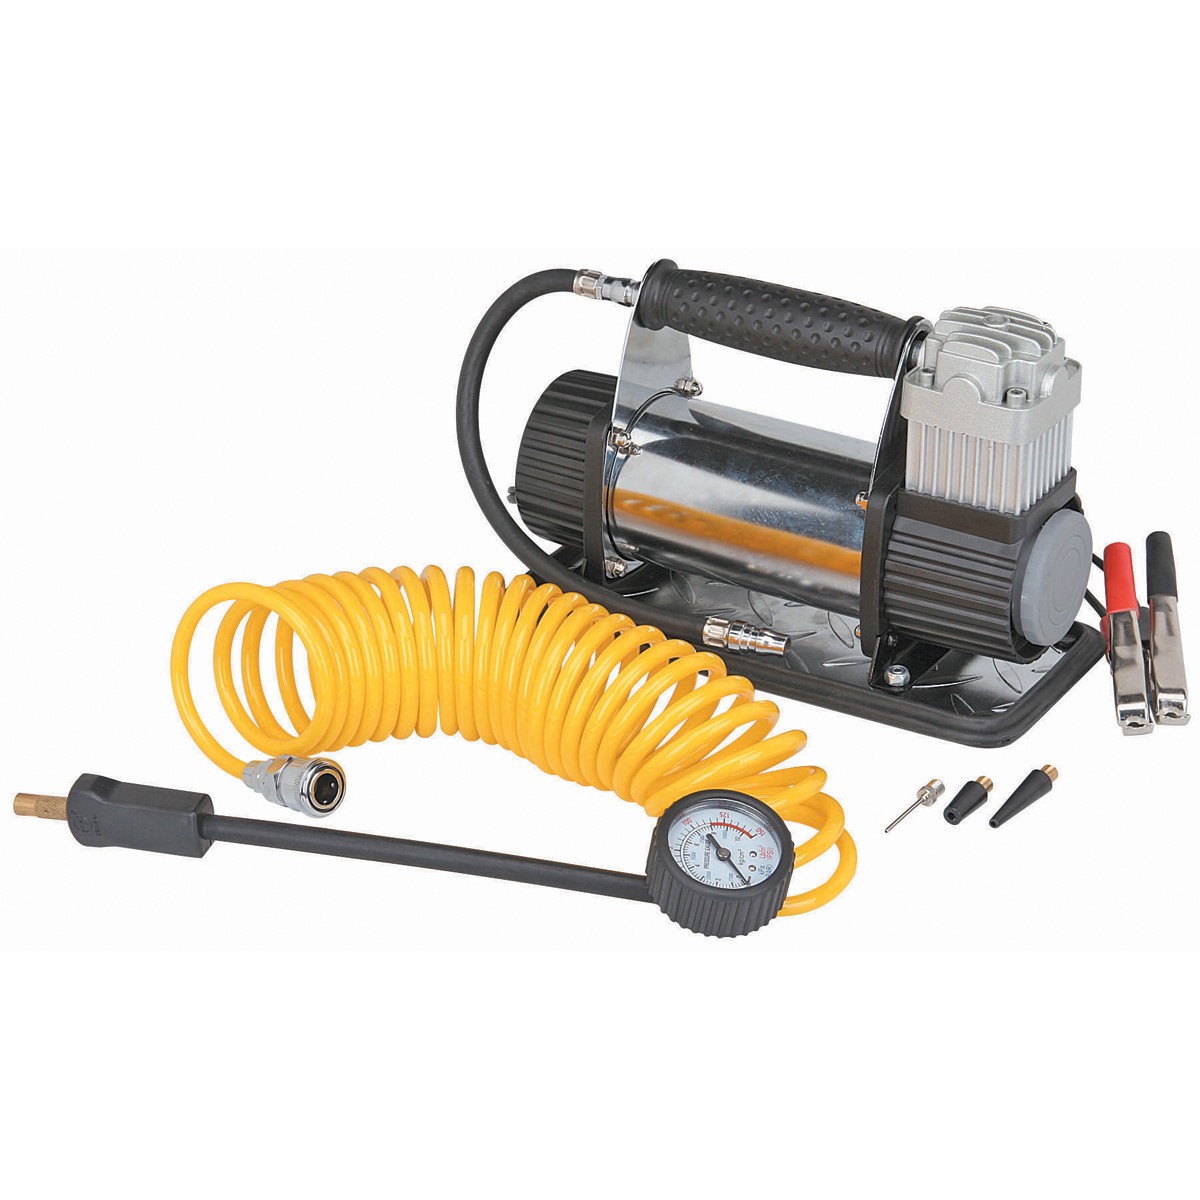
| Name | 12Volt 150 PSI Compact Air Compressor |
|---|---|
| SKU | 69285 |
| Brand | Pittsburgh Automotive |
| Amperage (amps) | 30 |
| Flow rate | 1.35 CFM |
| Maximum pressure (PSI) | 150 PSI |
| Quantity | 1 |
| Hose Length | 25 ft. |
| Product Height | 7 in. |
| Product Length | 15-1/2 in. |
| Product Width | 9-1/2 in. |
| Shipping Weight | 11.70 lb. |
| Accessories Included | 25 ft. coiled air hose, pressure gauge, two inflation nozzles, needle valve, and 11 ft. battery cables with clamps |
This compressor has a short hose with a unique type of quick disconnect for the 25′ air hose that is included. First order of business was to remove this short hose and attach a standard air quick disconnect. Fortunately all the fitting were standard pipe thread so this was easily accomplished.

Next, the compressor comes with two large alligator clips that are to be attached directly to the battery. I’d rather something more permant. On my truck I’ve installed heavy duty 12V disconnects front and rear for my winch and a set of jumper cables.
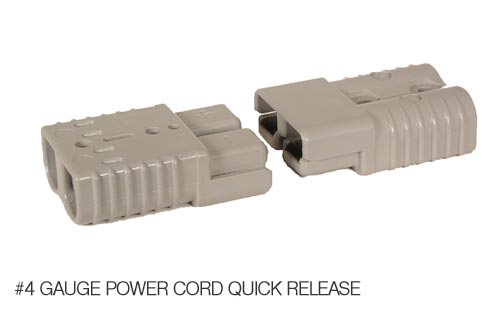
So I simply installed one in the electrical compartment in the trailer
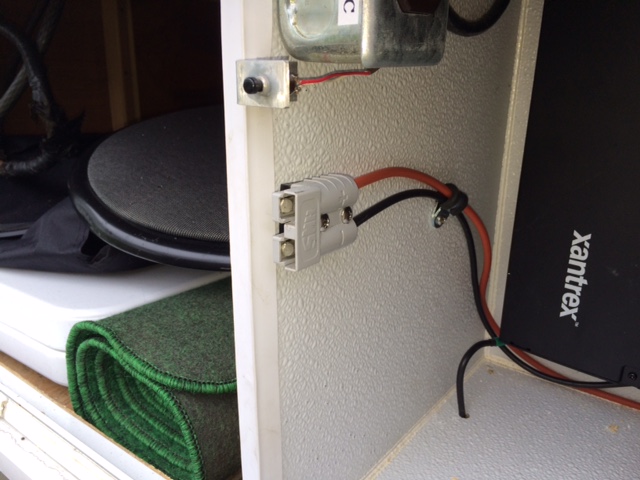
This was wired using 10g cable to the terminals on the inverter, which in turn run through a circuit breaker and 4g wire directly to the battery.
Now it’s just a simple matter of plugging the compressor into the connector and GO!
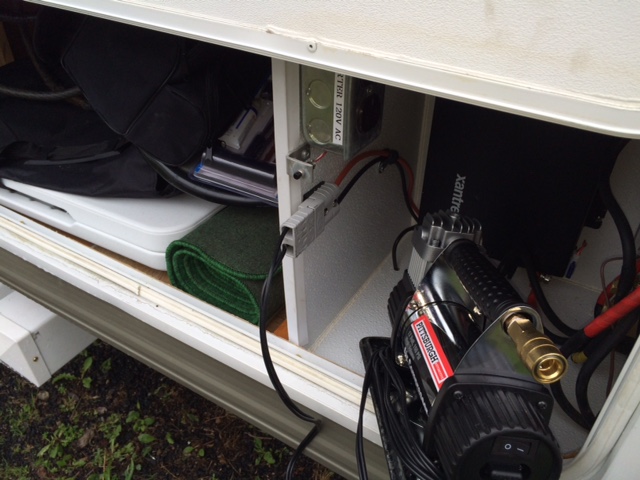
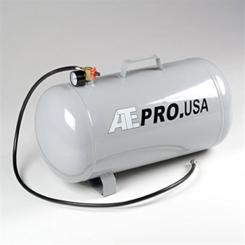
I also installed a 9 gallon air tank in the forward compartment of the trailer. It takes this compressor about 9 minutes to fill the tank to 120psi and then I have about 100 “squirts” of air to clean off tools and such.
Next up was a quick modification to my entertainment center. Â I never liked the sound of the factory installed system so I figured I’d replace the speakers. This trailer has a 5 speaker, surround sound system with a subwoofer. It is insane that the subwoofer is actually in the bedroom! What on Gods green earth was Forest River thinking. If you want to watch a movie but your wife wants to go to bed, she gets blasted with all the low frequency bass and nothing else. Talk about headache inducing! And there is no switch to turn it off!
Upon removing the speakers to check the size for replacement, I realized that FR used a relatively god speaker in these campers. But they were all wired out of phase! And the 5 channels were wired to the wrong speakers. The center was wired to the rear left, front right was rear right, etc….More FR ‘s great attention to detail! Once I got them wired up correctly the system sounded fantastic! I installed a small switch to shut off the sub woofer. This subwoofer will be relocated behind the equipment cabinet I built in a previous post at some later date.
While I had everything apart I decided to pain the trim on the stereo receiver to match the TV and the Sirius/XM radio…
Before:

AFTER…
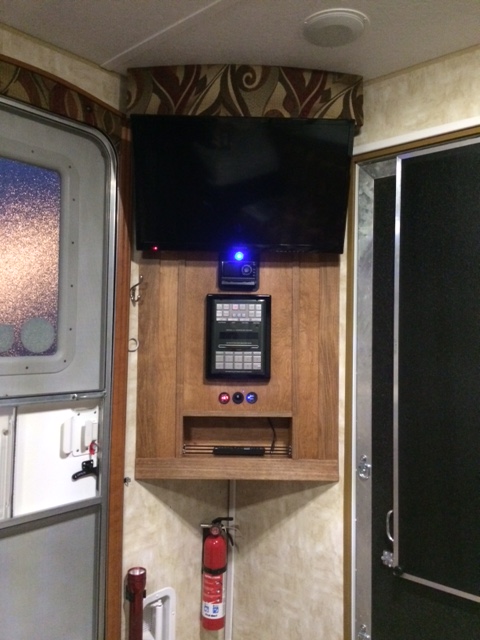

As you can see I also upgraded the Sirius/XM to a stand alone unit. I was using a Garmin GPS that also offered XM radio. And I upsized the TV from 24″ to 28″ . Four inches makes a huge difference! (BTW…That blue light is the illuminated on/off switch for the antenna amplifier)
TIRES!
Out with the old 14″…In with the new 15″
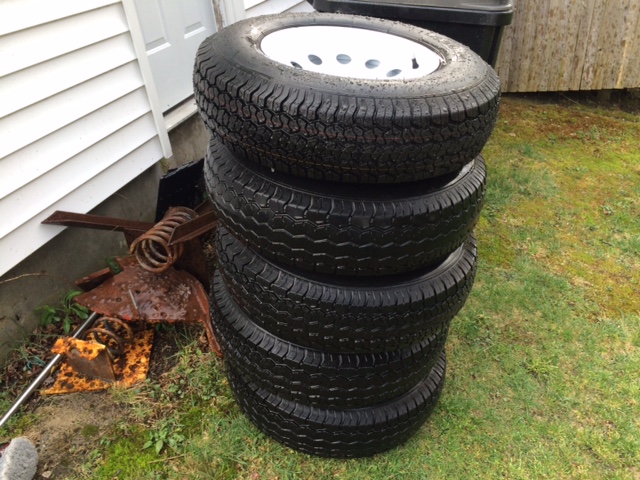
This trailer was sold with 14″, Load Range C tires. Although the vehicle label on the side of the trailer said it had 15″ tires! The 14″ wheels and tires still had a lot of tread but I still wanted to replace with load range D tires as when weighed, the trailer, fully loaded with water, food, cloths and a motorcycle was just under the rated C tires load capacity.
I ordered 5 Kenda Karrier ST205/75R15 with silver rims from Trailer Tires and Wheels http://www.trailertiresandwheels.com/ . I ordered them on a Wednesday morning and they were here on Friday at noon! Amazing how fast stuff can get shipped now a days. And they came individually wrapped on a standard FedEx truck!
Total price, including high speed balancing was $605….Free freight and no tax! Â The other two large trailer parts suppliers do not balance trailer tires and their price for the same tires was 20-25% higher. I highly recommend TTWÂ for all your trailer needs.
I think they look rather snazzy!
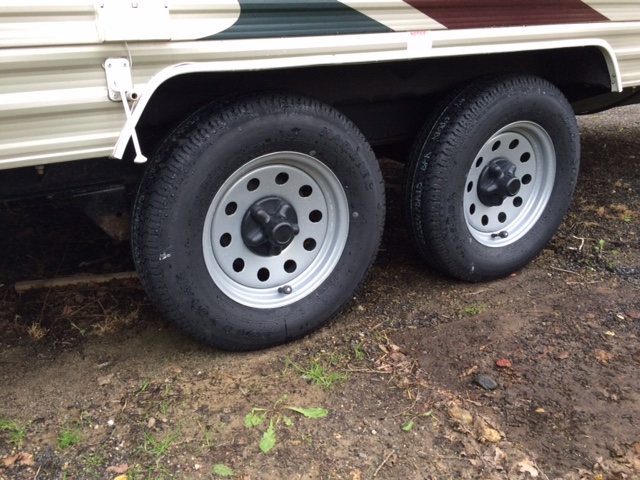
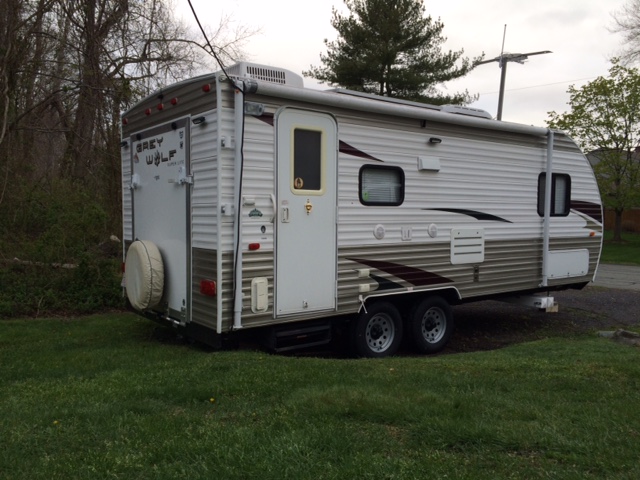
BTW, I popsted the old W&Ts on craigslist and sold them for $250. Someone got a good deal and my cost for new W&Ts went down appreciably…
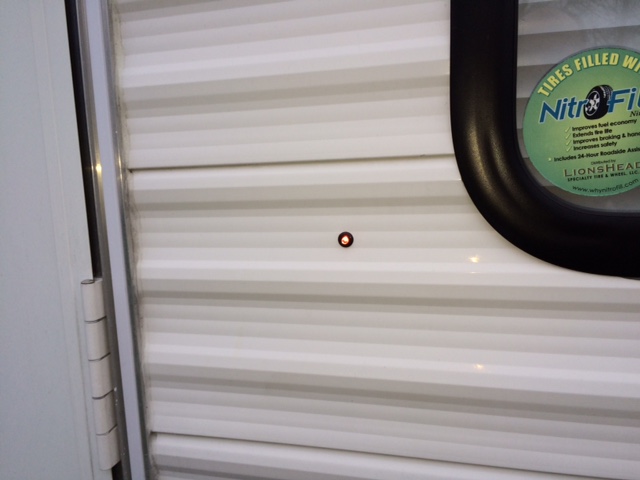
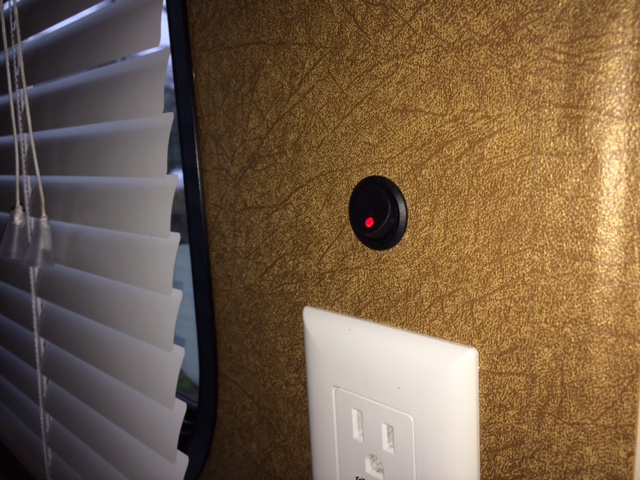
I also added a flashing LED to the exterior of the trailer and an illuminated switch to turn it on and off. Â Simply a placebo alarm system!
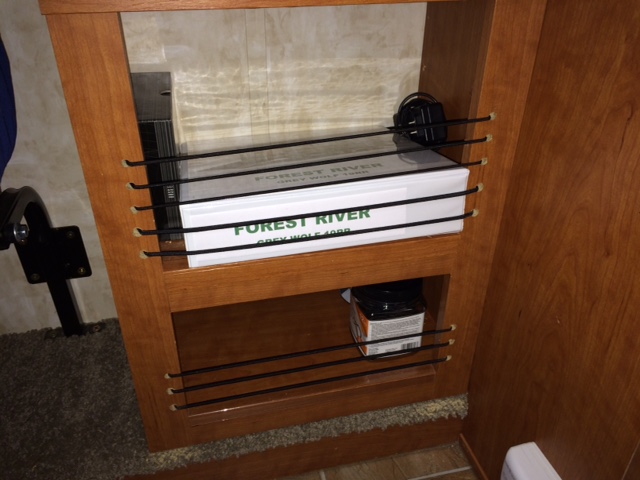
Added some bungy retainer to the front of the end table. A few holes and lace a bungy cord through.
And last but by no means least….a door knocker
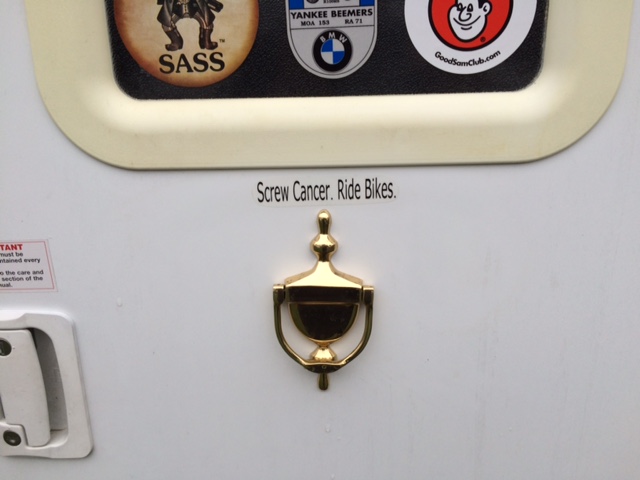
SOMEBODY STOP ME! Â I just can’t stop FARKLING!
Added a ladder to the back of the Toy Hauler today
Bought this one from Amazon.
Stromberg Carlson LA-401 Universal Exterior RV Ladder

couldn’t beat the price. Simple, aluminum construction with nice non-slip steps. $81 as of 5-8-16
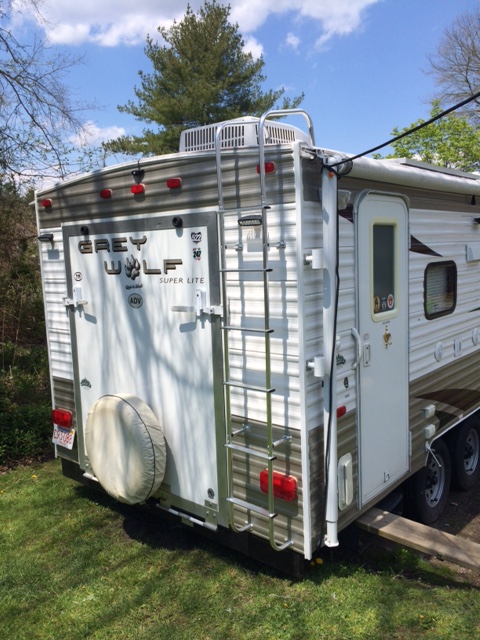
It attached quite easily but I substituted stainless steel screws for the screws that came with the ladder.
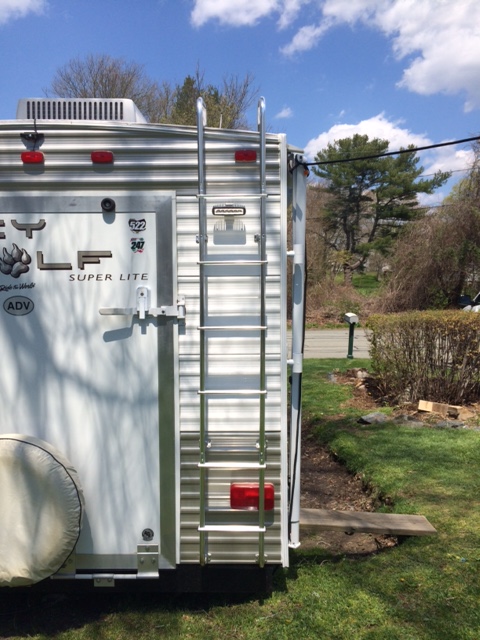
The stand-offs were easy to assemble but holes needed to be drilled to accept the bolts provided.
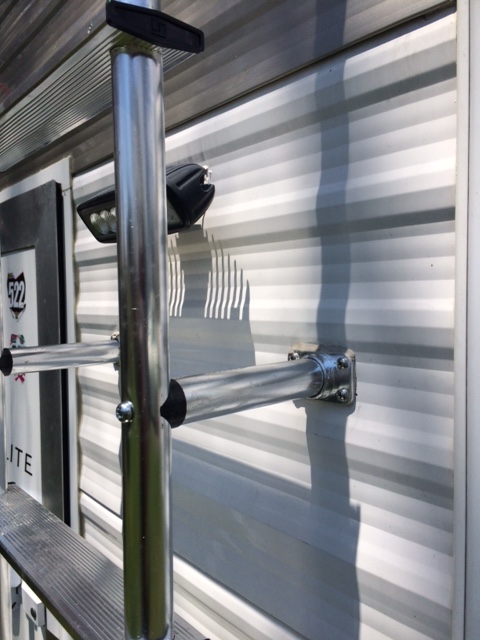
A few more holes in the roof……
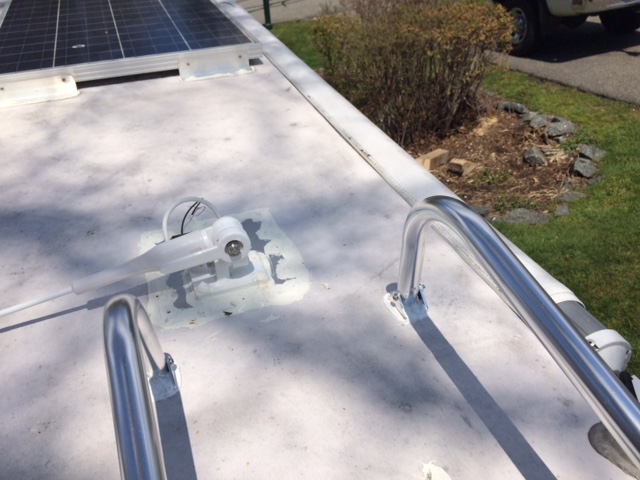
Now I can easily get on the roof to clean the solar panels and to raise the fold down FM antenna
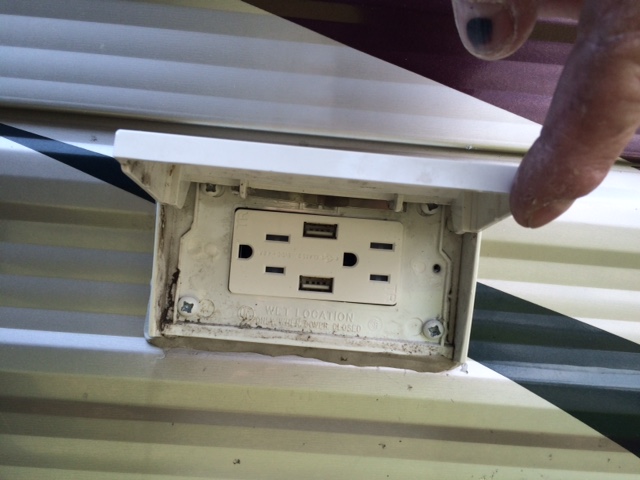
EXTERNAL USB JACKS
I also added a new AC outlet with two USB jacks so I can charge my devices outside while using them. I installed a couple around my house also. No more “wall warts” all over the place. And this device has “ultra high speed smart ports” ….Whatever the heck that means. But it did charge my Ipad very quickly! (Ipads need more current than most other devices when charging through USB. This device has more than 2A output.
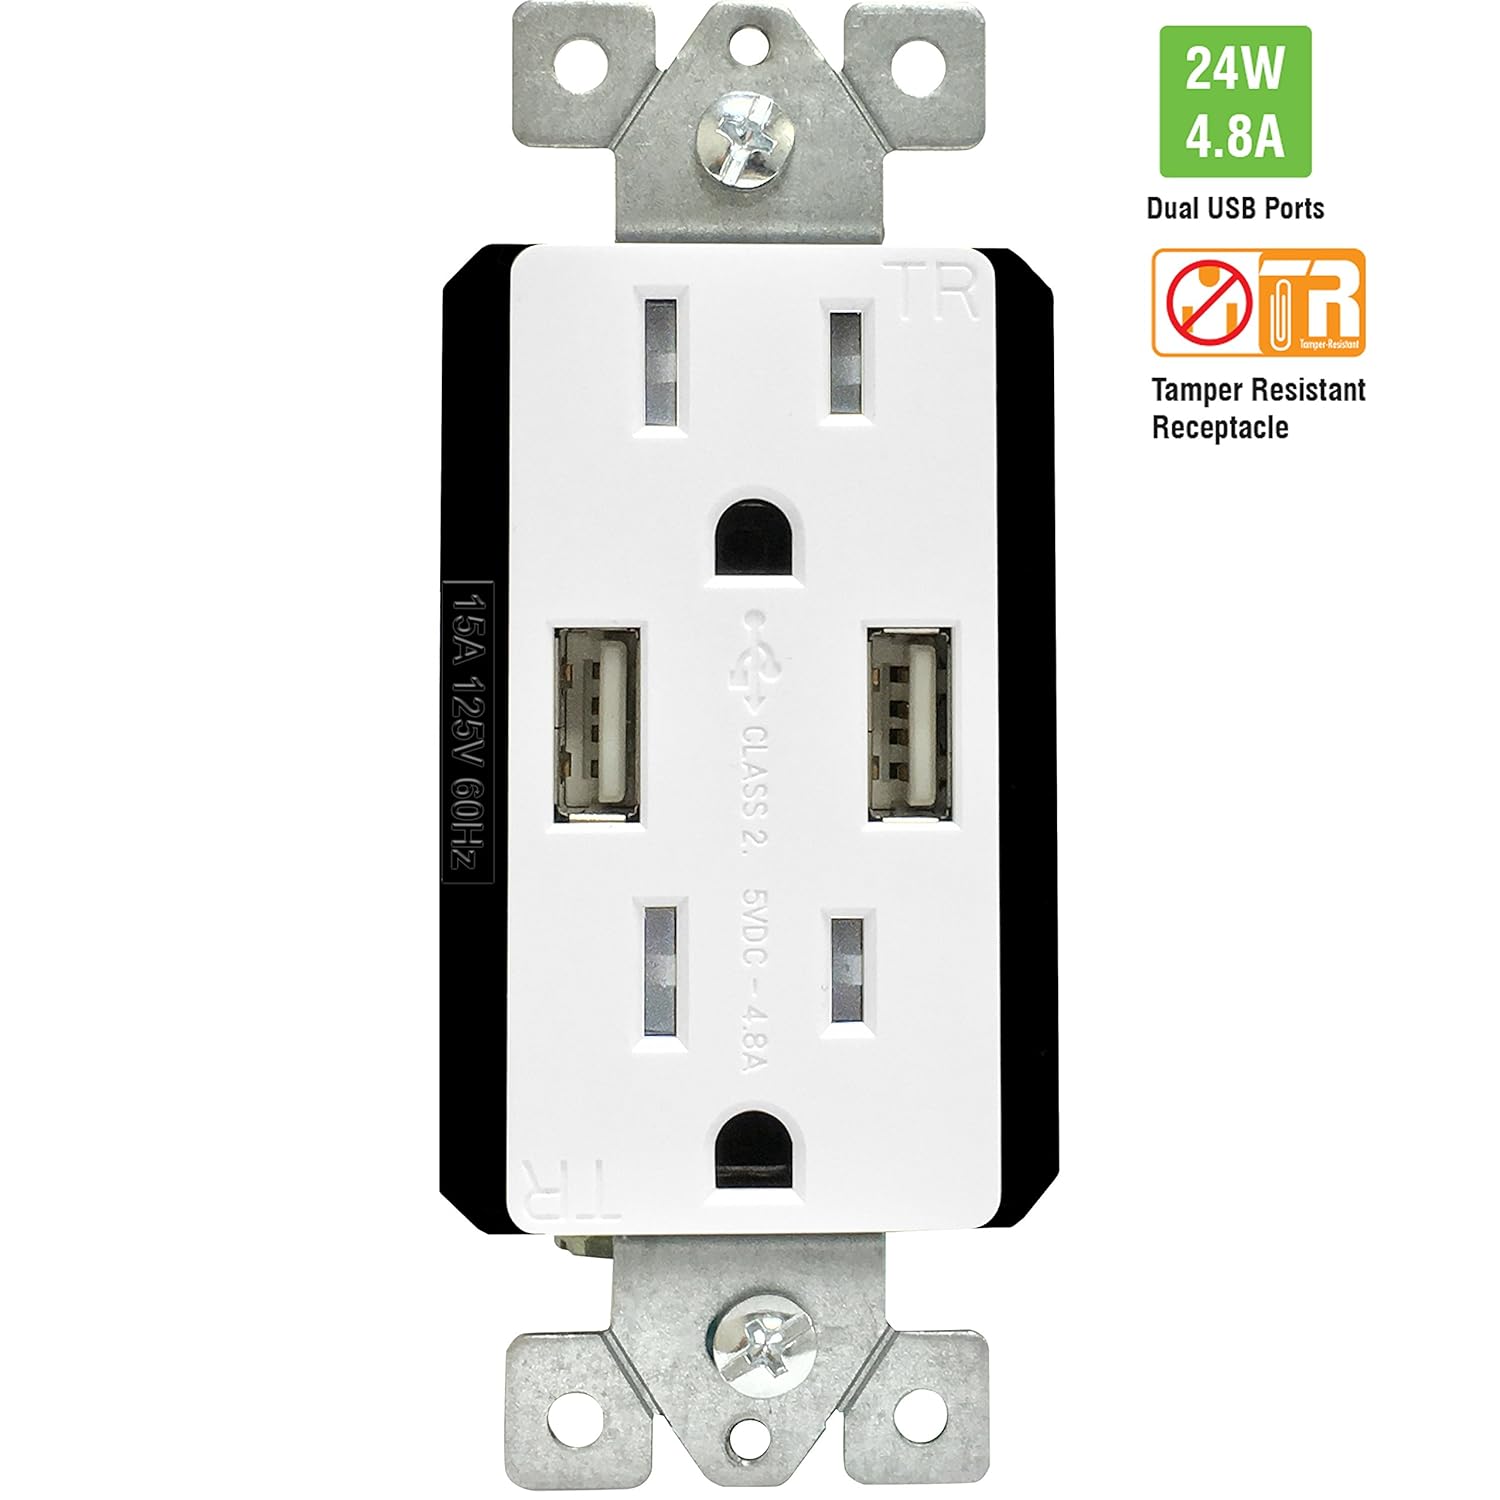
TOPGREENER TU21548A 4.8A Duplex USB Charger Outlet
- Upgraded High Speed Charging Tech: World’s First Smart Ultra-High Speed Dual USB Charging In Wall at 4.8 Amp, 24W, 5VDC
- Charging-Smart Technology: Dual “Smart” USB Ports Precisely “Read” the Power Need then Maximize Charging Efficiency
- Design Innovation: Interchangeable Face Cover. 3 Color Face Cover Included: White, Black, Light Almond
- Two TR Tamper-Resistant Outlets enhance electrical safety, preventing the attempting to insert objects into the outlet; Meets 2011 NEC
- Compatibility USB 1.1/2.0/3.0 devices, 2 USB ports total 4.8 Amp, 5VDC; Two TR Receptacles 15 Amp/125VAC; UL lsted; 2 years warranty; Back & side wiring easy installation. Wall plate not included
That’s it for now!

4 comments on “MORE Forest River Grey Wolf 19RR Farkles (modifications)”