Recently bought a Smittybilt RTT.
In the world of Motorcycle touring , we call modifications , “Farkles”….
So Farkling was required of my new RTT
First, I needed to electrify the tent for lighting and charging of personal devices. This will be Off Grid so only battery with solar charging will be used. A small Honda 2000i generator will be available if needed.
I do not want the tent to be tied into the trucks electrical system. This new 2018 Ram 2500 has a CanBuss electrical system all controlled by a computer and even the alternator is computer controlled. I simply don’t want to mess with it. So a stand alone, portable power supply is called for.
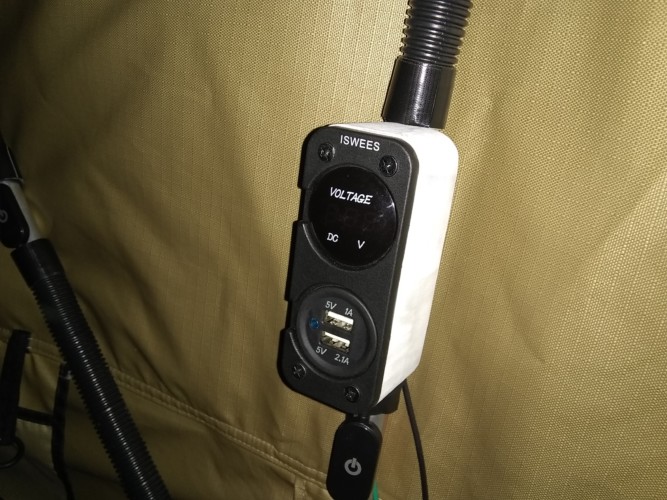
I built a small pod to contain a volt meter and a couple of USB jacks. The POD was made from two pieces of 3/4″ PVC boards, glued together for sufficient depth and then band sawed to this shape. That PVC “wood” is great for a number of interesting “Farkles”
Mounted it to the uprights with a couple of fabricated pipe clamps on the back.
For lighting, I used the USB powered LED Strip that the tent comes with and added a central mounted LED light. For the center light, I purchased at the local Job Lot, a simple battery powered LED under cabinet light for $3. This light operates on three AAA batteries. I converted it to run off a 5V USB. Removed batteries and soldered the power wires from a USB cable in place.

It was mounted overhead with a couple wire ties
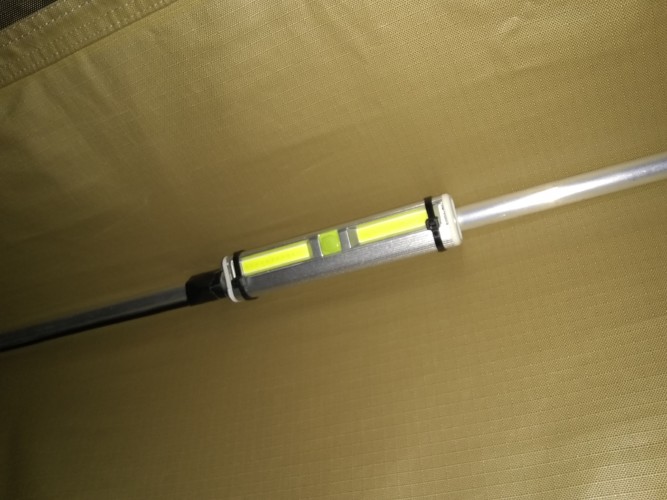
Talk about BRIGHT! To “dim ” things down I found on Amazon, inline USB LED light dimmers. Ordered two of them for under $5 each
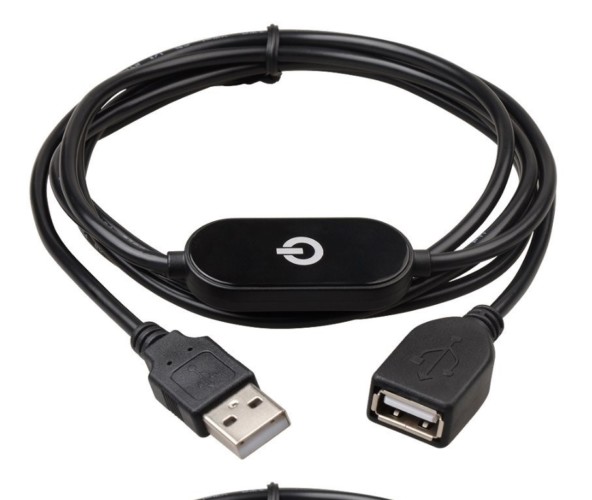
These were attached to the uprights with Gorilla Tape. I used Gorilla tape rather than wire ties as I was concerned about the wire tie connector thingy wearing holes in the tent material. If I used a wiretie for anything, I then wrapped it with Gorilla Tape so it wouldn’t damage the tent
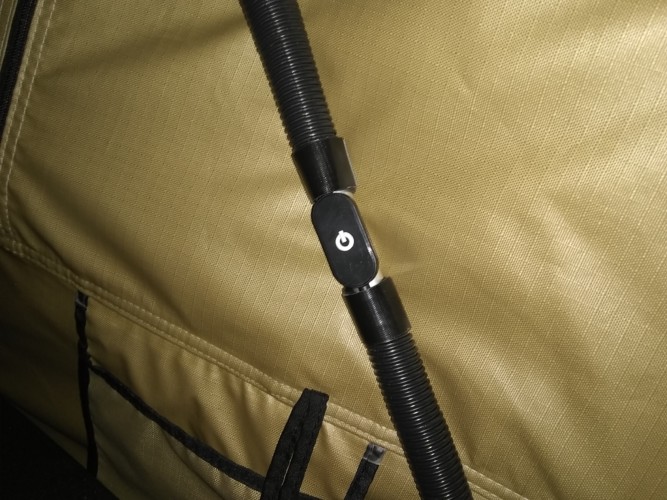
These little dimmers are really neat. Capacitance switch. Touch for on and off and hold to dim up or down. They work great! And all for $5!
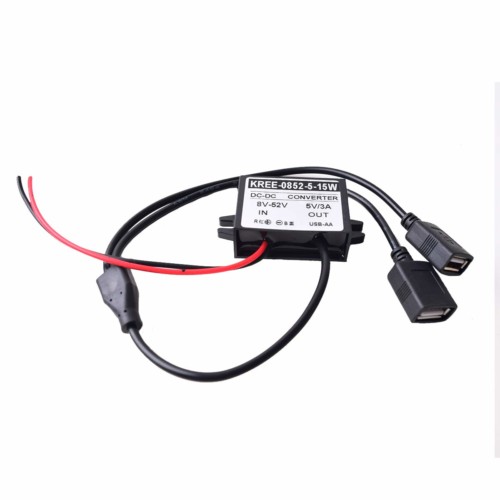
To power up the two USB lights I purchased from Amazon a 12V to USB adapter for $12. Mounted it under the mattress and hooked the USB lights into it.
All of this stuff gets powered up through a piece of 16/3 extension cord. This 16/3 wire gives me two circuits. Black is ground, white is Circuit #1 and the green wire in the extension cord is Circuit #2 . For now, both lights and USB plugs are on one circuit. If needed in the future, the second wire/circuit is ready.
This cable terminates in a BMW motorcycle power plug which will be plugged into the remote battery box I’ll describe in a minute. This allows me to remove the RTT and store it when not needed and the battery box remains in the truck.

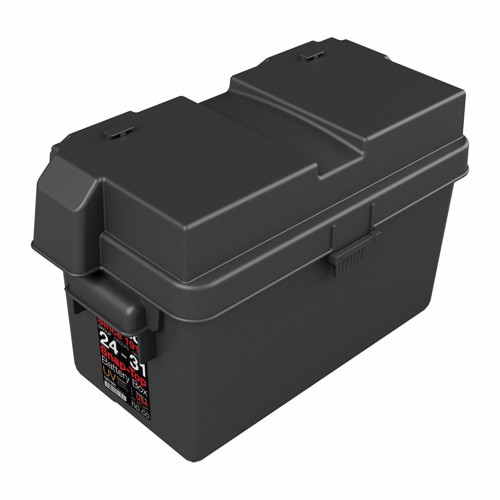
Now we need power….A battery box was obtained from Amazon… $12
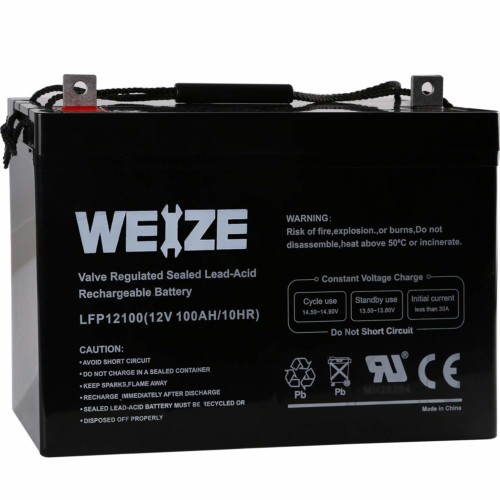
And into this box went a 100Ah AGM Group 31 battery that was also sourced through Amazon…$159 with free shipping! Great value here (11-1-2019)
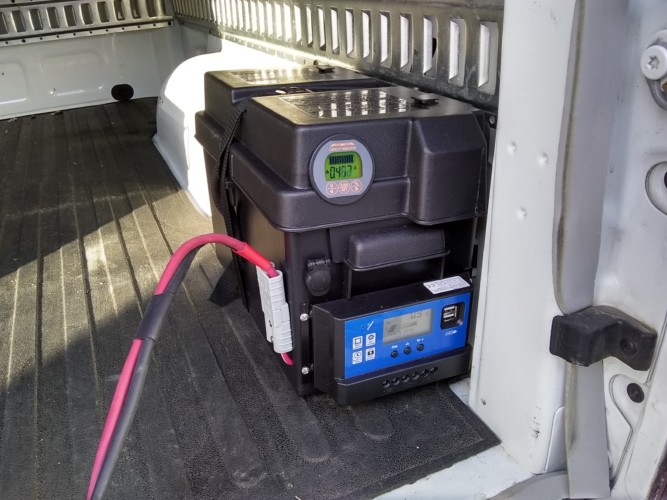
To monitor the condition of the battery and see what the solar system is doing I ordered again from the big “A” a AiLi 350A battery monitor with shunt…. $43. This monitor gets great reviews and I have to say, it appears extremely well made.

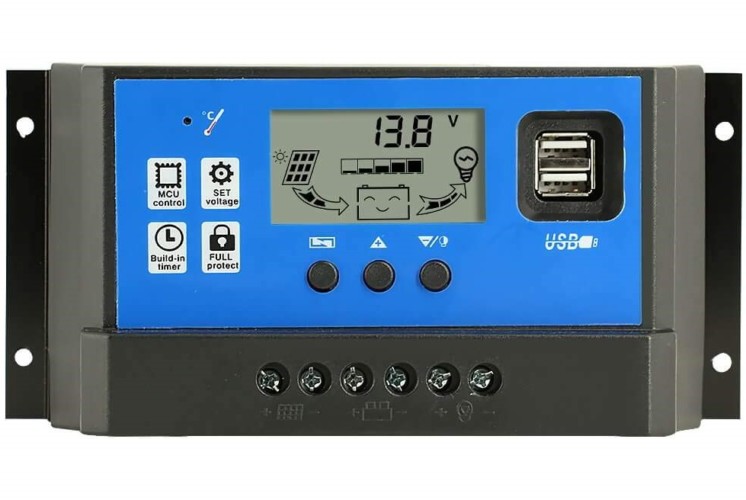
And as a Solar Controller, I went with a PowMr CM-40A. Can’t beat it for the price ($18) and although I’m only using 120 watts of solar currently, it has the capability of 40 amps so I can add more panels later. I like the USB jacks on the front for charging personal devices even if the RTT is not on the truck…(BUT, so far I have not figured out how to get it to charge Apple products. I charges my Android phone and my two Hot Spots fine. But it will not charge my Ipad Mini 2…Ugh!)
OK, all of this needs to be wired into the battery box which will be mounted in the bed of my pickup truck. And this battery box will be removable to be used in various vehicles as needed.
Here is an overview of the wiring involved…

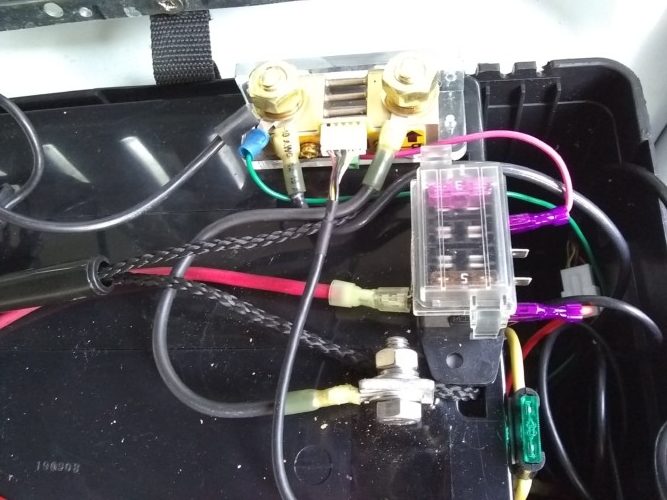
The 350 amp shunt is on top. All ground (NEG) wires go through this shunt so the AiLi Monitor can see in and out current to and from the battery
Below is a four circuit fuse block. One circuit is the RTT feed and the other is power to the shunt. The other two circuits are in reserve for now.
And below that is a 30 amp fuse between the solar controller and the battery.
All “high current” wiring in the box is 10G.
All these devices are attached to the battery with 3M VHB tape.
The AiLi monitor and the charge controller were mounted on the end of the battery box. Accessable when the tailgate is down.
A hole was cut into the cover of the battery box to flush mount the AiLi monitor and the charge controller was simply screwed to the battery box with stainless steel screws.
Holes were drilled as needed for wires to enter the box.

To get the power from the portable solar panels to the battery, I used very high current Anderson connectors
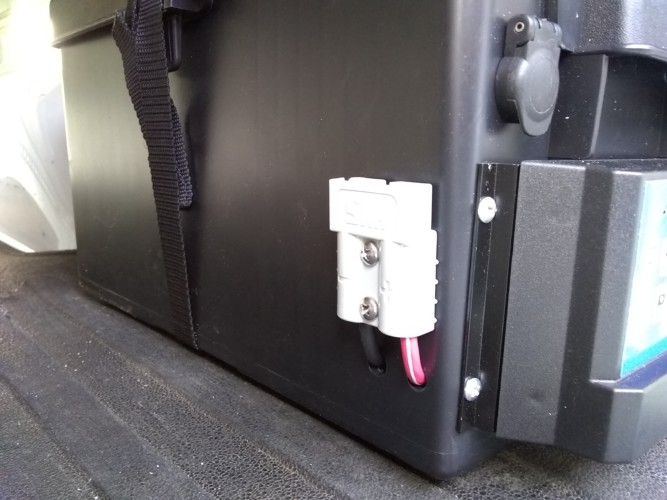
A 25′ extension cord of #8 welding cable is used between the panels and the battery box. Welding cable is extremely flexible and great for this purpose.
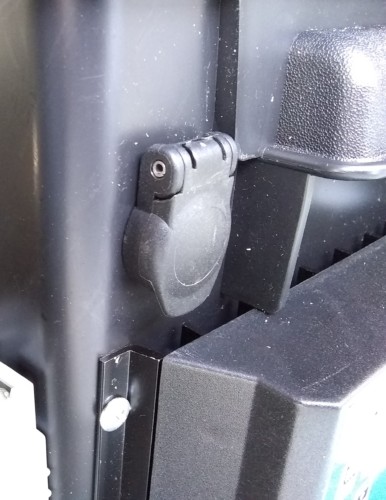
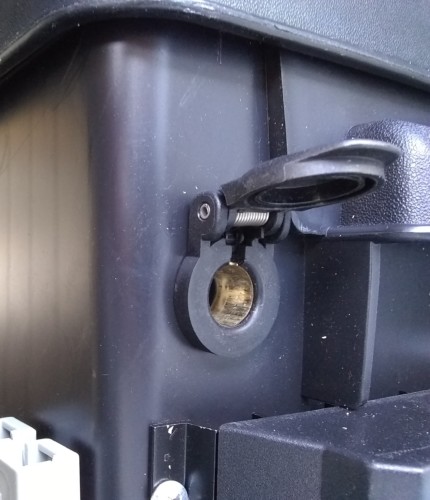
To get power to the RTT, I employed a BMW motorcycle connector and socket. These connectors are also called “John Deere” connectors as they are also used on John Deere equipment.

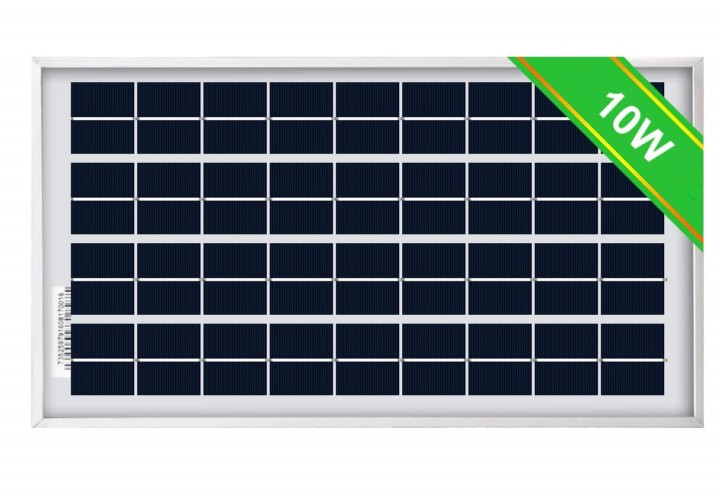
When the 120W portable solar panel is not deployed, I have two 10w ECO Worthy solar panels mounted on the camper shell to simply keep the battery maintained. ($21 each)
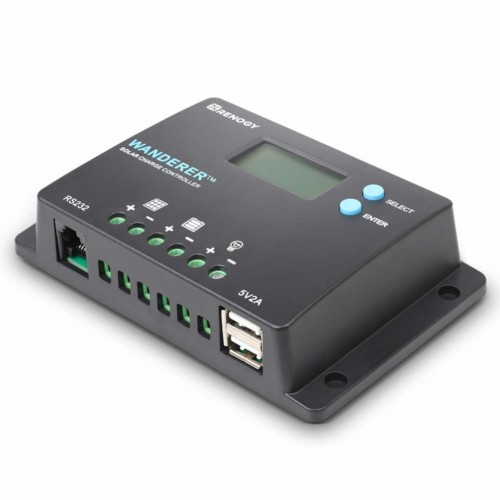
These feed the battery through a dedicated solar controller permenently mounted in the camper cap. Rengy Wanderer got the nod for this job ($18)
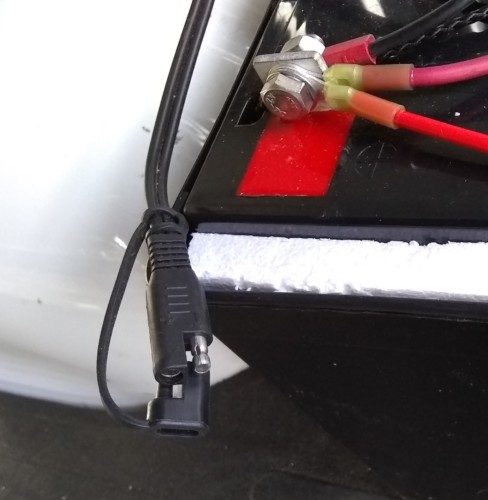
The output of the Renogy solar controller feeds the battery through a piece of Dual 10g wire and polarized connectors
When stationary, the battery is charged via a 120W ECO Worth portable folding panel ($148 on Ebay)

The battery box is secured to the truck’s bed with a strap

That’s the “Farkles” so far….Not sure what else I’m going to do to it except use the heck out of it!
I hope you enjoyed this short tour of my RTT!
UPDATE 11-6-19
A Few additions to the Portable Battery Box
I figured, since I have this battery mounted in the bed of my Pickup truck….And I use a winch mounted on a trailer hitch receiver, I might as well add a way to power the winch at the rear of the truck. Might come in handy to pull myself out of a mess rather than further in and to loads various things onto my trailer.
Another Anderson High Current plug and 150A circuit breaker were added
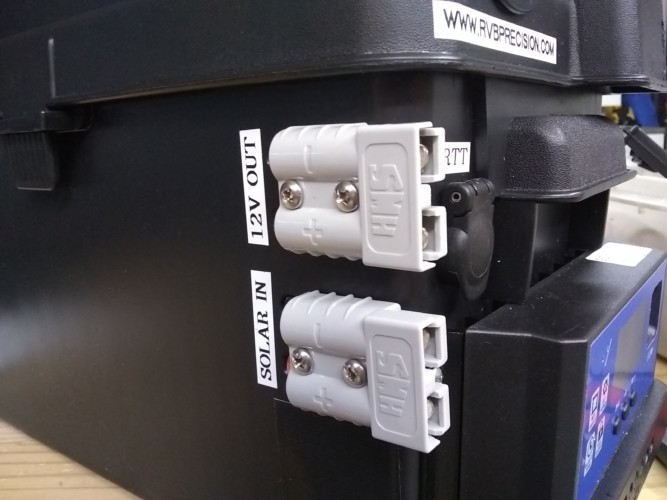
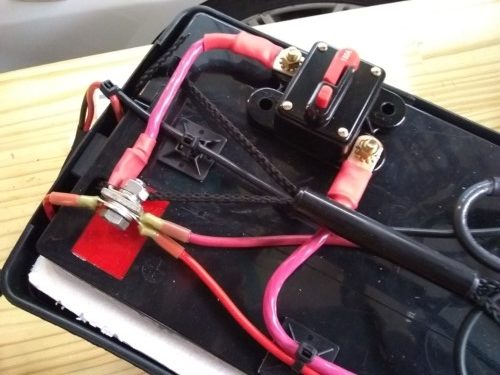
I ran this through the 350A shunt. It will be interesting to see how much current my 4500 pound winch uses on a pull.
I also added a smaller set of Anderson plugs for a 120V Optimate charger to be used in the off season to maintain the battery while the box is in storage.
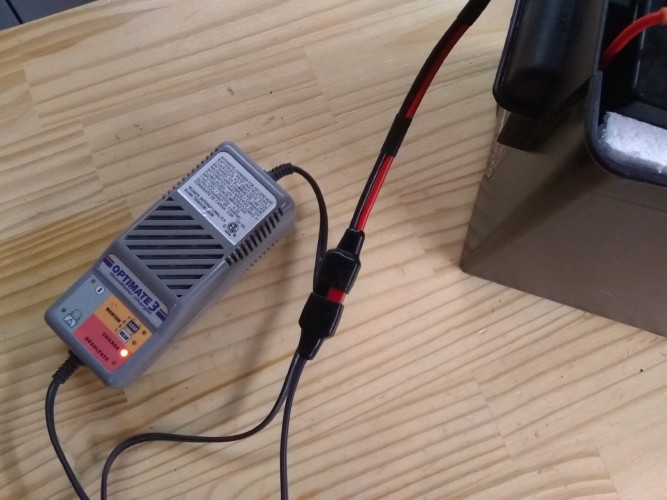
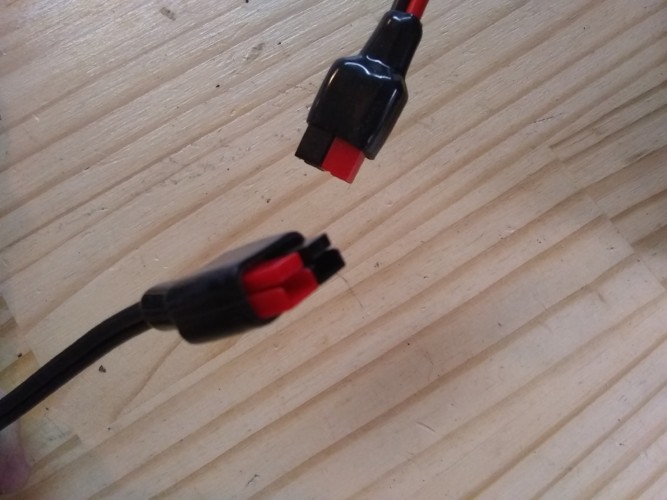
That should do it! …..But maybe a cigarette light socket is needed…..Stay Tuned!
UPDATE…UPDATE…UPDATE
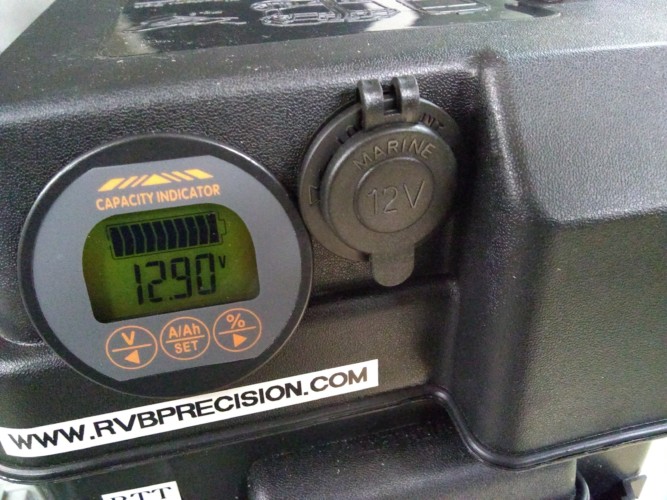
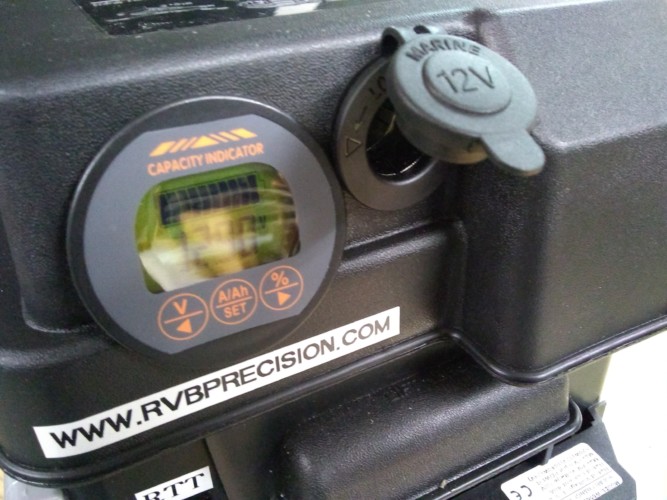
Added cigarette lighter socket….Just because!

2 comments on “ROOFTOP TENT MODIFICATIONS (So Far)”