
A while ago I read an article or two and a few reviews on two, relatively new additions to the HiFi playbook. Single driver FULL RANGE loudspeakers and no cabinet/box speakers called OPEN BAFFLE.
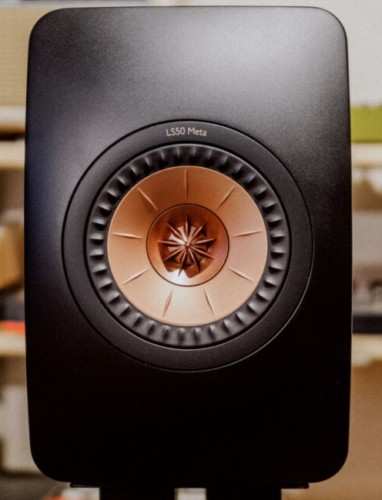
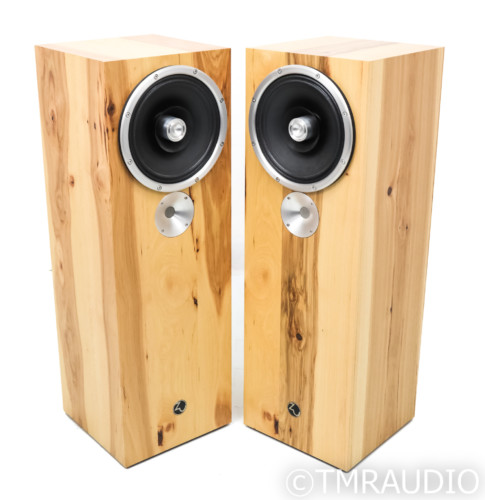
I had recently bought a pair of KEF LS50 Metas that totally blew me away with sound quality. Very few speakers in my 50 year career in HiFi knocked me over like these did. They are a
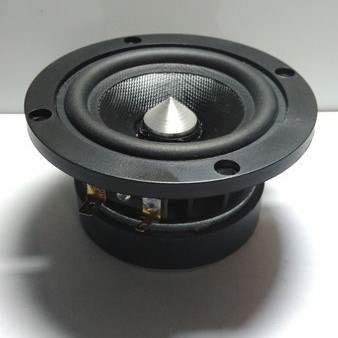
Single Sound Source speaker…..Meaning one driver, but that bigger driver has a smaller tweeter imbedded into the center of the woofer cone….So although it looks like a FULL RANGE speaker, it is in fact a TWO WAY speaker.
More research led me to a speaker designer and manufacturer named Harley Lovegrove from England. His company is Pearl Acoustics and he only offers one speaker system for sale. the “Sibelius”… https://pearlacoustics.com/sibelius-sg/

An amazingly simple loudspeaker….One full Range driver, no crossover and a relatively simple cabinet…..And according to reports, they sound amazing! (At $4500 a pair, a bit out of my price range so I’ve not had the luxury of auditioning them)
But research lead me to something that I think might be close. A DIY speaker called the Pensil 10.2…..Using a very similar driver to the Sibelius, (Made by the same company that Pearl Acoustics sources from), no crossover and a very simple cabinet design. I built a pair…… http://rvbprecision.com/stereo/building-pensil-10-2-speakers.html

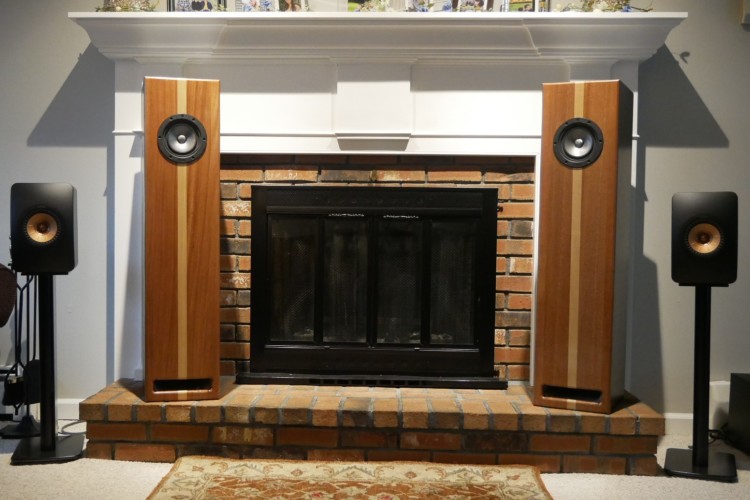
The sound is really magnificent. Very close to the sound signature of the KEF LS50 Metas!
Now my interest in single driver, full range speakers was in full bloom!
But then more research on this topography lead me to “Open Baffle” designs. This concept threw me because we have always known that a HiFi speaker needs some sort of cabinet to keep the sound coming from the back of the speaker from reaching the sound coming from the front of the speaker…..as they will cancel out each other. Well, I guess we were a bit wrong. Yes, some lower, bass, frequencies will be hurt, but the upper frequencies will be wide open and room filling…..We shall see!
I ordered up a couple of inexpensive, 4″ drivers from Parts Express to experiment with. Building the speaker takes about ten minutes! Take a board, cut a hole, mount the speaker….Done!
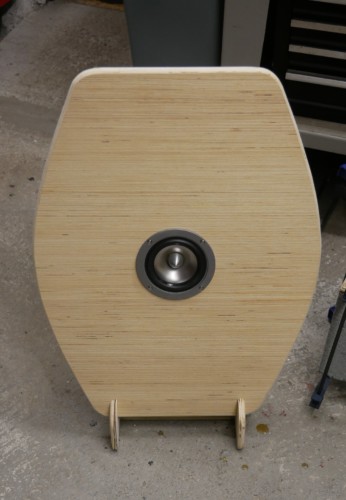

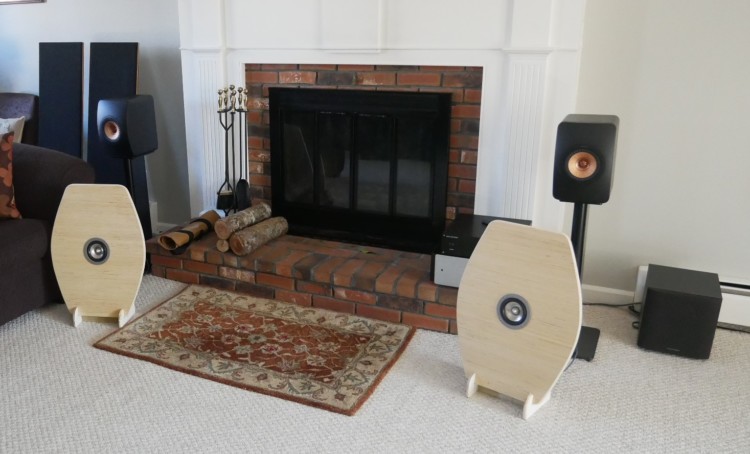
To say I was totally shocked at how good these little speakers sounded would be an under statement. And with that little B&W subwoofer you see in the picture……Amazing!
But I was wondering what a larger driver would sound like.
This led me back to Parts Express and their selection of Full Range drivers. I settled on 8″ to start.
I received the driver and was quite surprised in what a nice drive I bought for under $20.
Full-Range 8″ Speaker Pioneer Type B20FU20-51FW

This driver has what is called a “Whizzer Cone” for the high frequencies.
Other DIY speaker builders suggested that I needed to leave the Whizzer cone, but remove the “Dust Cap” and install a “Phase Plug”…….Before we go further, a “Phase Plug is usually used in a compression driver that would be used to load a horn type speaker.
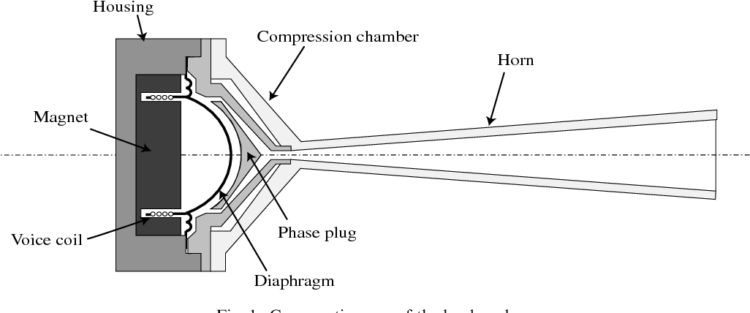
But I guess now the term is being used to note an elongated “Pole Piece” that is supposed to smooth out the higher and mid frequencies. It doesn’t seem to me that there is any real “Phase” that needs to be “Plugged”…..But if you know more, please leave a comment below for me and others….
And , if it is good enough for the Zu loudspeaker company to use one, it’s good enough for me!https://www.zuaudio.com/loudspeakers
So lets modify this cheap 8″ driver to incorporate a Phase Plug
This might help to understand what parts of a loudspeaker driver we are discussing

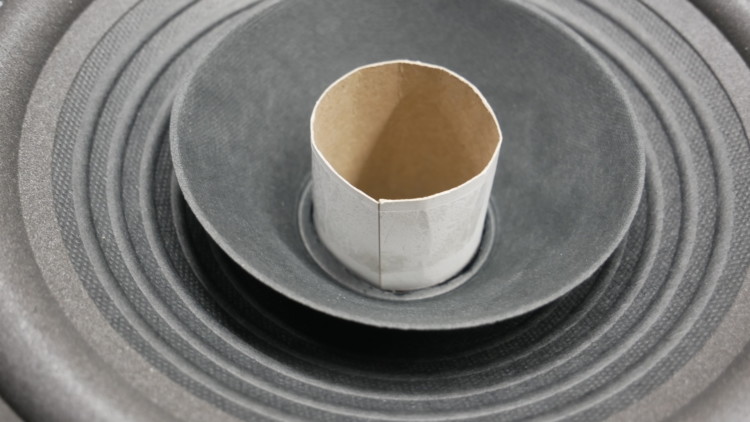
First we need to remove the Dust Cap. Using a VERY sharp Exacto knife carefully cut the dust cap out.

This exposes the “Pole Piece” in the center of the “Voice Coil” which is surrounded by a very strong magnet.

Next, you need some kind of cylinder to occupy the dust caps space. Lord knows there is every shape under the sun. Some DIYers are using Wine Bottle corks or anything they can find that will fit into the voice coil opening. Some used those tiny paint roller covers….Seems shape doesn’t really matter.

I’m a big fan of the Zu loudspeakers which use this technology so I took liberty in closely coping there Phase Plug.

Since I have a machine shop, I turned a piece of aluminum to the exact diameter of the inside of the voice coil, minus a few thousands. I also turned a “Beauty Ring…more on that later.

The phase plug was to be glued using a new, very high performance adhesive I’ve been playing with called “Star Bond”….When you glue something with this, you better want it there as there is no way you are going to remove it! https://starbond.com/

My first attempt at gluing the Phase Plug to the poll piece in the center of the voice coil ended in disaster! The glue leaked out around the edges and glued the voice coil to the magnet! Speaker ruined. You can’t believe how hard it was to remove the Phase Plug from the grip of the Star Bond Super Glue! Thank God I wasn’t using expensive drivers!
Folks on the various DIY loudspeaker forums suggested bonding a washer or screw to the bottom of the Phase Plug and letting the speakers magnet hold the plug in place. I tried this with no joy. These speakers had very little magnetism at the center of the pole piece. At the voice coil gap the magnet pulled like the Kennedys did in Massachusetts! But the Phase Plug simply would work its way down and then rub on the voice coil. Or completely fall out while playing loud. Maybe a wooden, cork or plastic Phase Plug would stay in place, but not this aluminum version. Nope, it needs to be bonded to the center of the magnet in some fashion.
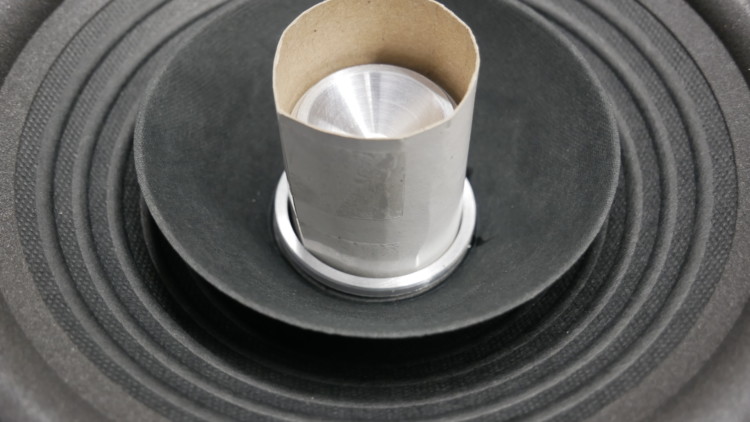
So I took the Phase Plugs and turned down the part that would be in the vicinity of the voice coil by about .125″.

Then I formed a paper ring to the exact dimensions of the inner voice coil to center the phase plug when it was dropped into place.

(BTW, many years ago when visiting AR and ADVENT loudspeaker companies, this is how they centered the voice coils to the spider and cone into the voice coil gap……Maybe speaker manufacturers still do it this way?)
I then inserted my “Centering Ring” into the voice coil.
Put a few tiny drops of glue on the bottom of the phase plug

Sprayed some “Accelerator” into the voice coil “hole” and dropped the Phase Plug In….And removed the paper spacer. Within seconds it was bonded!

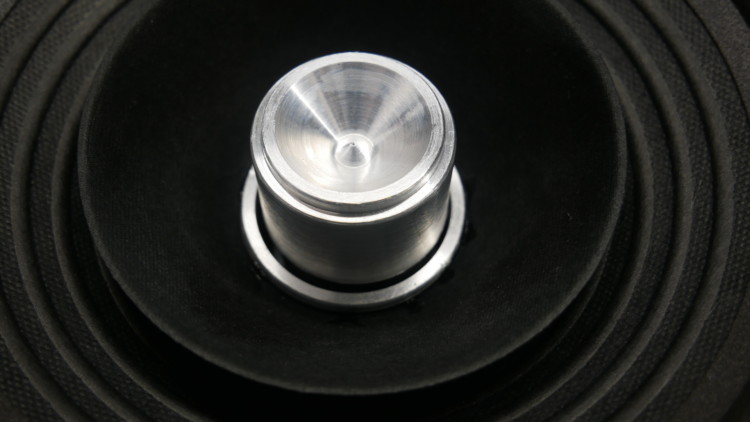
PERFECTO! No rubbing, and by eye it looks perfectly centered.
Where the dust cap was cut away with the Exacto knife left a very, unsightly, rough edge. I reinstalled the spacing tube and dropped the “Beauty Ring” down onto the cone.
A couple drops of the super glue around the perimeter and a quick spray of Accelerator and it was on for life…..No rubbing and centered around the phase plug.
So there you have it!
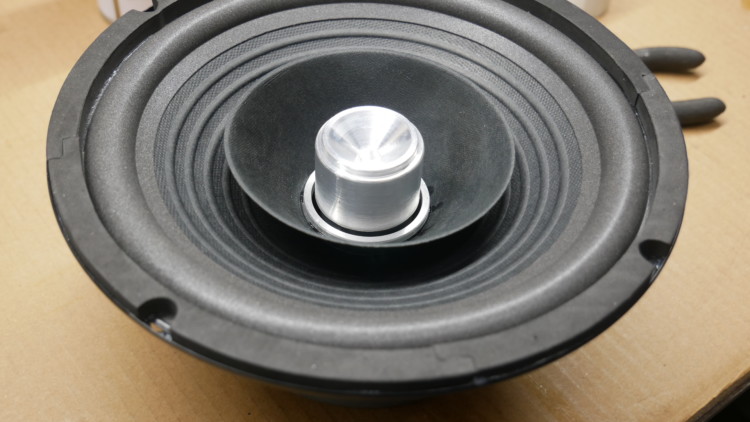
Next up is some testing using REW and a calibrated microphone. I recorded tests with the speaker in a cabinet I had hanging around. This cabinet was using a 10″ driver so I needed to make a spacer ring……Kinda like the Large Advent and the Dahlquist DQ10 speakers of the 70s!
Stay tuned for the testing result…

Be sure to check out my other “Total Waste Of Time” (as my wife calls them) Projects…..HiFi, Solar, Tractors, Firearms, RVs…..
RVB PRECISION
Thanks for reading! Have a great day!