
This isn’t quite an expedition trailer project….But I guess it depends on one definition of “Expedition”….
I shoot a sport call “Cowboy Action Shooting”…..Grown folks dress up in 1800 period correct clothing and using 1800 firearms or reproductions compete in timed matches for speed and accuracy. There are matches all over the country and this fall I’m heading south with all my stuff and my Truck Camper and going to attend as many matches on the weekends and a few big regional shoots. In this sport you use a heck of a lot of ammunition and reloading your own ammunition is simply the best way to keep expenses in check.
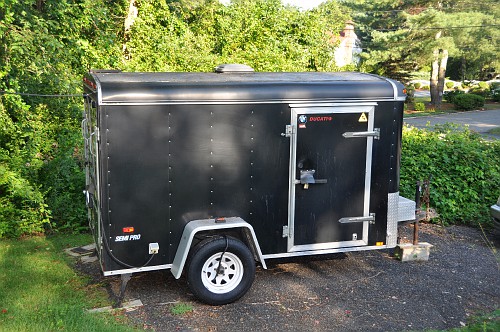
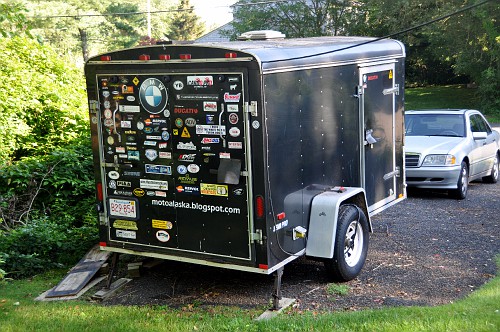
I have a 6 X 10 motorcycle trailer that has been all over the country and Canada. Hauling bikes, moving kids, buying machine tools. It’s on its second set of hubs it has so many miles on it.
This old trailer will be converted into a “Reloading Workshop” on wheels. A bench and storage will be built and room will remain for me to take one of the bikes with me.
A rack for three progressive reloading machines will be built and locking storage for powder and guns. It will be fully alarmed with cellular service back-up.
Heat and AirConditioning will be installed along with a camper style inverter / charger to hook up to power at a campground / RV park and to keep the deep cycle batteries charged. This trailer already has solar panel on the roof, but it will be enlarged to keep lots of watts in the battery bank.
Before I bought a pickup truck and a truck camper, it was my moto-camper. I had it set up with heat, a bed a fan and a place to store the MC.
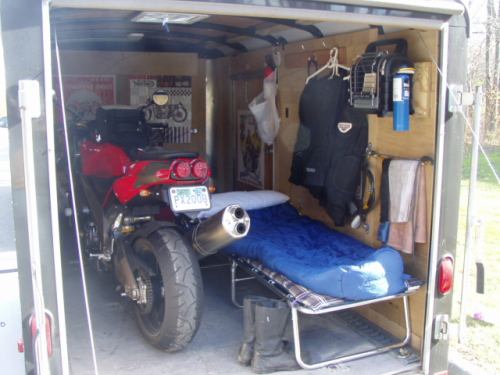
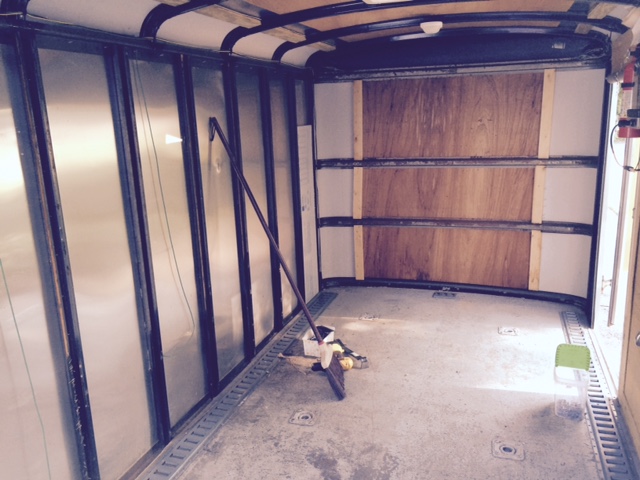
The interior was really beat up and it had no insulation which made it very cold in the cooler months and an oven in the summer.
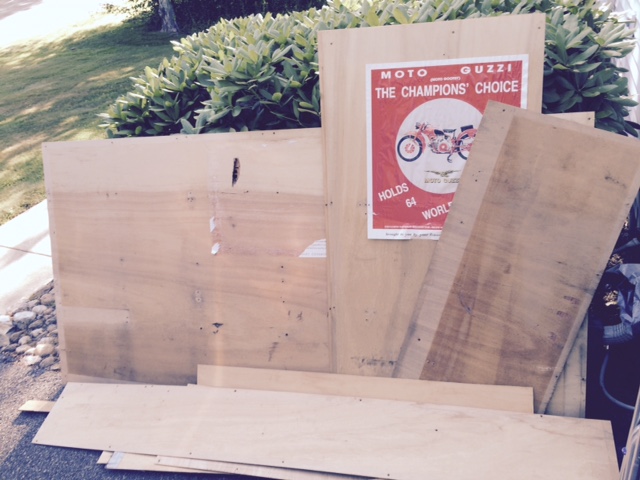
First order of business was to strip out all the interior 1/8″ paneling


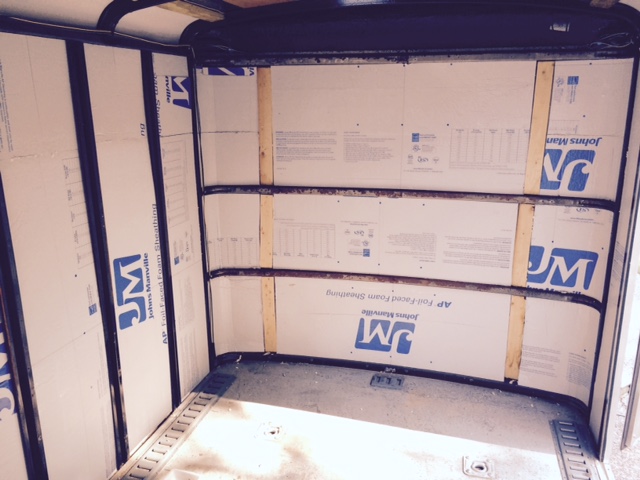
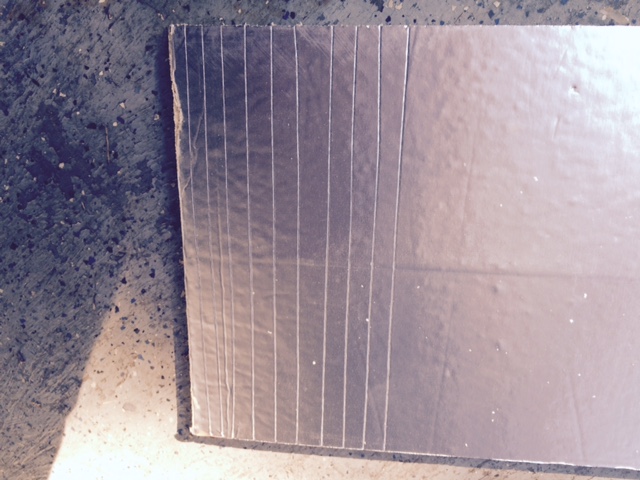
With that done I bought foil faced, 3/4″ rigid Styrofoam insulation at Lowes Home Improvement store and started installing it.
This was extremely easy as this trailer has vertical U Shaped braces that the rigid foam was cut to size, scored, and then snapped into place..Easy!
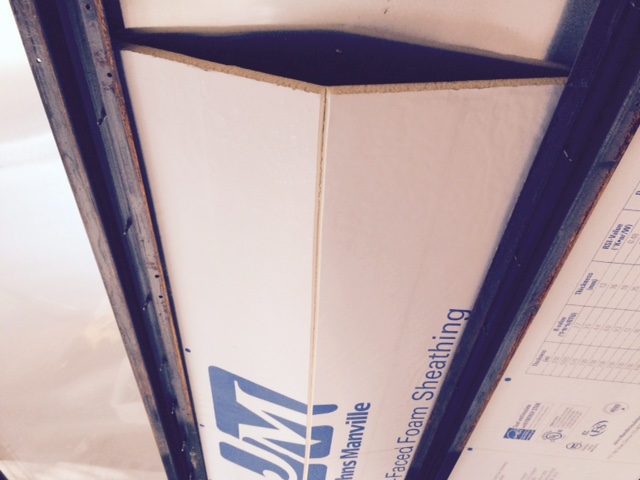
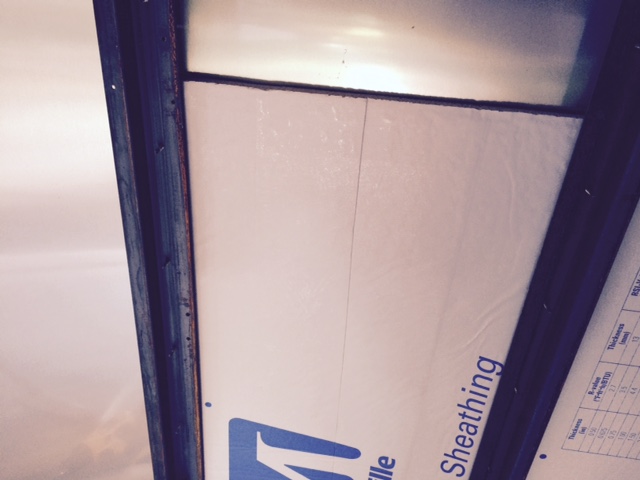
The front rounded corners were a bit more of a challenge, but using an old boat-building method to bend wood, it worked out great….
Lots of scores and then bend to shape…


The insulation phase is done! Except for the ceiling which will be tackled later…

More to follow
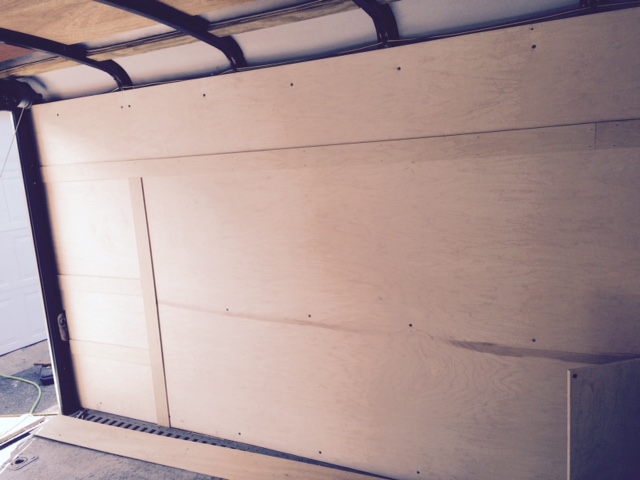
Next order of business was to sheath the interior with 1/4″ Maple Veneer plywood…

This was simply cut to shape and hang using self tapping sheet metal screws
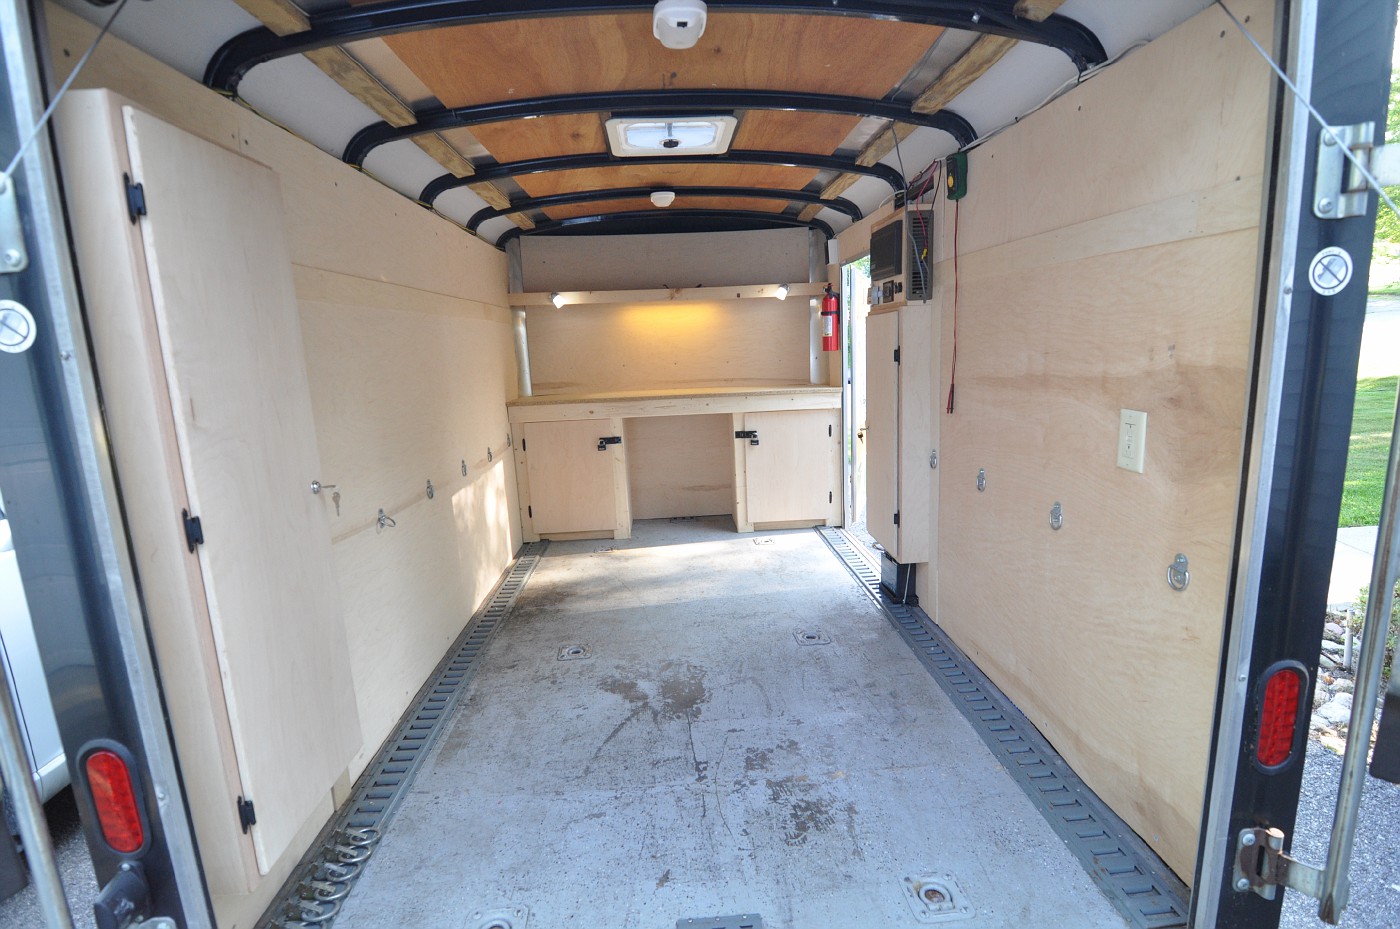
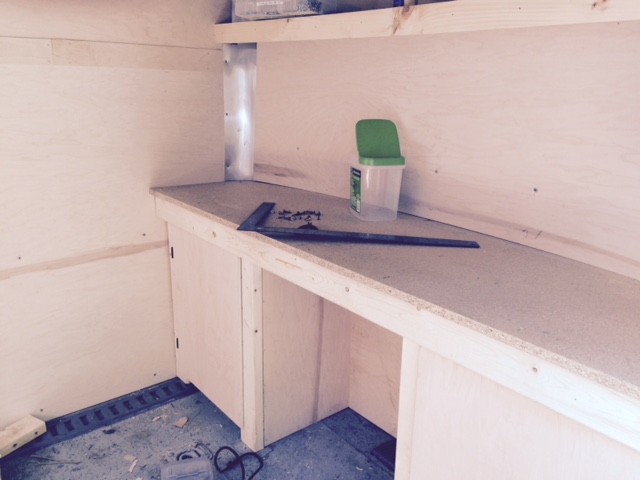
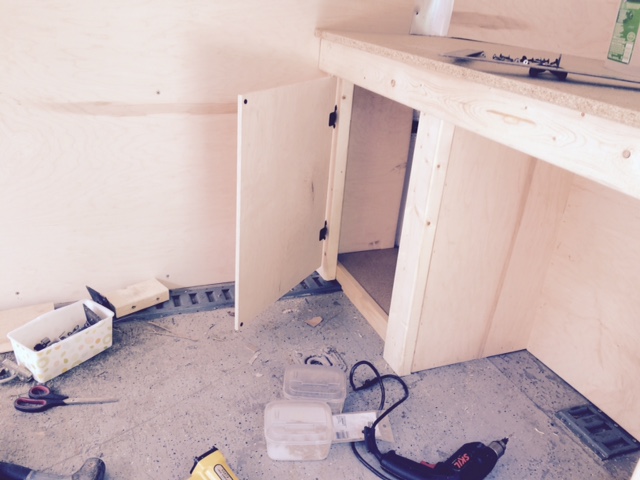
I next built a bench out of 2X4 lumber and 1/2″ maple veneer plywood with a particle board top.
Sorry I didn’t take any pictures during construction. I was moving quite fast.
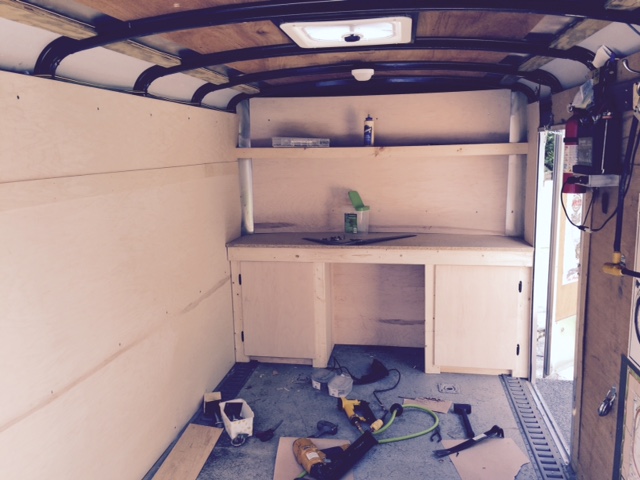
Two storage cabinets on either side with a desk area to work on firearms and for the reloading stations.


I was going to build a cabinet for the top, but decided to simply build a shelf that will use a bungy net to keep items in place while traveling….But this might change and I might add a cabinet front and doors…We’ll see..
I’ll update this web site as I move forward with more storage options and the installation of the electronics and the window type AC unit…
Stay tuned!
UPDATE 7-5-15
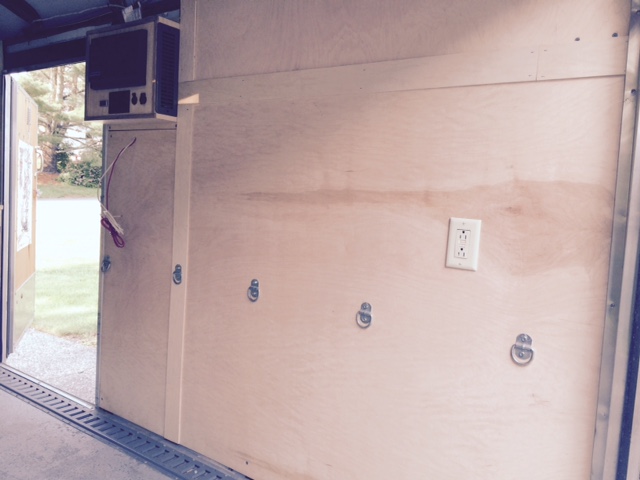
Built a cabinet for a charger / converter I had from my truck camper. I replaced this 17 year old version with a more modern unit in the TC
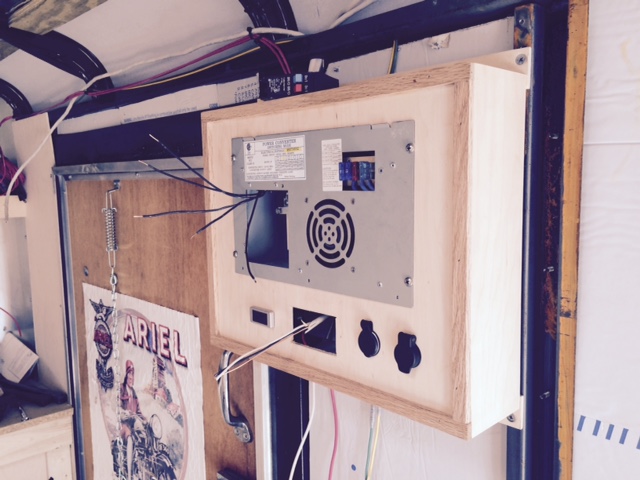

Added a couple 12V DC outlets, a GFI AC receptical and a DC volt meter. The space to the left of the DC volt meter is for a solar monitor
A vent was added to the side to keep it cool

Then the right side wall could be insulated and maple veneer plywood applied Added another GFI outlet

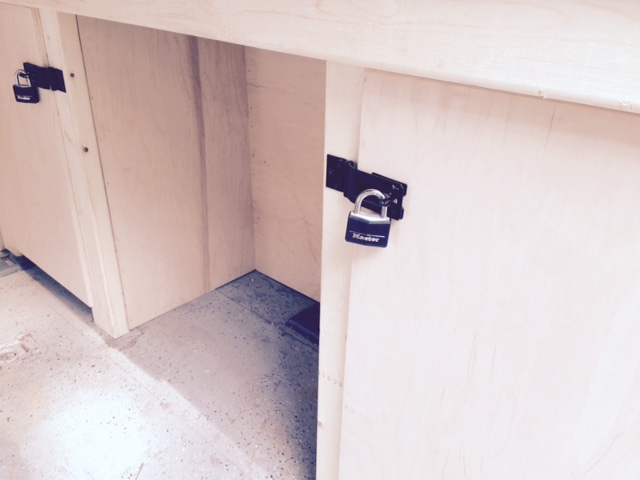
Hasps and locks were added to the front two cabinets. Yea, I know, the screws are exposed as the hasps are on backwards. I did this because I sometimes lose or forget keys and this way the removal of four screws and I’m in! Locks just keep honest people honest and keep grandkids out of your stuff!
SOLAR PANEL HOOKUP!
The trailer already has a 20w solar panel on the roof simply to keep the battery charged in storage so the alarm system is functional.
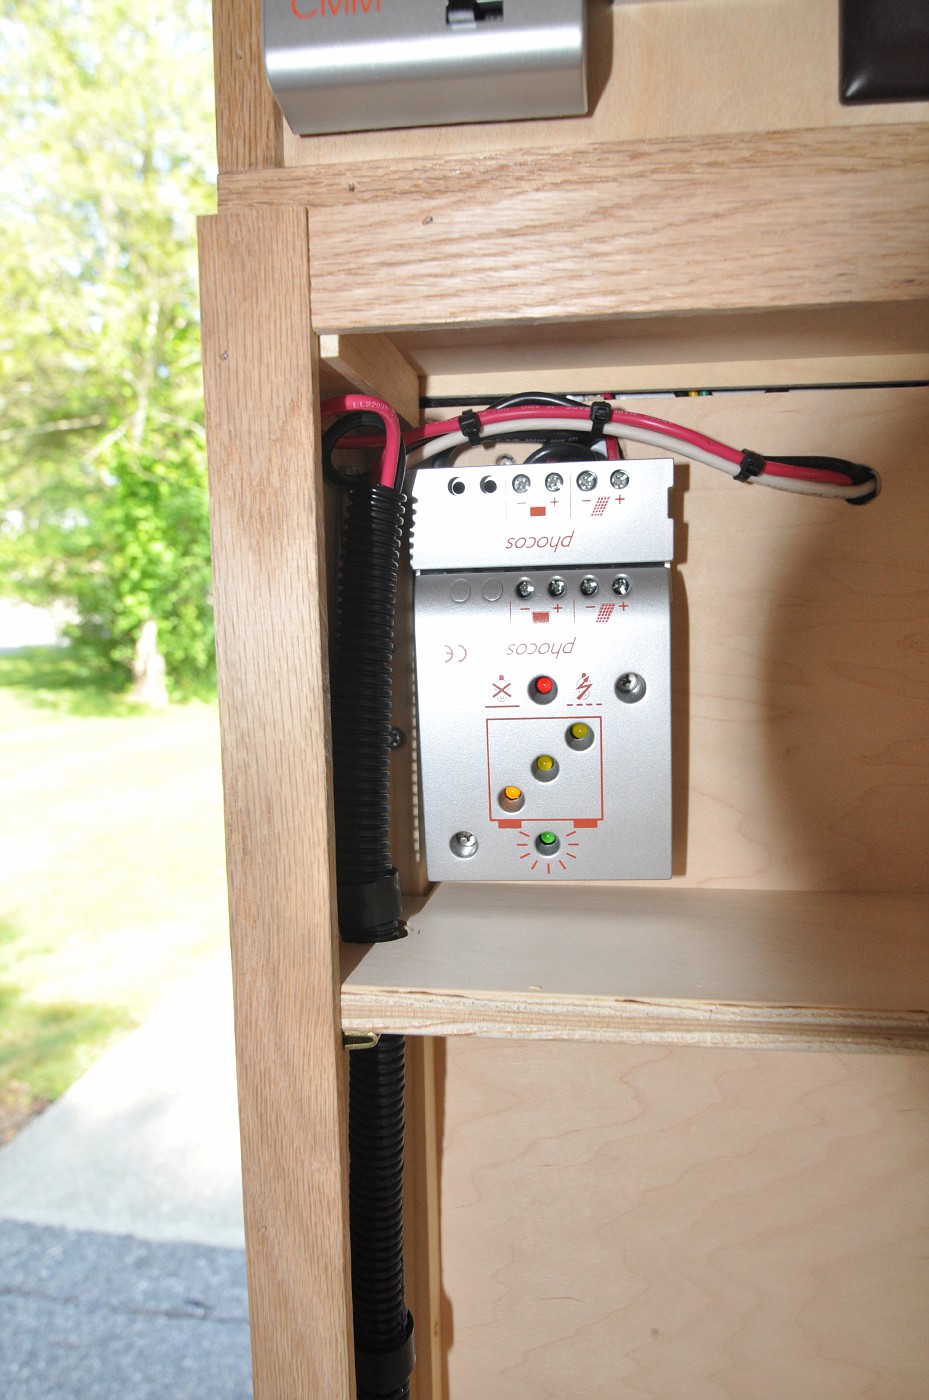
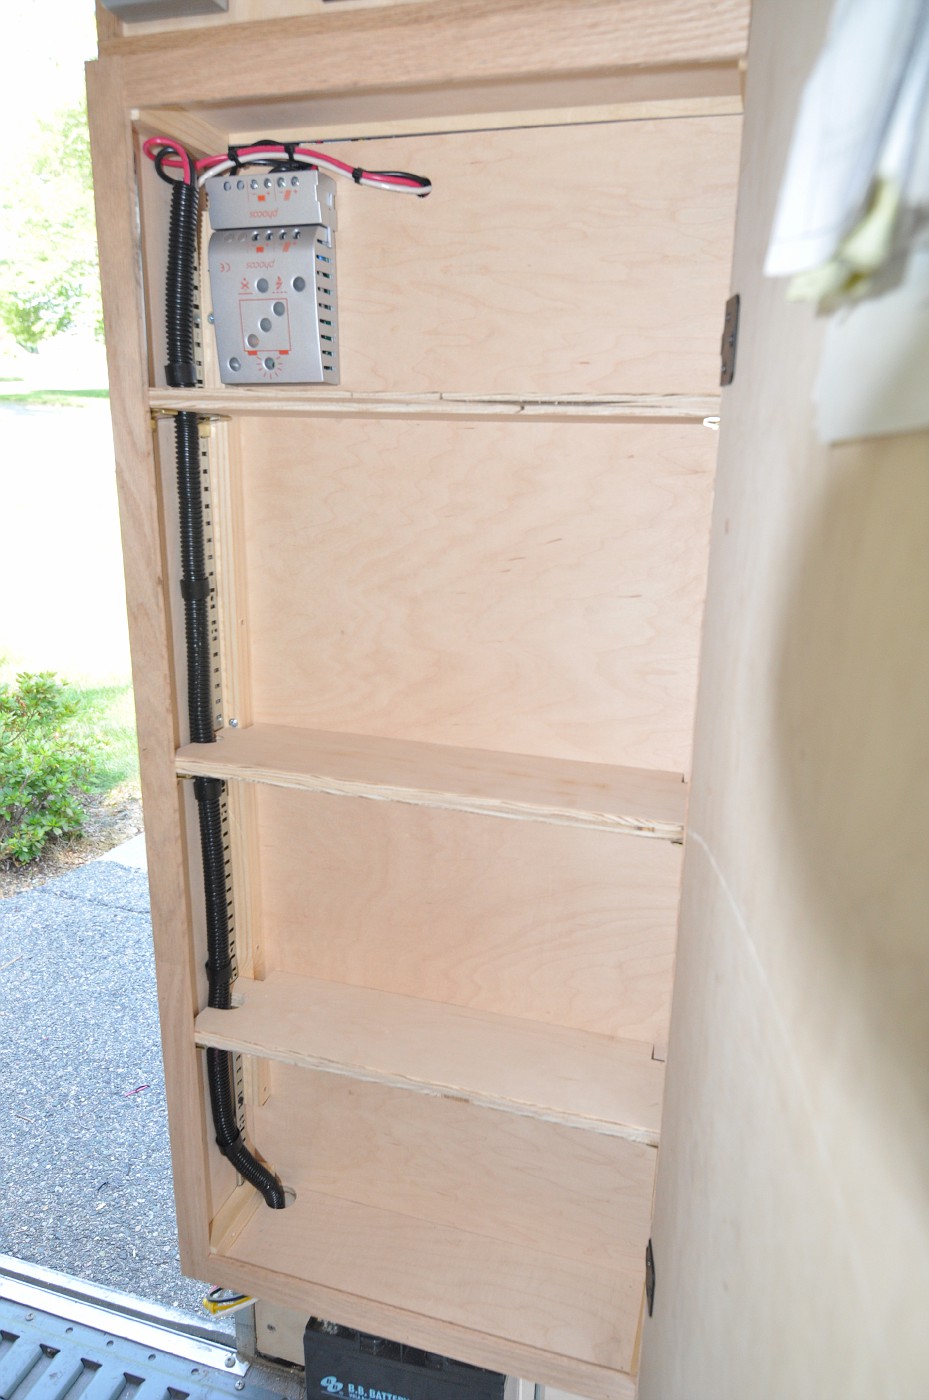
I installed the Phocos monitor panel
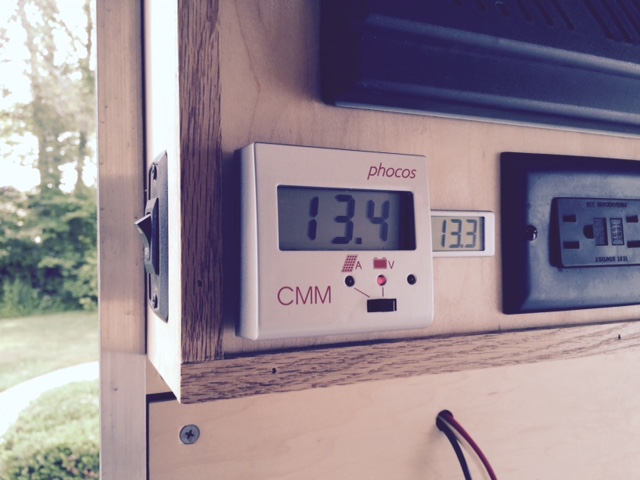
13.4 watts in the shade at 8AM
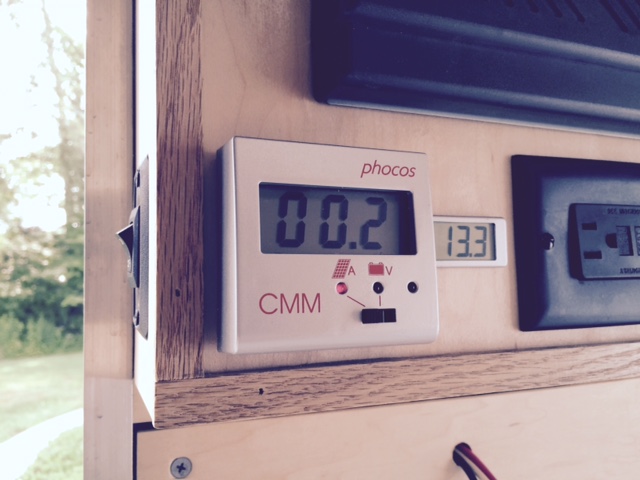
0.2 Amps…
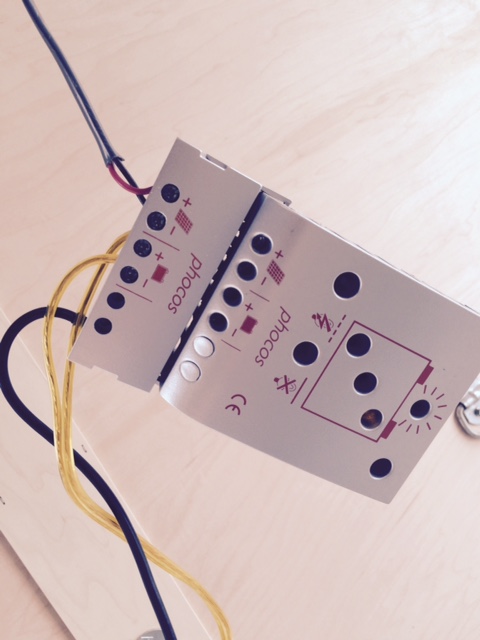
For now the solar controller is just hanging by a wire until I decide where the battery and this controller will be mounted
Next phase is to insulate and cover the ceiling
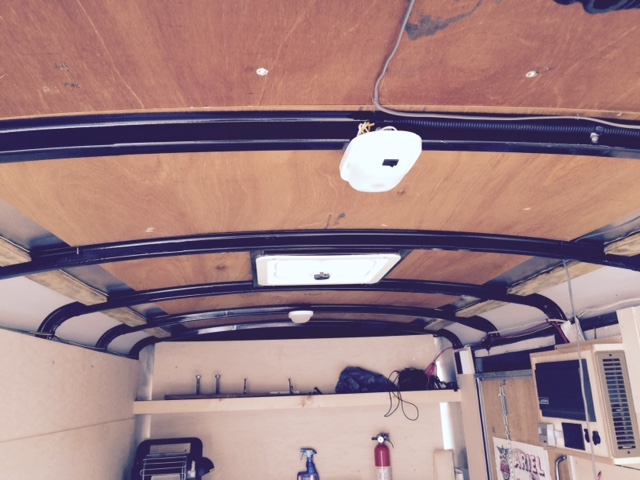
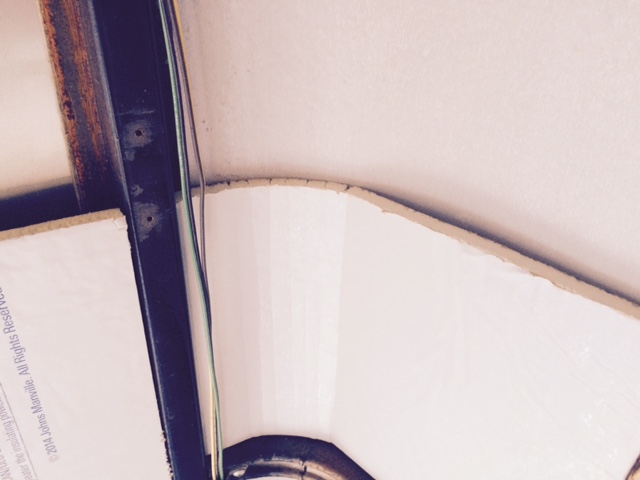
Not sure how I’m going to deal with these curved sections at the top
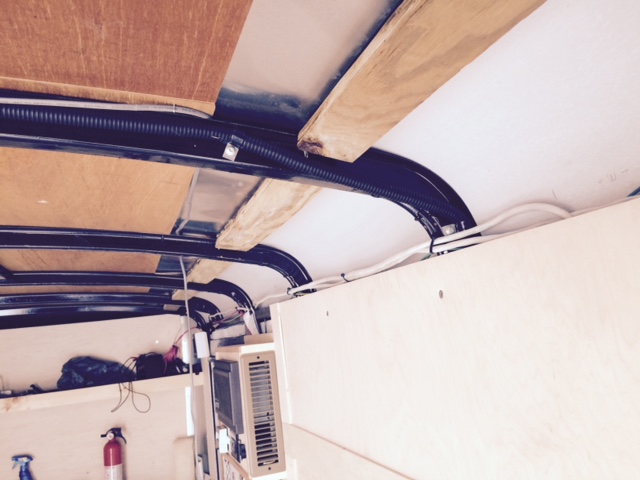
I might just use aluminum flashing set into a couple of rabbits like I did on the front corners. Keep them shinny and run a string of LED lights on them and it might look cool! Like a disco hall!
Stay Tuned!
AIR CONDITIONING / HEATING
I’ve decided how to heat and air condition the trailer. Using a portable HEAT/AC unit

This unit simply needs a 6″ hole cut into the side of the trailer to exhaust the hot air when in AC mode. It is 12,000 BTU so in a 60 square foot space it will turn the insulated trailer into a portable cooler. This will come in handy on hunting trips to transport the meat back across the country. Simply need to run the Honda generator all the way home.
It draws 1300 watts in the AC mode so my Honda 2000ei should be able to run it fine. If not, I’ll have to go with the 9000 BTU version.
Not sure if I’ll ever need heat, but it will be nice to have if needed. When I was using the trailer as a “camper”, I used a small Heat Buddy propane heater. But it really sucked up the propane!

More to come!
UPDATE 7-11-15
Let’s see……
Built two storage cabinets……added LED lights to the work bench……built a battery hold down mount…….Mounted fire extinguisher…installed a stereo amplifier
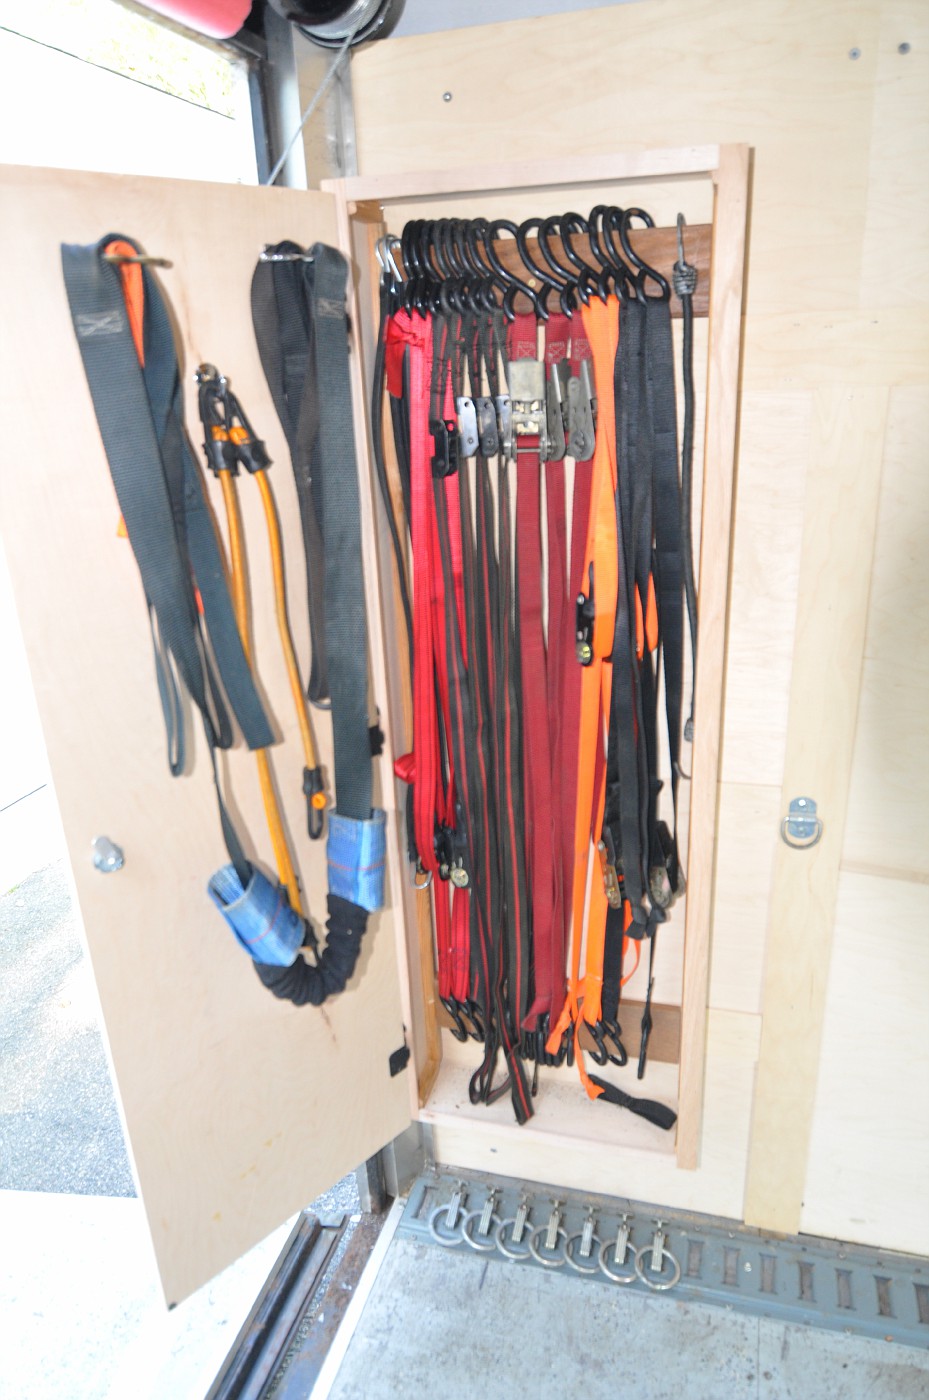
In the rear of the trailer I built a cabinet to store the various motorcycle tie down straps…

A “Place for Everything….And Everything In Its Place!”
In the front of the trailer, under the Converter / Charger I built another thin cabinet

This one has shelves to hold bottles and small boxes of “stuff”…
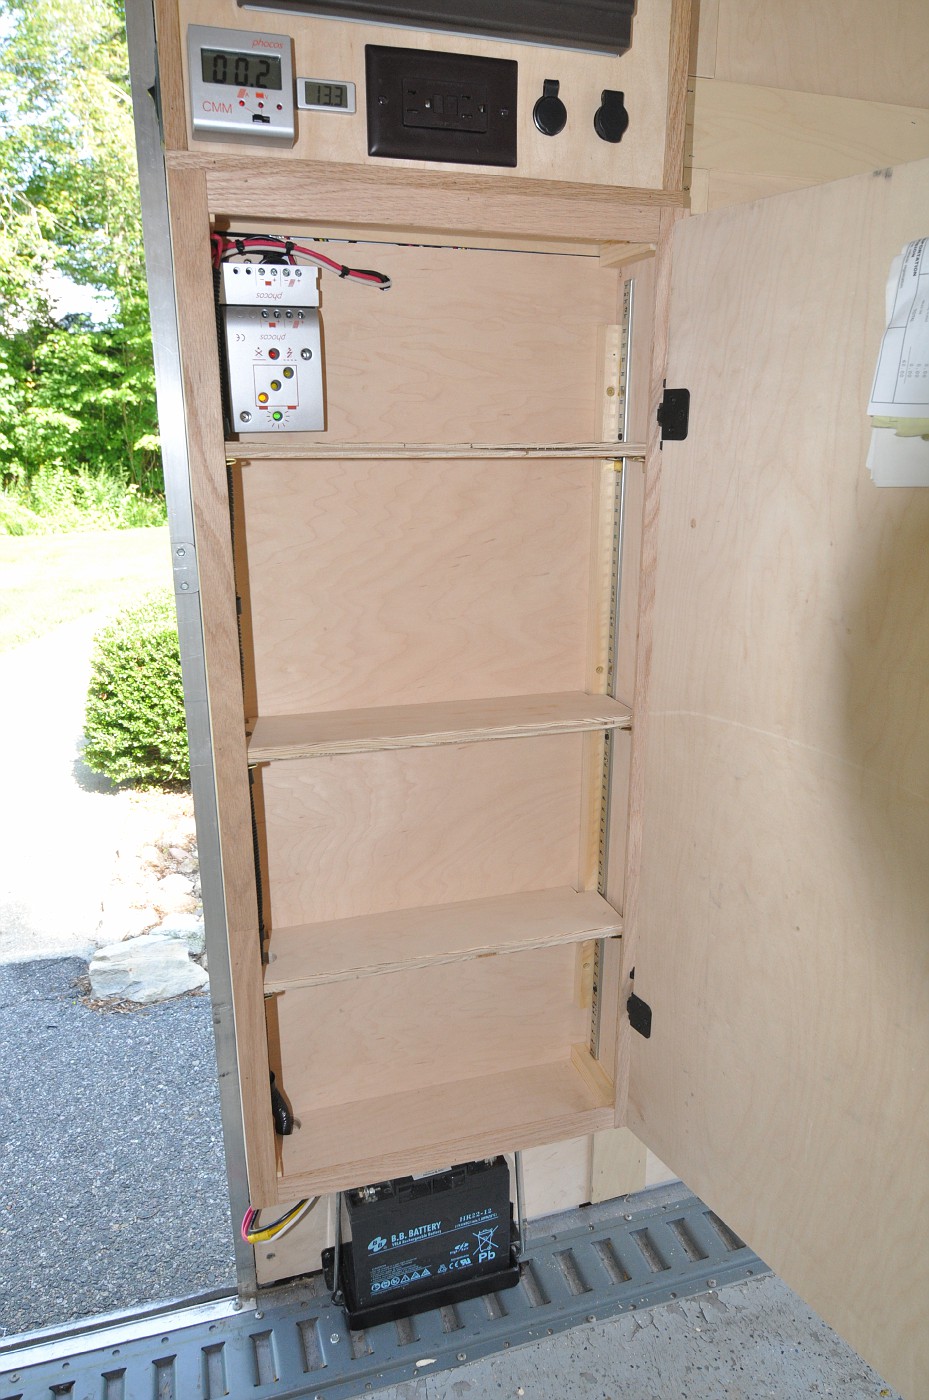
Also a place to mount the solar controller…
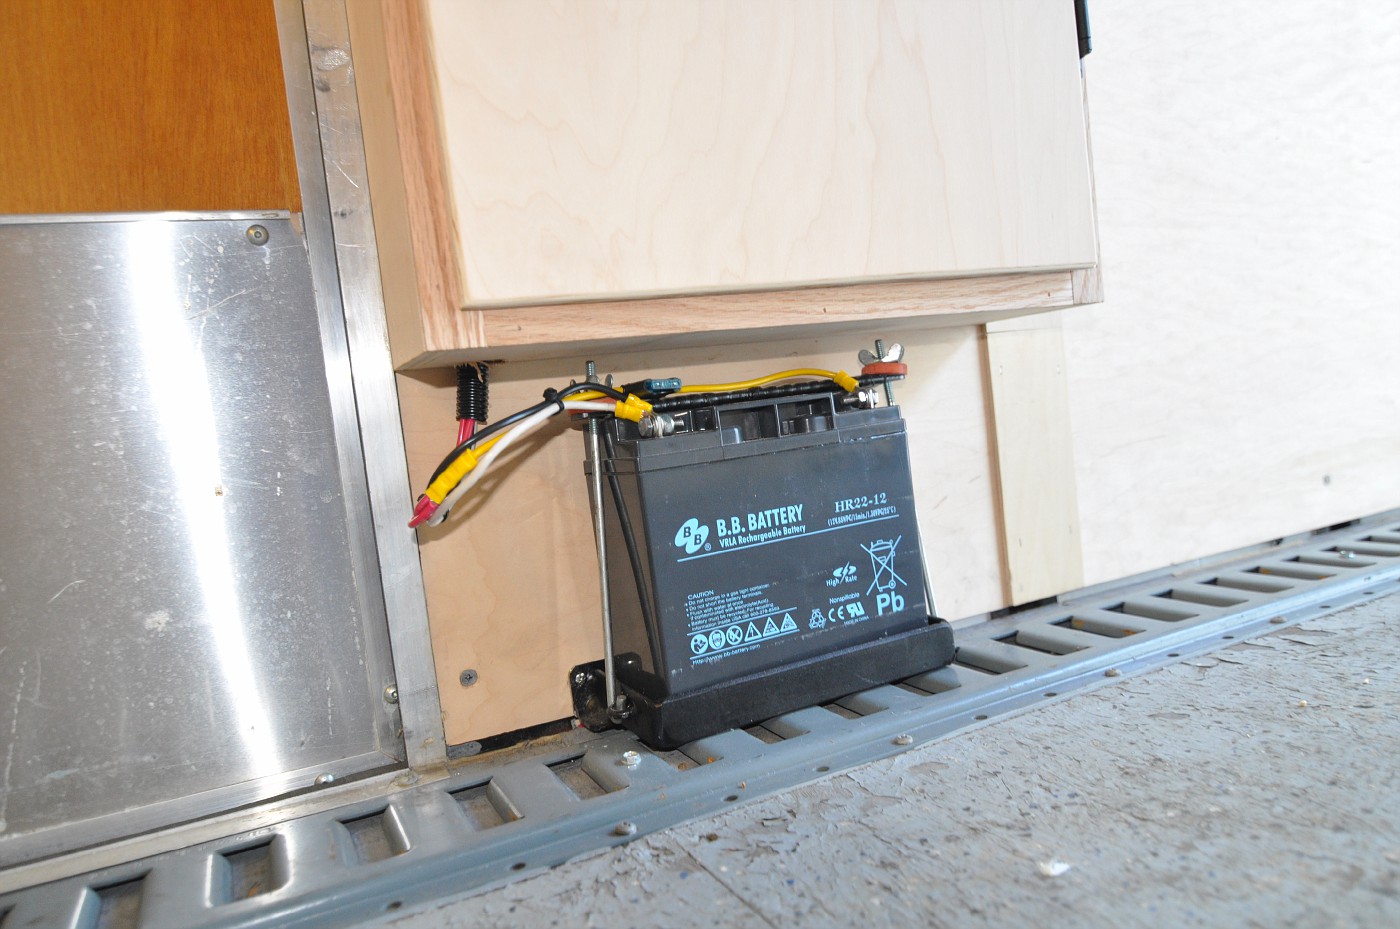
The wiring runs from the Charger/Converter to the battery below
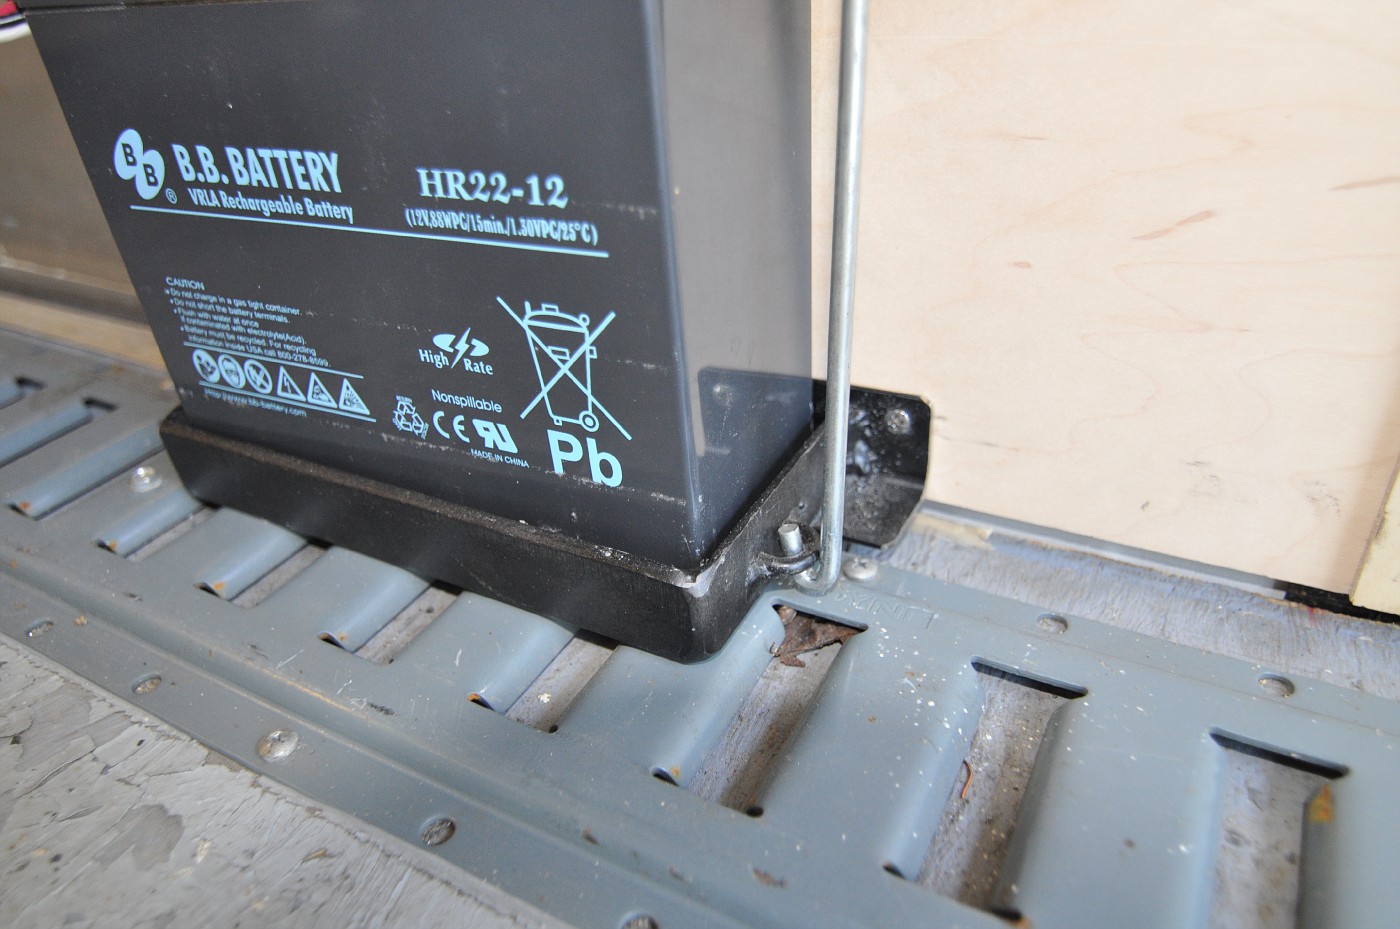
I welded up a mount to hold the battery in place. This is a small battery as 99% of the time this trailer will be used running on AC or the generator. Battery will only be used for general lighting at night.
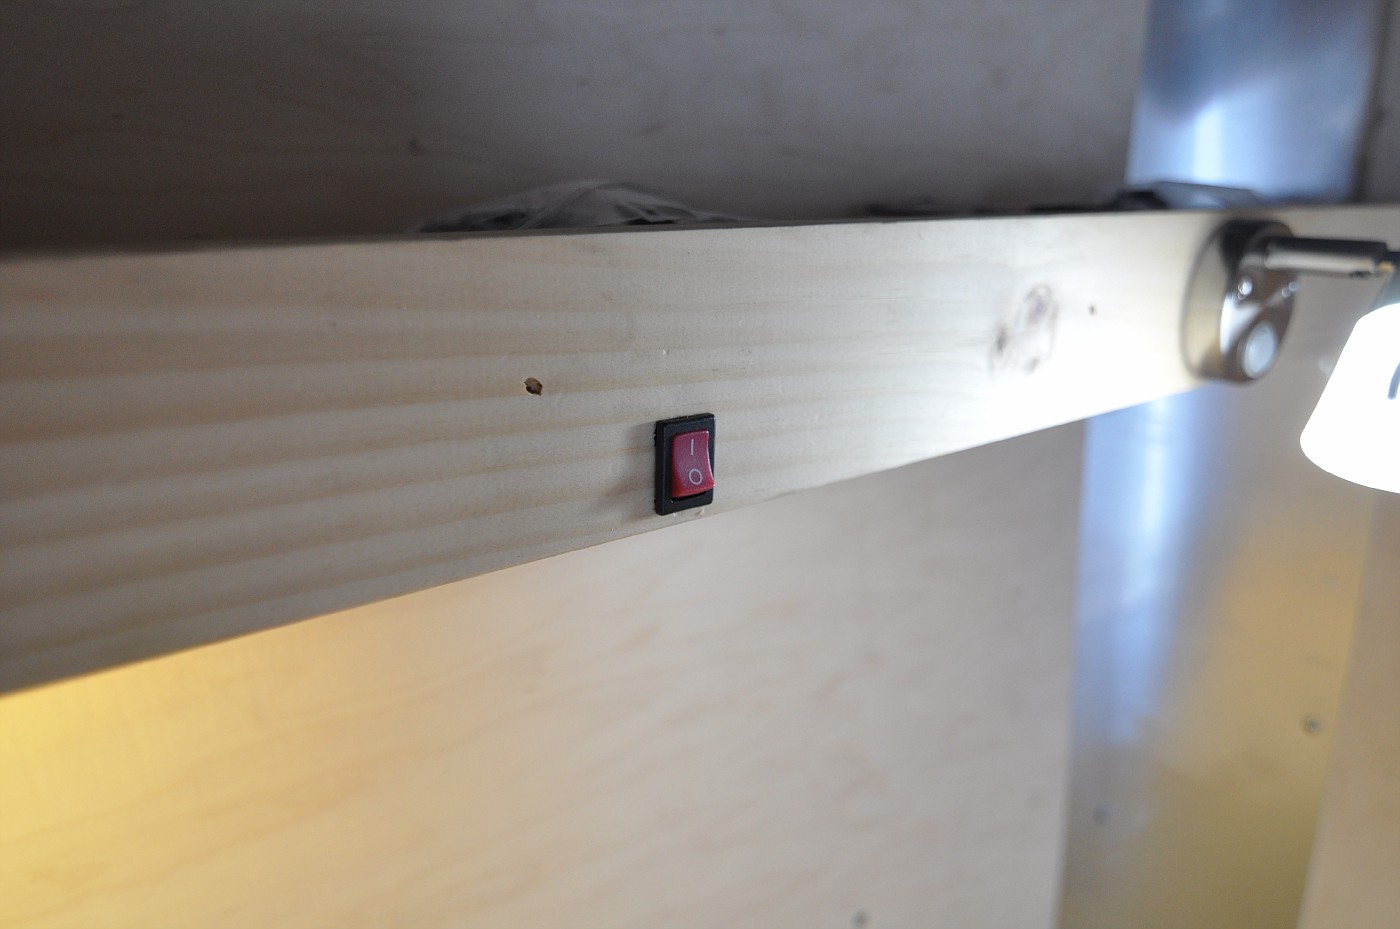
A strip of LED lights was added under the shelf over the work bench…
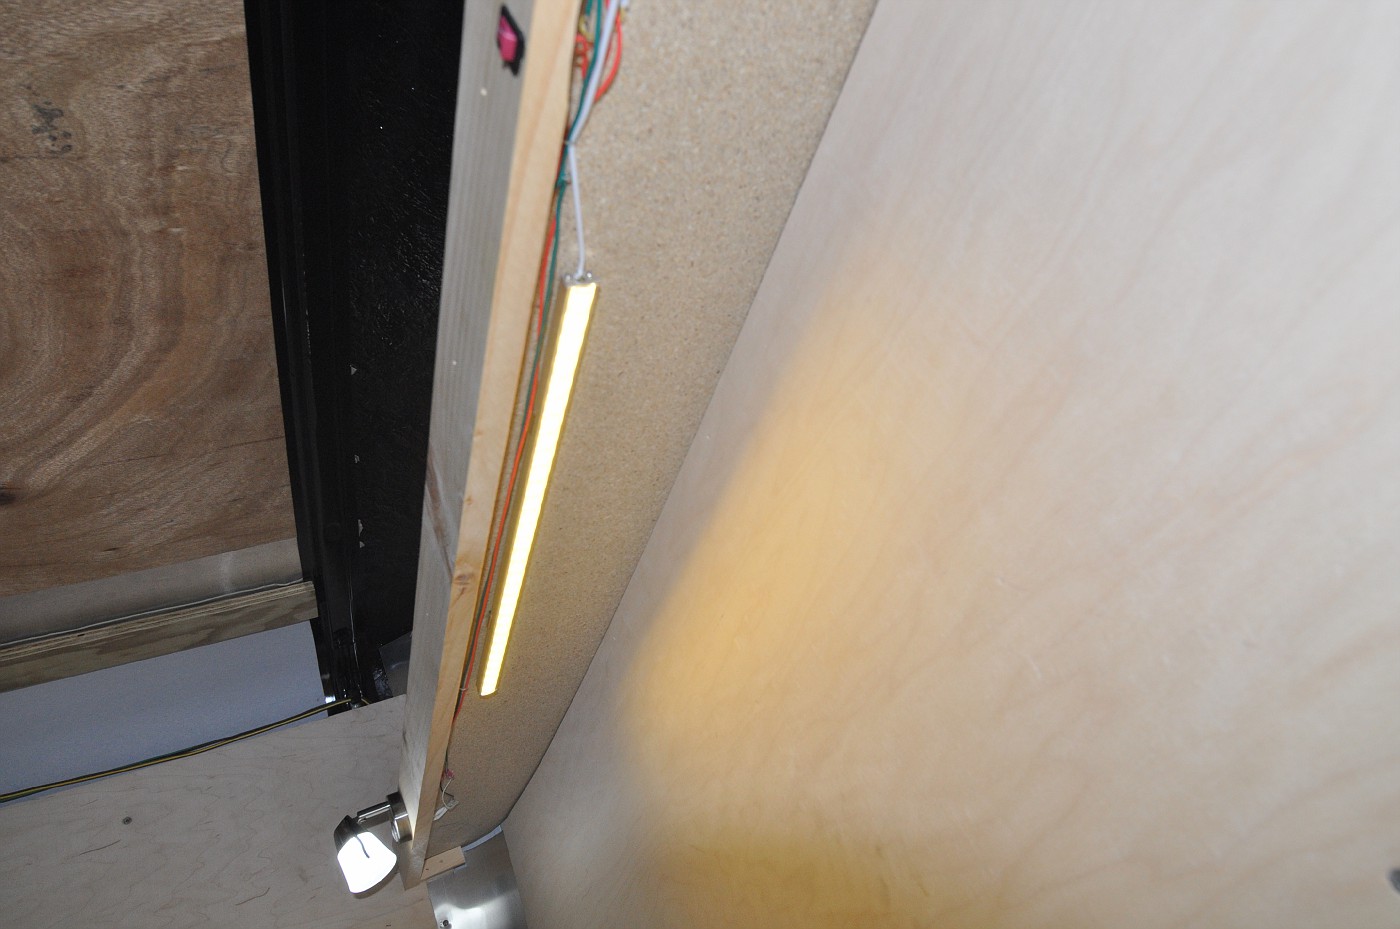
And a small switch cut into the front of the shelf to turn them on and off…
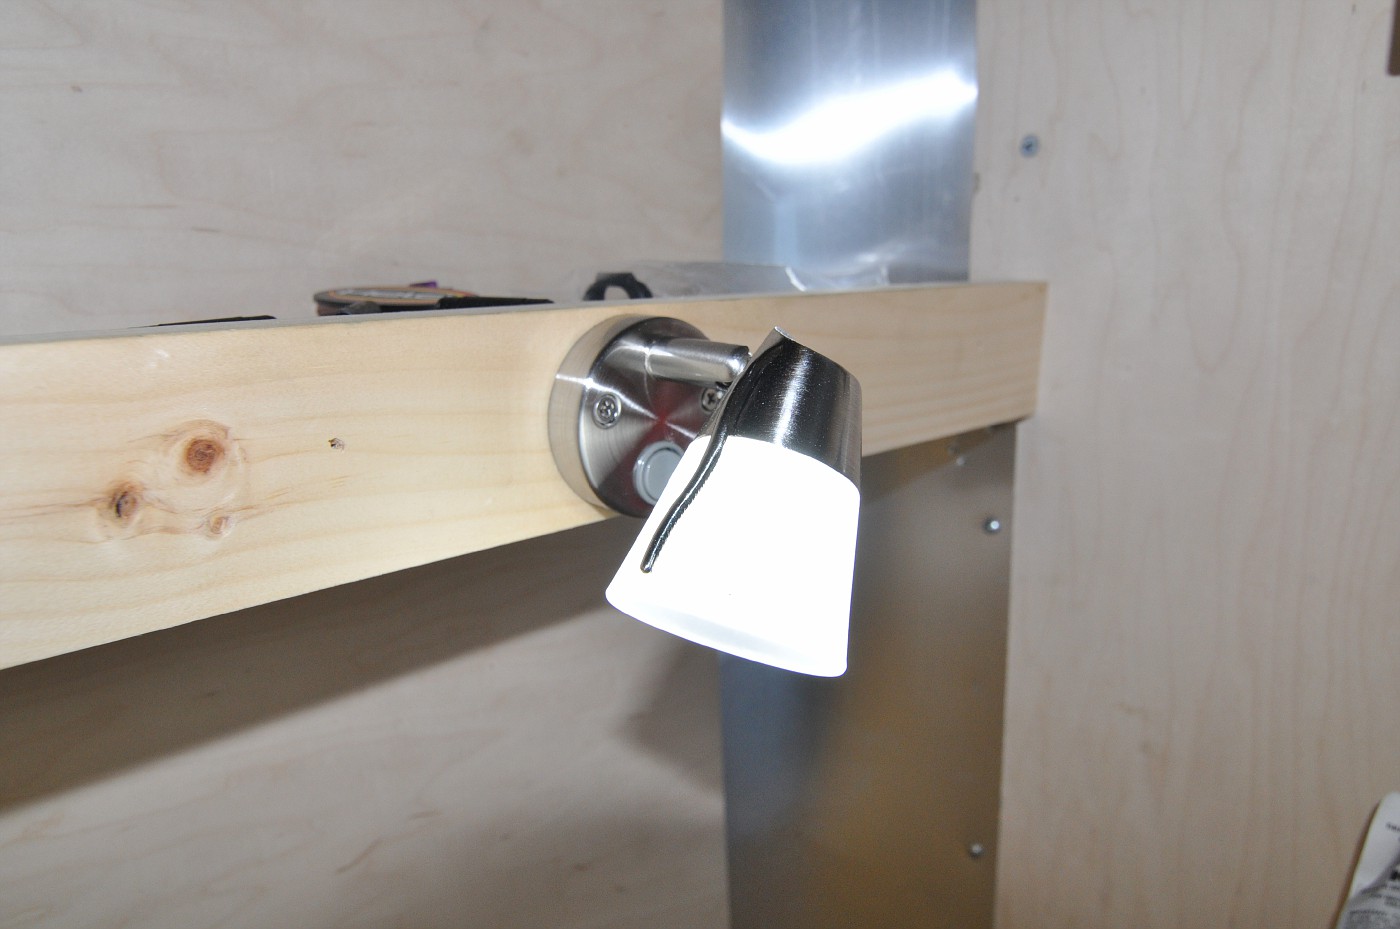
Two “Marine” cabin LED lights were added also. These swivel and are extremely bright…Nice! All the lights were sourced from Amazon.com…
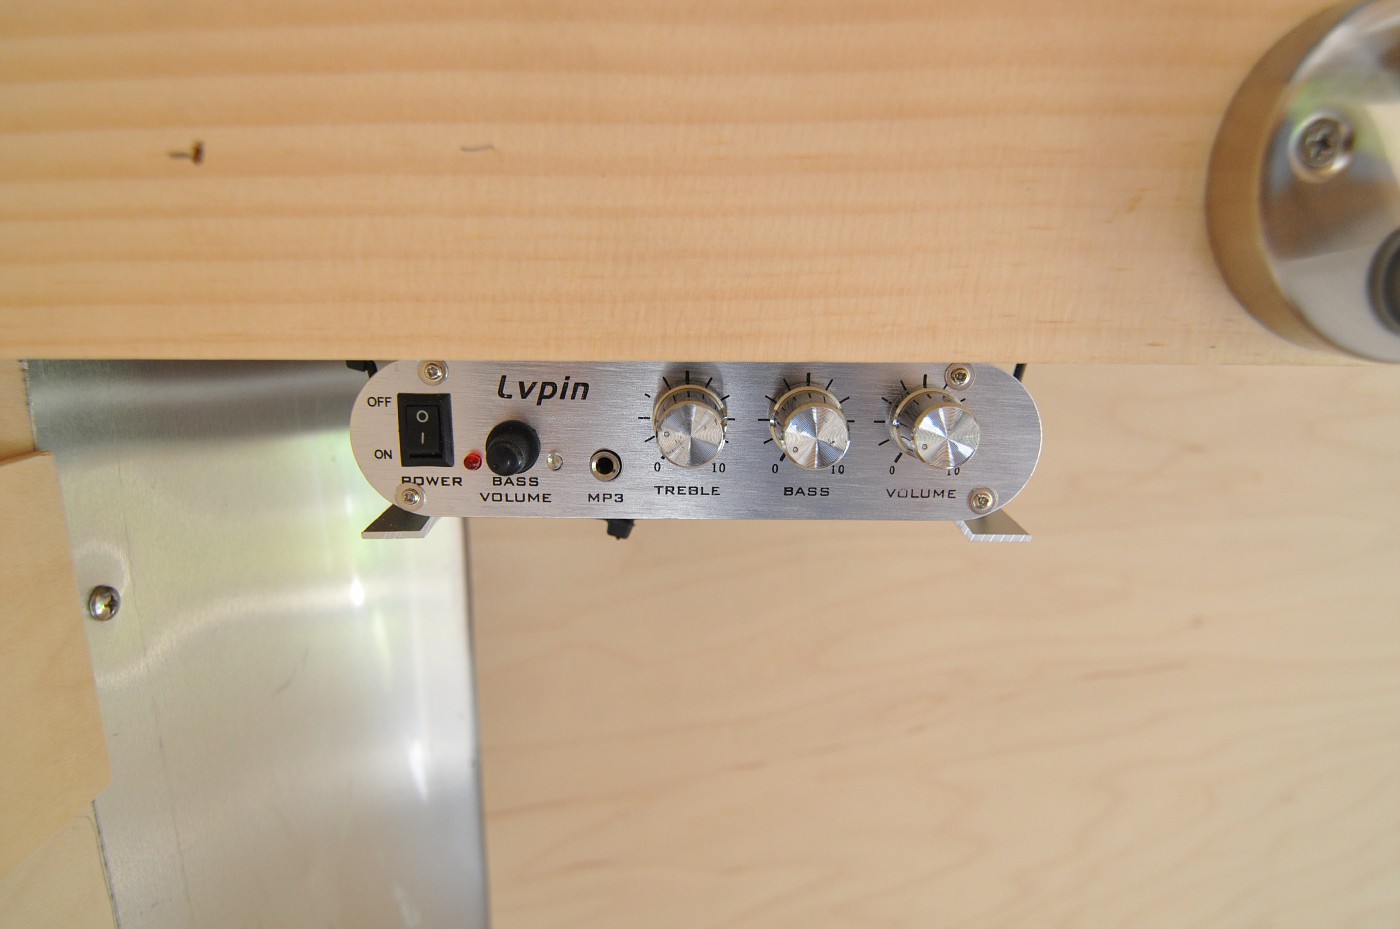
Gotta have “tunes” while working….Installed a small 12V stereo amplifier that I can connect my XM / Sirius radio to or my I-Phone for music, sports, etc…Just mounted it under the shelf above the workbench.
UPDATE 6-16-15
Time to spray the interior. Need to put a finish on that nice maple veneer. Decided to mask everything off and spray it:

Used a Water Based Poly finish in semi-gloss. These water based finishes are fantastic. Use a water dampened rag to wipe down before spraying…..doesn’t matter if there is a bit of moisture in your air lines…..clean up with soapy water…..dries amazingly fast. I laid down three coats, sanding between , in three hours!
UPDATE 7-18-15
Finally finished the ceiling and the floor!
The ceiling really gave me a hard time. I bought a 4X8 sheet of 1/8″ white plastic paneling at Lowes. Only bought one sheet because at $30 a sheet I wanted to be sure it would work like I planned. It didn’t! Looked terrible as the thin plastic didn’t lay flat and simply looked too modern……….
I tore it all out without ever taking a picture. And decided to use a tongue and groove pine “wainscoting” that is traditionally used on outside porch ceilings. I love it!

Gives it a kinda “Man Cave” rustic feeling!
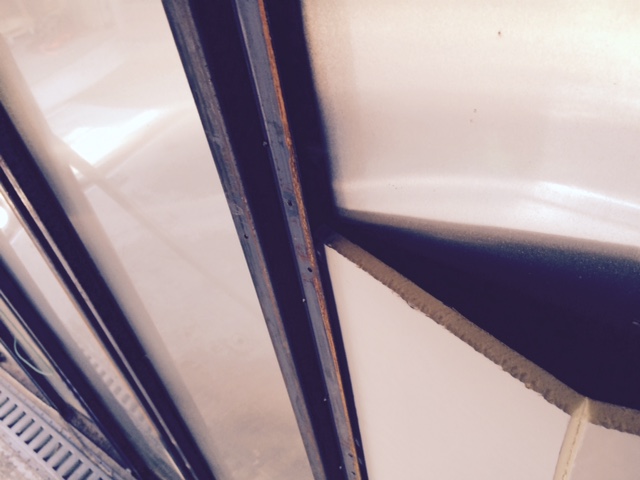
Here’s how I managed those curved transition from wall to ceiling. A piece of 1 X 2 with a rabbit cut into the top edge. The T&G ceiling material simply fit into this groove and the next piece of ceiling material holds it in place. Not bad!
For the floor I moved on to Home Depot and found they were closing out some laminated flooring for 69 cents a square foot. Only needed 60 sq ft so the cost was marginal

The “E Track” was reinstalled to secure the motorcycle for travel.

And the last order of business for now was to cover the work surface with carpet.
I’ve always been adverse to using carpet on a work surface that fine firearms will be placed. My feeling was that a small screw or a sliver of metal could get stuck in the carpet and scratch something. A couple years ago I redid my reloading room at home and used this same carpet with fantastic results. It is very thin pile and sold as a “runner” by the foot at both Home Depot. Rubber backed and a “corduroy” type finish. Nothing gets “caught” in the pile and it actually lessens the chance of scratching a firearm.
You can also see that I added two magnetic strips available from Harbor Freight. The top one is used to secure parts removed from a project I’m working on and the bottom one is to secure tools so they are not laying around the work bench to potentially scratch a project.
Tools will be stored away in a tool box for transport.
UPDATE 7-19-15
Built and installed a pair of stereo speakers and got the “tunes” hooked up. Sounds amazing in this small trailer!


Left to do:
Storage rack for various presses and a mechanics vise
Rack to store motorcycle painers
Air Conditioning
Mount Propane Heater
Do something with the rear loading ramp..paint? Truck Bed Liner? Laminated flooring?
Load it up….Hook it up and get the heck out of here!
5 comments on “Reloading / Motorcycle / Storage Trailer”