I just can’t stop saving these old gals from the scrap heap!
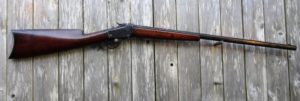
Here is an 1885 Winchester Low Wall in 32 Rim Fire that I found on Gun Broker and ended up winning it for under $500. The photos looked good and I figured I’d take a chance.
When the rifle arrived I was more than pleasantly surprised at the condition. Not bad at all! I’ve worked with much worse!
My plan is to convert it from Rim Fire to Center Fire and chamber in 32-20.

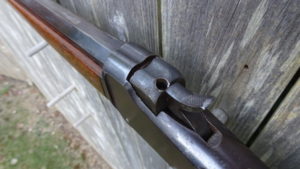
There were issues with the breech block as the firing pin lock screw hole was stripped and someone had inserted a wood screw…
The bore was a sewer pipe and would need a reline
And it appeared that the locking lugs were not raising high enough and therefore the bolt was not in the proper position. (more on this later)
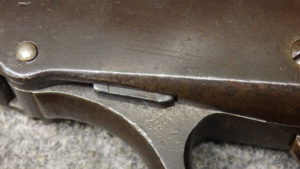
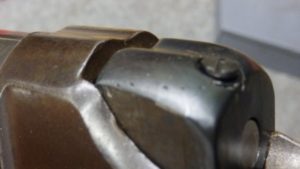
So first order of business was the bore. The barrel needed to be removed so I could bore it out for a liner. No Way Jose!
The barrel would not budge. And it was peened in some way where even if I did get it to turn, it might damage the threads in the receiver. And the Low Wall’s action sides are quite thin and I didn’t want to twist it.
I decided to bore the barrel with the action attached. Into the lathe it goes!
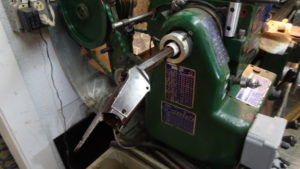
And an 1/8 of an inch at a time and a pile of chips later, I have a nice BIG hole in the barrel!
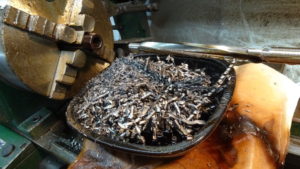

And the liner from Track Of The Wolf gunsmithing supply slipped right in.
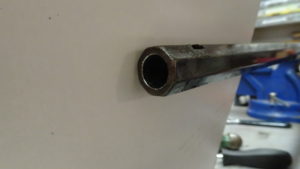
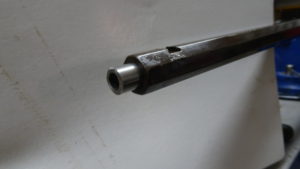
I decided to chamber the liner before I installed it into the barrel. This would allow me to set perfect headspace.
Chamber the liner…Clean barrel bore and liner with Acetone…Insert a piece of 32-20 brass in the newly reamed chamber…coat liner with LockTite 620…Slide the liner into the barrel with a twisting motion until the base of the brass hits the breech bloc…PERFECT HEAD SPACE!
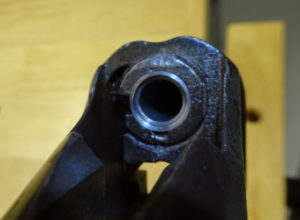
(you can see here the “peening” at the top of the barrel)
Cut off the excess liner and clean up the muzzle on the lathe. A little browning solution and you’ll not know it has a liner!
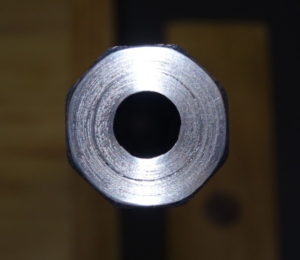
This was the easy part. Now to convert from RimFire (RF) to Center Fire (CF).
First I needed to fill in the RF firing pin hole. The RF firing pin hole was indicated in the milling machine.
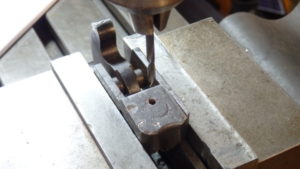
The existing firing pin hole was drilled and threaded for a fine thread bolt.
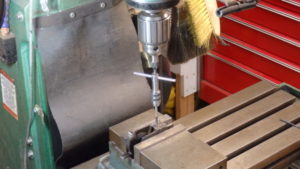
Next a fine thread bolt was loctited into the newly threaded hole.
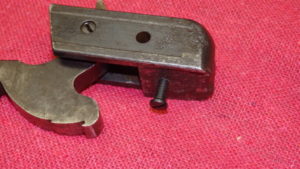
This bolt was cut off and milled flat. The bolt face was cleaned up a bit with a fine file.
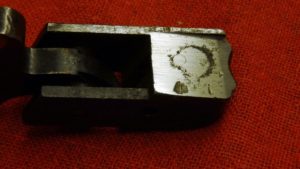
Next a piece of brass rod was turned to fit into the firing pin cavity and act as a bushing
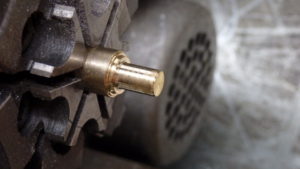
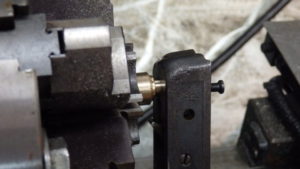
A hole was center drilled into this bushing using the lathe

And a drill was passed through the bushing and through the face of the breech block
perfectly centering the new CF firing pin in the breech block.
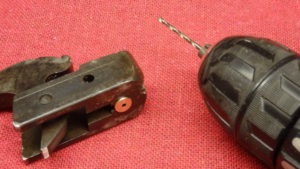
Once that was done, the firing pin itself had to be converted from RF to CF
The RF pin was removed using a Dremel cut off wheel
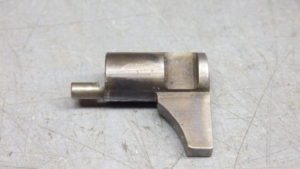
A holder was fabricated out of aluminum round stock to hold the body of the firing pin centered in the lathe.
My 6-Jaw chuck wouldn’t close down enough without that “fin” getting in the way. (see next picture)
I needed to increase the diameter of the firing pin with this bushing.
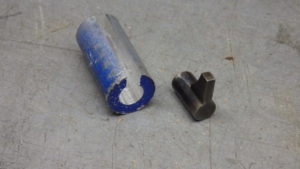
A hole was drilled into the center of the firing pin body
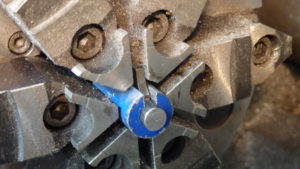
and a piece of drill rod was Loc- Tited in and then cut off to the proper length

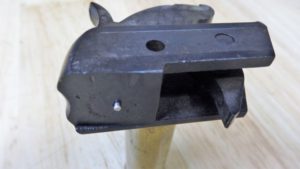
With this done, a 5/64″ hole was bored into the top of the breech block to facilitate gas escape in the event of a ruptured primer or case. The RF version does not have this feature

Now I needed to fix the firing pin retainer screw

The hole that retains the firing pin was stripped. Someone inserted a wood screw to stop the firing pin from falling out.
This stripped hole was reamed and tapped for a fine thread bolt that I had also center drilled and tapped for a retaining screw.

I inserted and loctited this insert and fabricated a new screw to retain the firing pin
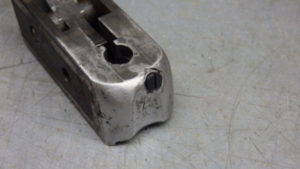
A little Cold Blue and not bad for a hacker!
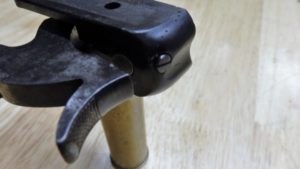
I put the rifle back together and prepared an empty piece of 32-2- brass to test the firing pin…..
NO JOY!
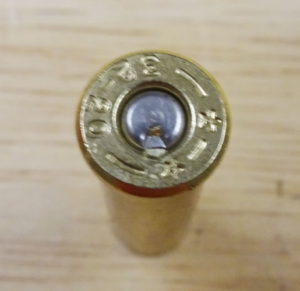
The firing pin was hitting much too low. It was quite obvious that as a Rim Fire, it wouldn’t go “bang” as the RF firing pin would have been way too low.
To fix this, a new toggle link with the distance between the  holes increased by .0450″
This was fabricated out of a piece of 1/4″ tool steel and then heat treated with Kasinit.
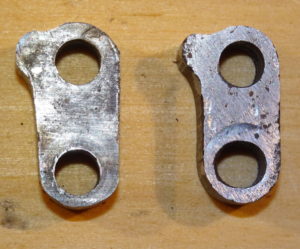
As you can see, the new link is on the left and the old link with the worn, oval bottom hole is on the right.
Put the rifle back together and test fire…
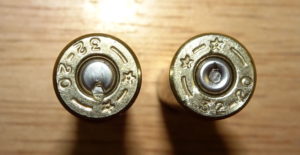
PERFECT!… “I love it when a plan comes together!”


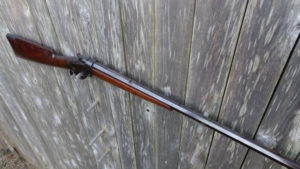
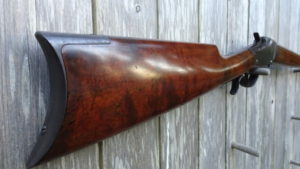
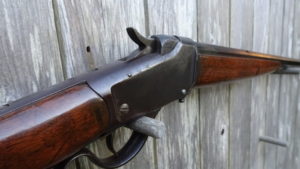
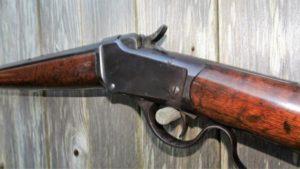
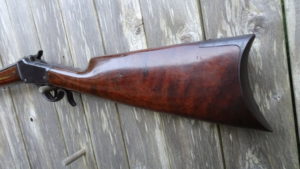
A “Little Beauty” if I do say so myself!
Another one saved from the scrap heap………….
Be sure to come back here for a range report once my bullet casting mold comes in and I can cast some bullets, load them up and head to the range…
Thanks
UPDATE…RANGE REPORT!
A week or so ago I ordered a Lyman #311008 32/20 bullet mold from Optics Planet as they had a promotion offering free shipping. But then I found out they didn’t have it in stock and had to order it themselves. Still haven’t received it….
So today I ran down to my Local Gun Shop (LGS) who stocks just about everything LEE makes. Shooter Supply in Westport MA is the balls!
I bought a LEE, two cavity, 90g, tumble lube, Â TL-314-90-SWC mold, ran home and turned on the lead furnace and quickly cast about 30 bullets. Down to the reloading room and lubed them with Red Rooster. Went to LOADDATA.COM and found two loads that looked good. 2.5g of Trail Boss and 4g of Unique. Loaded up 10 rounds of each, jumped in the truck and off to the range!
Set up a target at 50 yards and using a single sandbag under the barrel, with gusting 15 mph winds, shot a few groups.
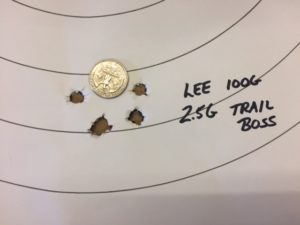
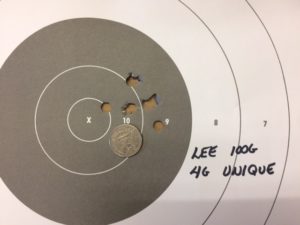
Interestingly, I didn’t have to adjust the sights! I threw on a buckhorn rear and a simple blade front and the rifle was right on target! I should by a lottery ticket tonight!
I’m very pleased with the results so far. These 90 grain bullets are not ideal for this cartridge and this bore. The Lyman bullet should perform even better.
We’ll see!
UPDATE
I bought a Marbles tang sight from Buffalo Arms. (WHAT, you don’t know who Buffalo Arms Company is….Shame on you! Â https://www.buffaloarms.com/Â )
And went back to the range with the Winchester 231 load…
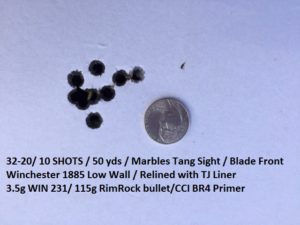
Somebody tell me these relined barrels don’t shoot! Not bad for a 130 year old gun with iron sights! And this is with an old BLADE front site. The Lyman 17 will be up front for the next range day!

Pingback: Rescuing an Old Hepburn | RVB Precision