
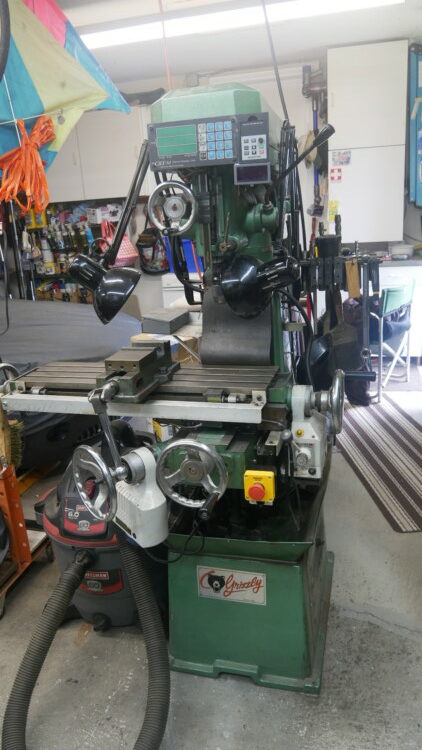
I finally have my metal lathe and my milling machine operating the way I had envisioned it.
I decided to convert both machines to three phase from a 220v Single Phase electrical supply. Using a VFD (Variable Frequency Drive) and a three phase motor, this is very easily accomplished. There are dozens upon dozens of YouTube videos showing the basic wiring so I won’t go into it here.
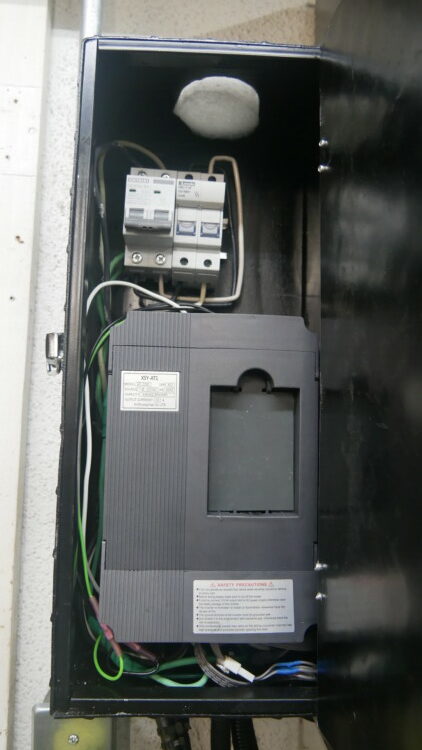
I went with a XSY-AT1 /AT1-2200S (Ver A03) VFD Inverter. At the time of this post, (June 2024) around $70 on Amazon and Ebay.

For a motor I used a 220v / 3 phase / 2HP available from Amazon or Ebay. (June 2024 around $200)

All I wanted was a quick way to turn the machines off, with my knee if necessary, and a slightly more involved way to turn them on that just a push button or toggle switch that I could accidently bump.
And I wanted to be able to use forward and reverse.
To accomplish this, two devices are needed…A simple DP-DT toggle switch and a “Emergency” STOP button, both available from Amazon for just a couple dollars.
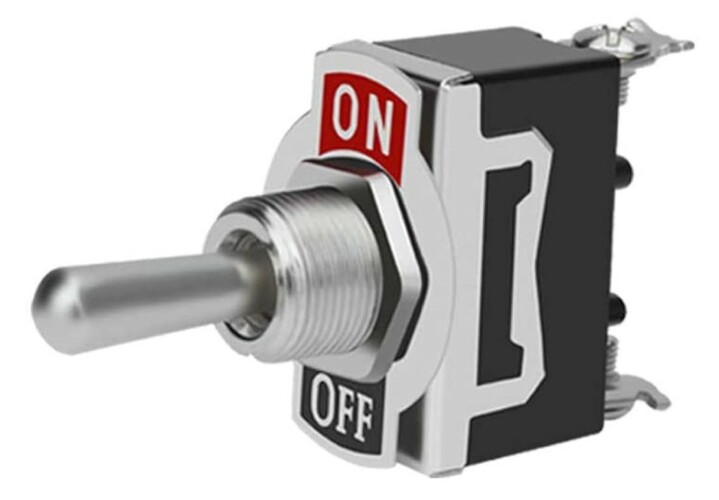

This “E-Stop” button needs to be deliberately turned to start the machine, and simply pushed to stop it. You won’t accidently bump the switch and have the machine start.
The connections are quite simple.
But I added a little twist on the lathe.
I wanted some kind of interlock so I couldn’t accidently start the lathe with the Chuck Key in the chuck. Been there, done that…Not Fun!
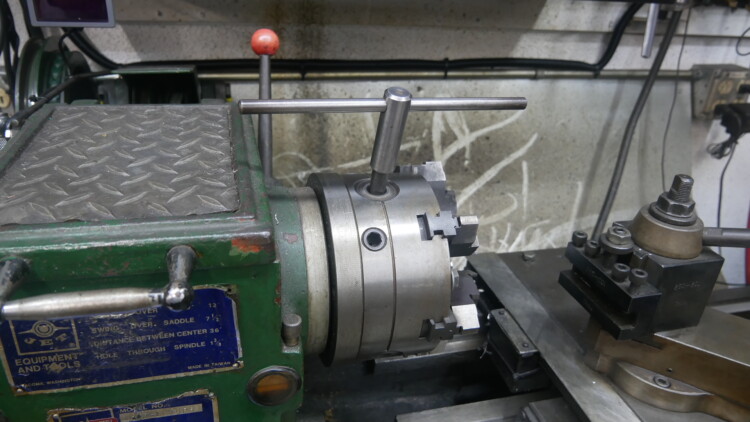
I simply took a piece of pipe and installed a Micro Switch through the side.
When the Chuck Key is inserted through the pipe, it activates the switch. This switch is wired in series with the Emergency Stop switch. Both need to be “ON” for the lathe to start


From this Micro Switch it is wired through the E-Stop button

When you program the controller to use a remote ON/OFF function, you loose all other controls except for the speed potentiometer. This can also be remotely controlled by adding a simple remote 100 ohm potentiometer as outlined in the VFD instructions. But I will not be using speed control that often so I will just access it on the controller panel.
I have no need for “Jog” (In 40 years of using this lathe I’ve never found a need to Jog it!). But I do use Forward and Reverse.
Here is where the SPST toggle switch comes in. This will control Forward and Reverse by connecting one leg to “Com” and the other to #6 on the buss bar. (BTW, there is only one “Com” socket, so both E-Stop and F/R are using this Common connection.)
Here is the wiring diagram for all of this:

With this VFD, the control wires are run to the top of the unit
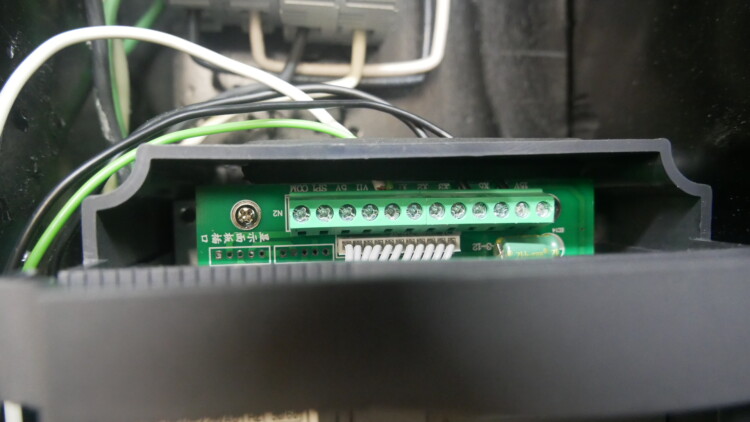
(Since I’m using the little control panel remotely, I cut a small piece of plastic to cover the hole it resided in)
Once the wiring is completed, you will need to program one of the functions.
Program 11 which you will set to #2
Program Steps:
Power up VFD
Press “PROG”
Use Arrow Keys to find #11
Press “FUNC/DATA”
Use Arrow Keys to select “2”
Press “FUNC/DATA” again
Press “PROG”
DONE!
(Be aware there are a ton of other programming you can do. Again the internet and YouTube is full of help on this. Way beyond the scope of this article)
Exavt same system was installed on the Milling Machine

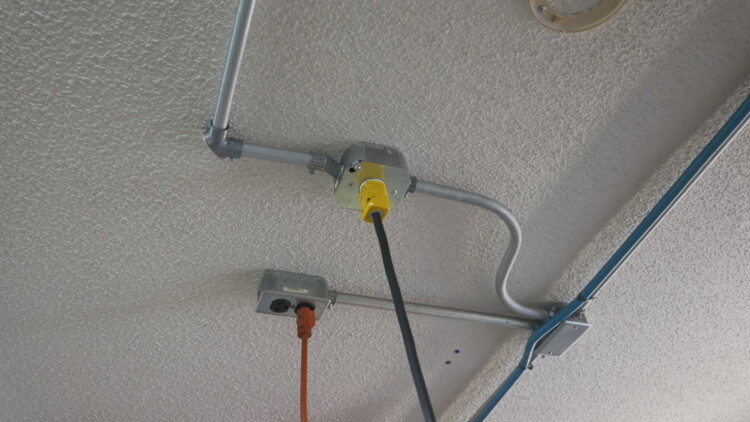
I did not hard wire the 220v feeds. I used a 220v plug that I can easily grab and disconnect in the event of a traumatic emergency!

So there you have it! I’m a happy camper as now my machines are operating as I had envisioned.
As a follow-up to this article, I have a video that gets a bit deeper into why and how this was accomplished.
I hope it helps someone else.
THANKS!
4 comments on “FINAL VFD Install and Programming”