
The John Deere 214 Garden Tractor that I recently converted to electricity ( http://rvbprecision.com/machine-tools-welding/garden-tractor-to-electric-conversion-john-deere-214.html ) developped a leak in one of the rear axles. Was making quite a mess and was getting worse, fast!
It was time to replace the seals at the transaxle with new ones…..
Here’s how I did it.
I removed the rear body pan to allow easier access

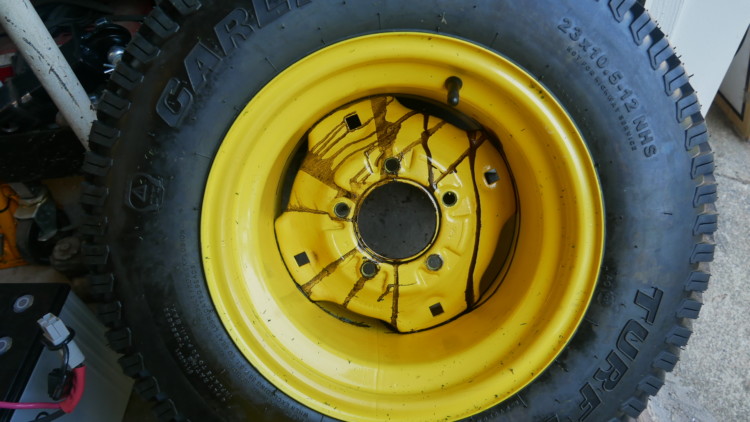
Once that was done, both rear wheels and tires were removed
A jack was placed under the transaxle and 5 bolts holding it up were removed.
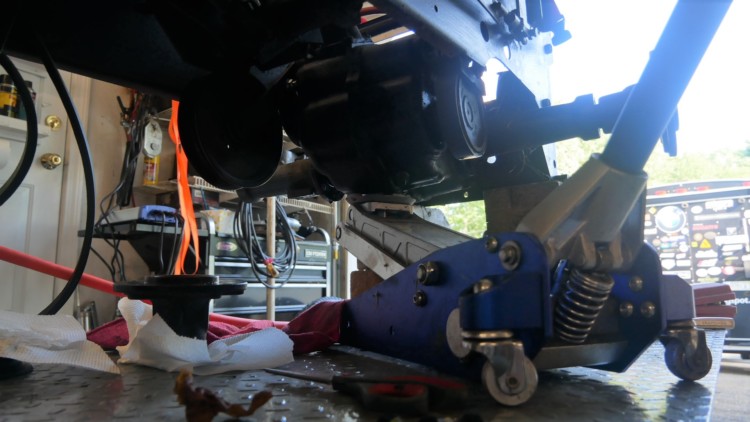
There are two on each axle stub and one holding the transaxle to a cross member
(Notice….This picture might be slightly different to what you see on your 200 series John Deere. This area was modified on my tractor to carry the third battery for the electric conversion)
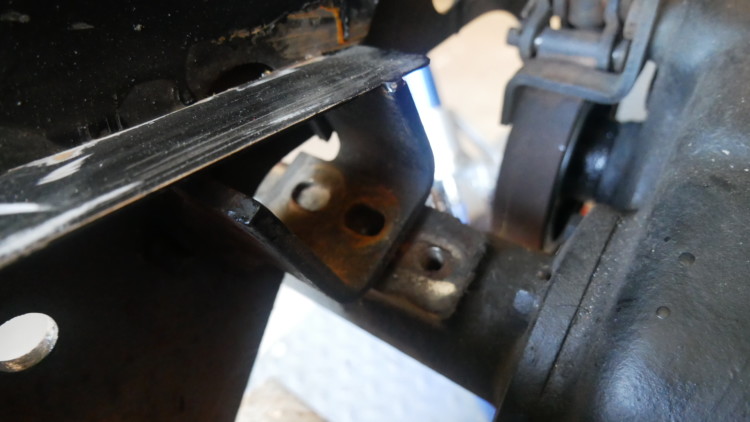
The inside bolts are quite easy to remove…..The outside bolts…Not So Much! There is no way to get a ratchet in there. I used a stubby open ended wrench. Engage the head, turn wrench about 10 degrees, flip wrench over , engage the head and turn bolt about 3 degrees….Repeat dozens of times until bolt is out. And, the inside bolts need to be out first so the transaxle can drop down enough to allow this bolt to be removed! UGH!
Be sure to remove the bolt from the top of the transaxle affixed to a cross member.
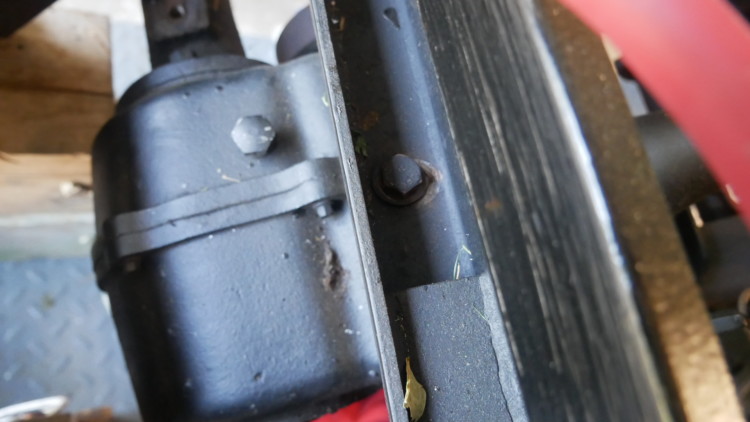
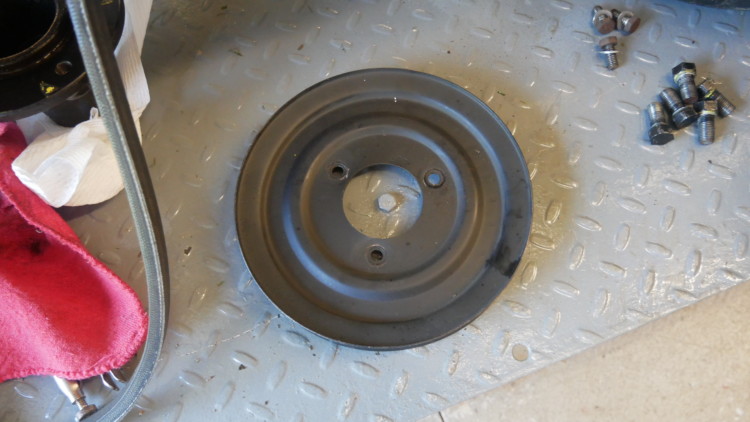
I removed the large pulley on the side of the transaxle as it is only three bolts and makes the job of removing the axle stubs easier.
Lower the transaxle down a couple inches with the jack you placed under it.
Next remove the C-Clip from the axle ends which holds the hubs on the spline and remove the hub.
One of mine slid right off and the other had some rust and needed to be pried a little bit. If your hubs are on tight, you might want to use a gear puller rather than beating on the back of the hub with a hammer. That can’t do good things for the internals of the transmission.
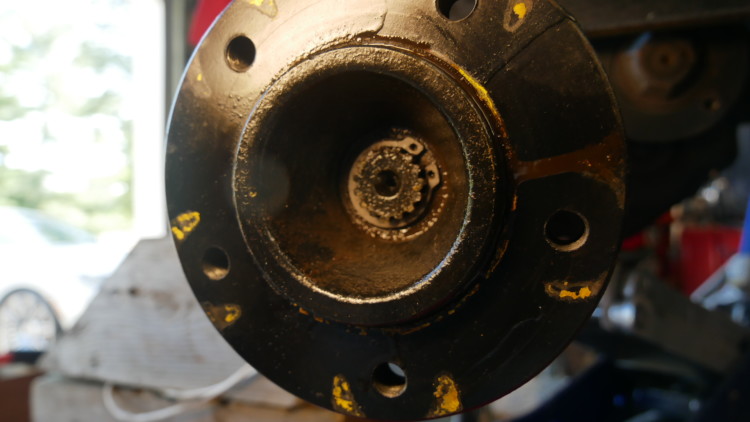
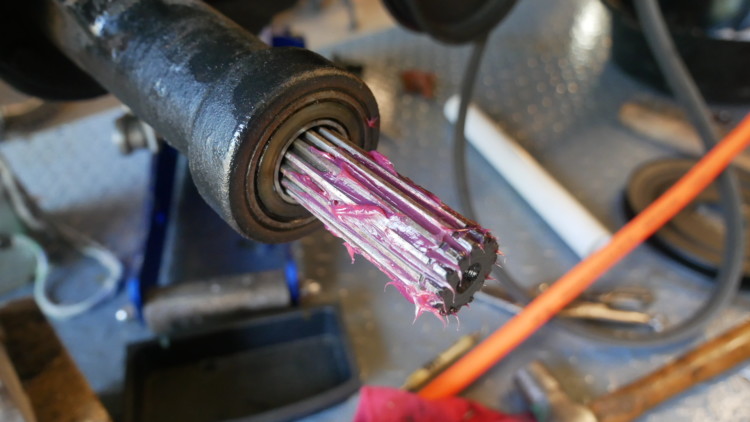
Whip off the spline and remove the four bolts that secure the axle tubes to the transaxle. Then slide the axle tubes off.
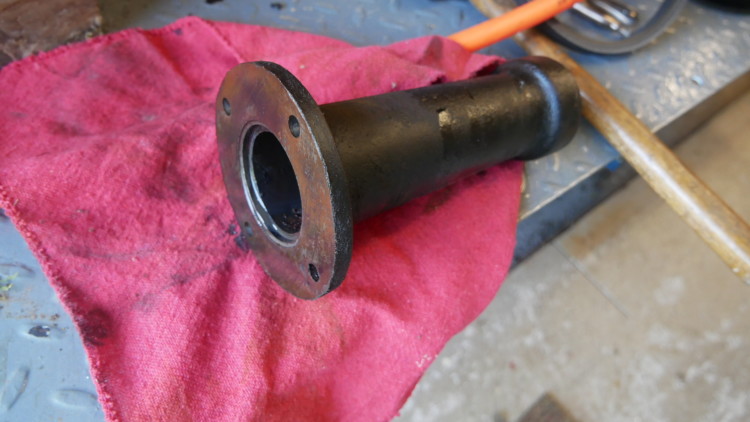
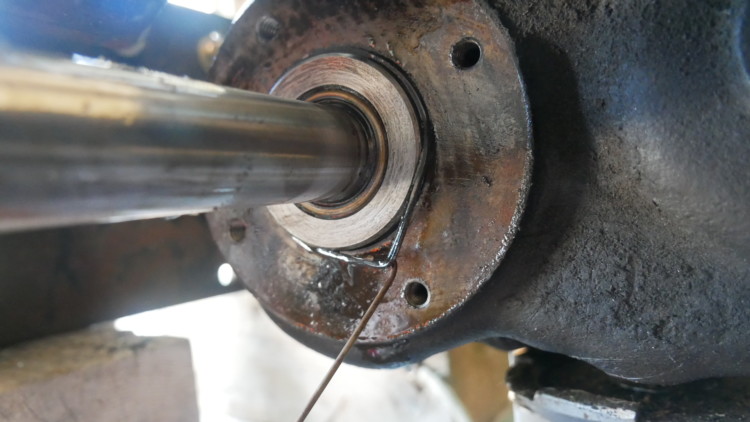
Here is what you will see
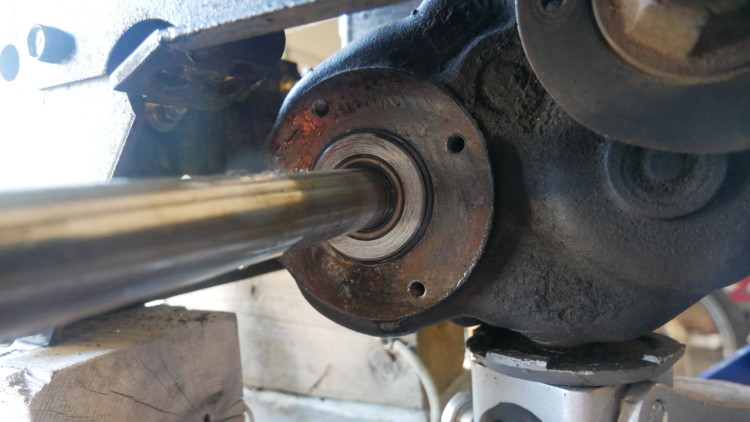
The BLUE arrow is an O-Ring seal and the ORANGE arrow is the axle seal
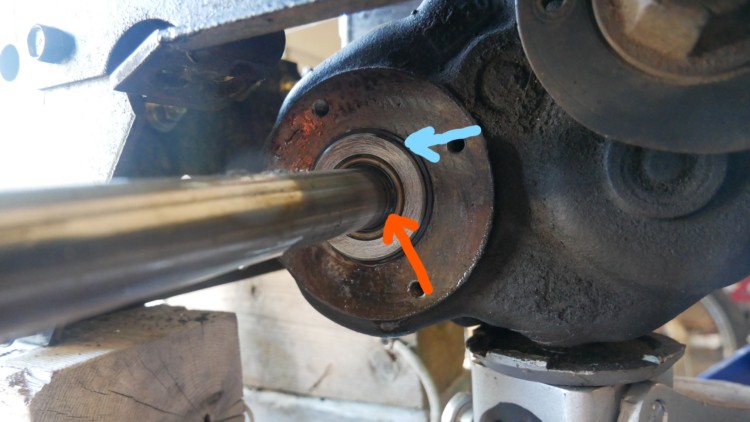
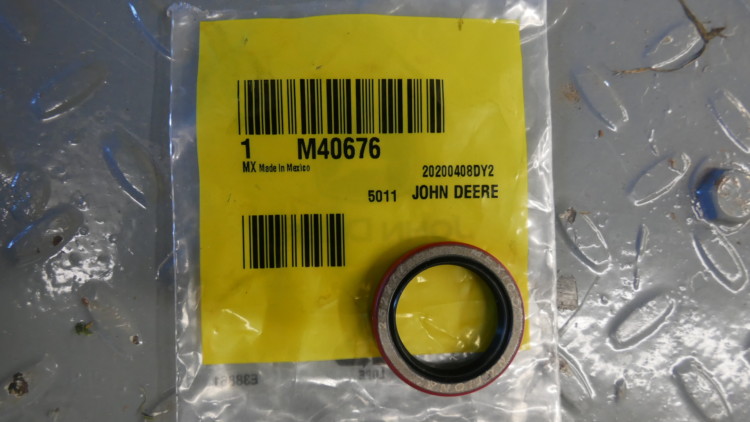
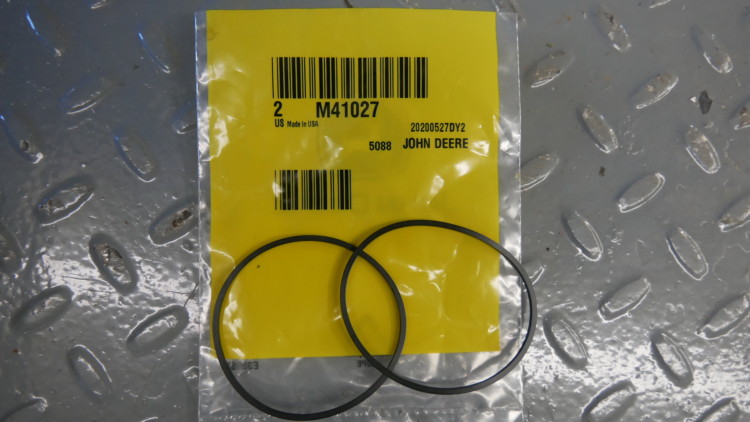
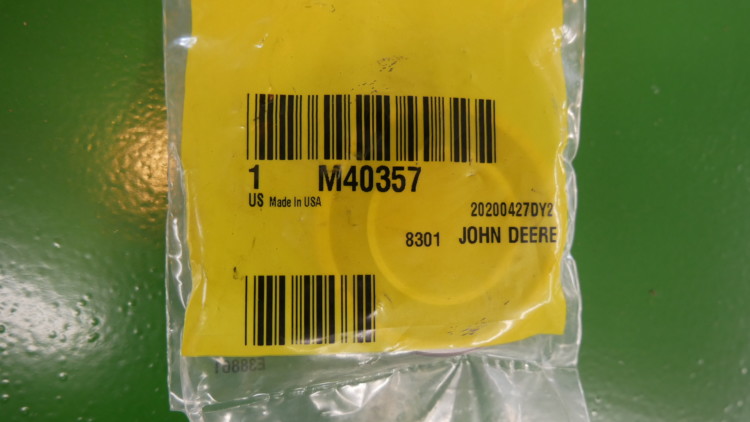
The two parts you will need are:
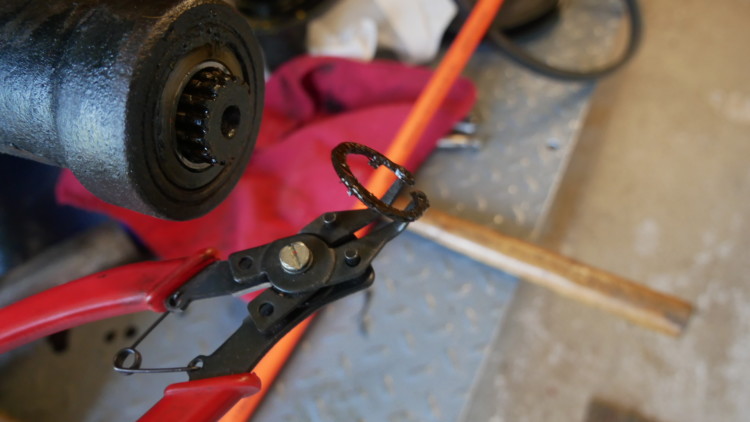
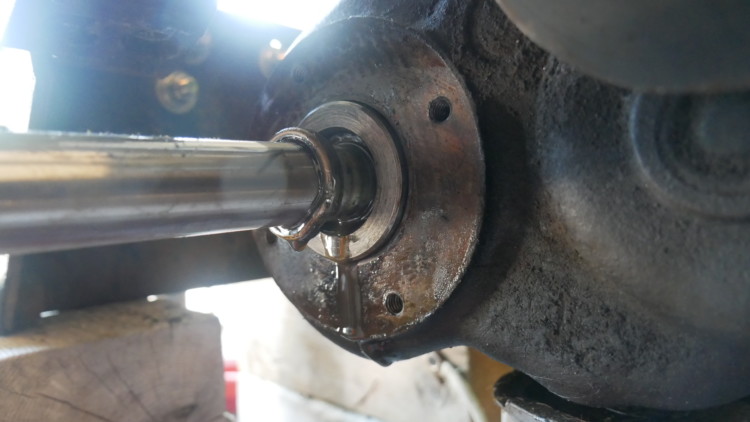
Remove the O-Ring with a little hook tool
Then using a small screw driver, pry out the axle seal……Don’t worry about damaging it, you will be throwing it away.
Once the O-Ring and the Axle seal is out, clean everything up real good and be sure the splines are cleaned.
FYI….When I was cleaning out the recess that the new seal will occupy, I found a tiny round spring. This had fallen out of the old seal. If I had not noticed it it would have impeded the insertion of the new seal! Clean this area out carefully!
Using electrical tape, wrap the splines to protect the new seal as it is slid on the axle
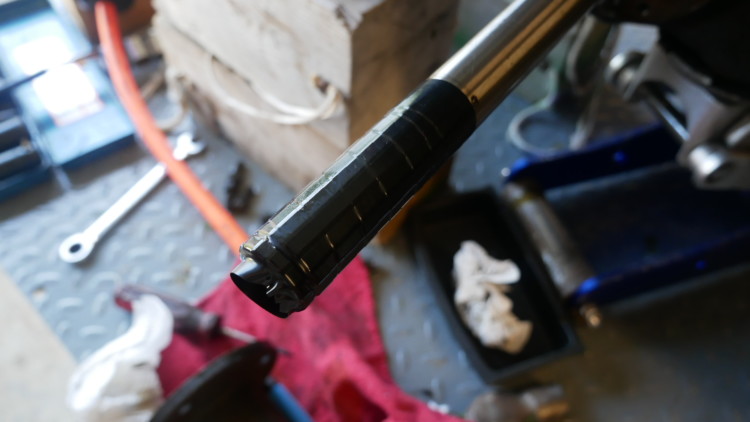
Slide the new seal onto the axle. Coat the outside of the seal with a little grease to let it slide into the boss a little easier.
Cut a piece of 1″ (ID) PVC pipe to about 12″. Try to get the cut end as square as possible.

Slide the PVC pipe onto the axle and very gently, tap the end with a hammer to seat the new seal.
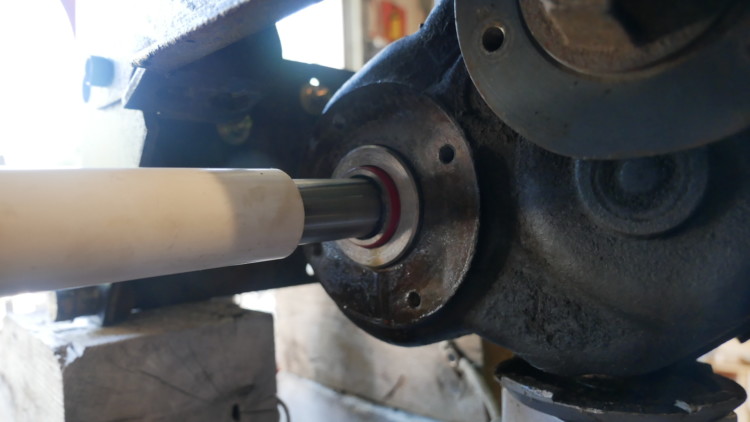
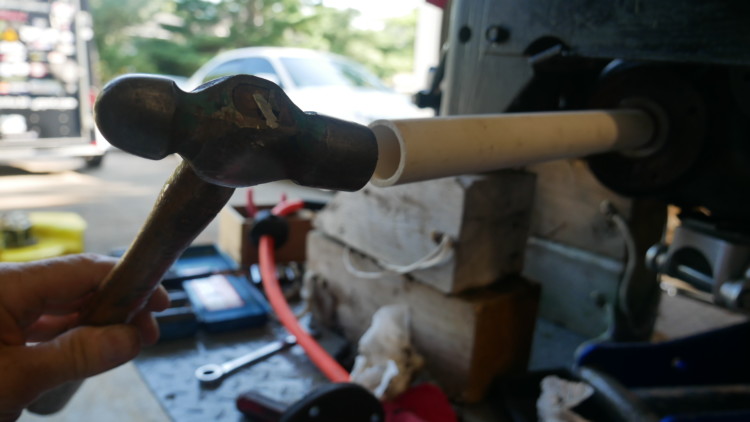
Keep tapping until the seal is just about flush with the transaxle
Install the new O-Ring
Remove the electrical tape and inspect the bearings on the end of the axle tube. Mine were in perfect condition so I did not replace them. If you did, here is the part you would need
You would need some type of press to install the new bearings. Or a certain size socket and a Big Hammer…..I’m sure there are YouTube videos showing both ways of doing this.
Time to slide the axle tubes back on and bolt them up
Apply a thin coating of grease to the spline
Install the hub and the C Clip

Reattach the transaxle to the chassis. Have fun with those outside bolts! Attach the bolt at the top of the transaxle first. Leave it hanging down about 1/2″…….Screw in both outside bolts first. Do not tighten them yet. Now install the two inside bolts and tighten everything up.
Install the drive pulley…..
Install the wheels…..
Install the body panel…..
DONE!
A few notes…..
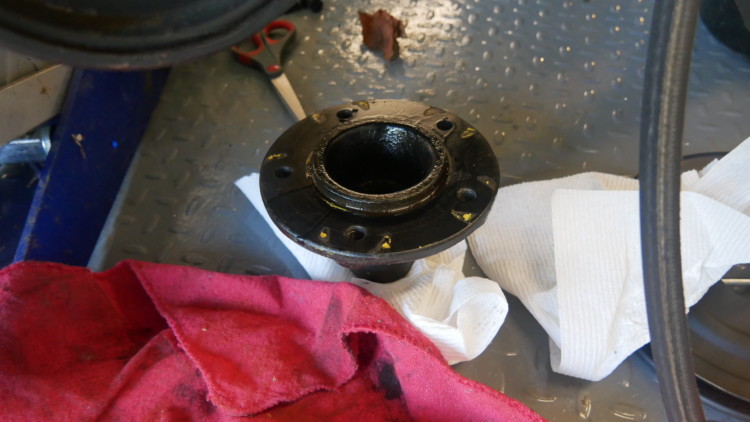
On one side of my tractor, the boss that holds the seal came out when I tried to just remove the old seal. This actually made removing this seal very easy as I was able to tap it out from the back side. I’m not sure if this piece is easily removed or not. I did the other side first and thought the seal recess was a part of the transaxle itself. If it is removable, I’d remove it and proceed to remove the seal from the rear.

On my tractor, one axle has a washer/spacer (the item on the left above)….the other axle didn’t. This side had less play , side to side, than the other side. I made a spacer/ washer for the other side that allowed the same amount of play…..about a 1/32″….I’m not sure if this is necessary, but I have a lathe and it was easy enough to do.
You can do this without removing the body panel……But it would be a bear! Much easier to just remove the pan.
That’s it! Hope it was helpfull
Be sure to check out all the other stuff I’ve been know to do on my web page
6 comments on “John Deere 200, 210, 212, 214 Axle Seal Replacement”