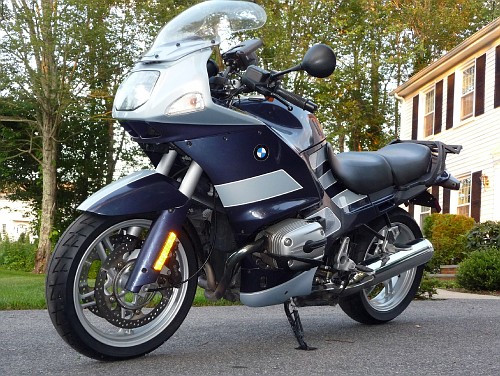
I found the headlights on my 2004 BMW R1150RSL motorcycle quite lacking. They simply didn’t “reach down the road” far enough. My options were to install a set of axillary lights or to upgrade the existing lights. The bike is delivered with 55 watt H4 headlights. An easy option is to install 55w/100w H4 replacement bulbs. But I have concerns that the factory wiring might not be large enough to handle the extra current needed for the 100 watt High Beam.
So a bit of research turned up all sorts of extremely expensive HID cinversion systems. Some costing as much as $800! Through various forums on the internet I chanced upon VVME. These folks are offering a complete set of HID lights for an automobile. Their web site is a wealth of information on HID vs Standard bulbs.
Sure, I only needed one bulb, but the kit was inexpensive enough that I bought it and now I have a spare ballast and bulb.
Total cost, shipped to my house was $87.98. And this included $18.99 shipping from Beijing China. I ordered on line and had them in three days. I don’t think a human could get from Beijing to Massachusetts in three days! This is the kit I ordered as stated on the invoice:
“HID Conversion Kit – Bi Xenon Model, Dual Beam Xenon, 4300K / Size : H4-3”
I went with the 4300K “color temperature” as this was nearly daylight. The light output from a 35W HID Xenon lamp is 300% more light than a 55W halogen bulb. The HID Xenon system will also consume much less power from your vehicles electrical system and generate much less heat during operation. This is a great advantage on certain “alternator challenged” motorcycles.
The package arrived in good order.
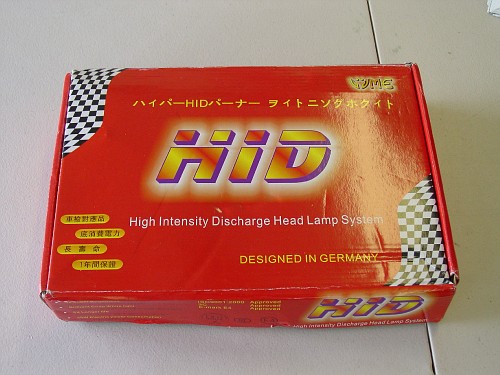
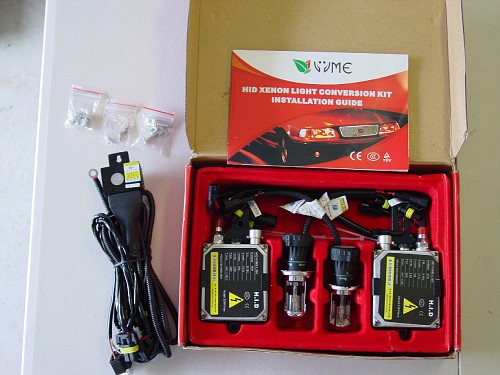
The box contained two bulbs, two ballasts, a wire harness and a relay block to control the linear drive for the Hi and Low beam.
Instructions were very clear…
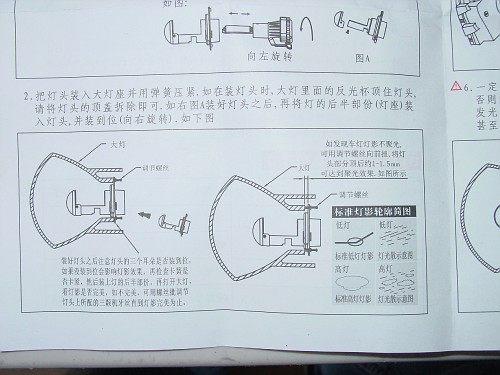
Just kidding…The kit comes with very clear instructions in English. But installation is extremely straight forward. Remove bulb, replace with new bulb, plug together the harness. Attach 12V+ to the battery, attach Ground to the battery…Done! Just about the easiest farkle you could add to your bike.
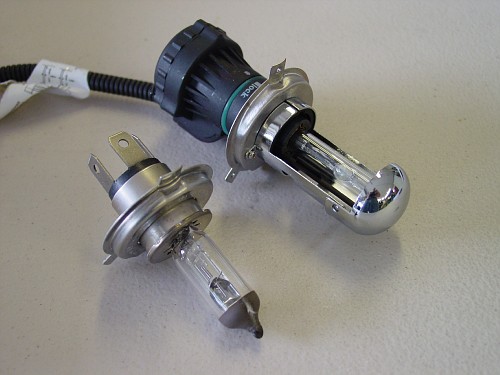
HID lights can not be switched on and off like a conventioal bulb. To go from Hi to Low beam they use a magnetic drive to actually move the bulb in and out, thereby giving you Hi and Low beam. Neat stuff! The bulb on the bottom is the origional bulb. The top is the new HID bulb. All of this activity is controlled by your standard Hi/Low switch. The design of the kit was very well though out.
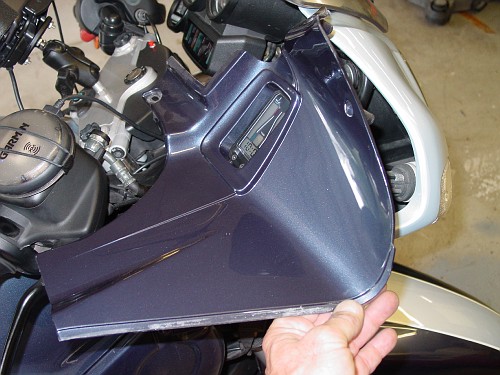
On my bike I had to remove the side panel on the dash board to access the bulb.
This exposed the bulb socket once the rubber boot was pulled off.
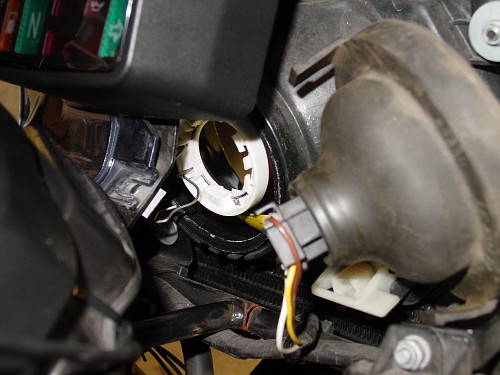
On this paricular bike, the bulbs electrical prongs run through the rubber boot to connect to the headlamp plug.
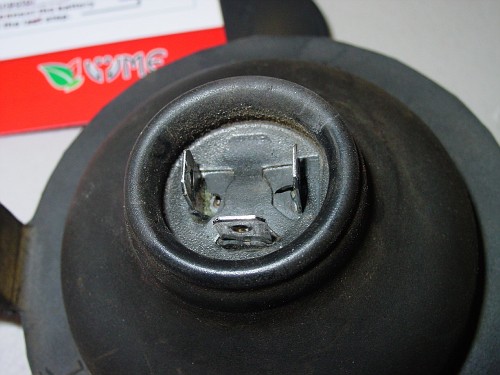
Since the new HID bulb does not have this connection, a hole needs to be cut into the boot for the wires leading from the bulb to the ballast.
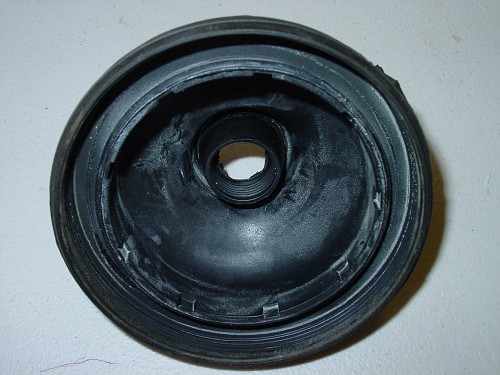
From this point on, its really quite simple. Run the wires through the hole and reinstall the new bulb with the rubber boot.
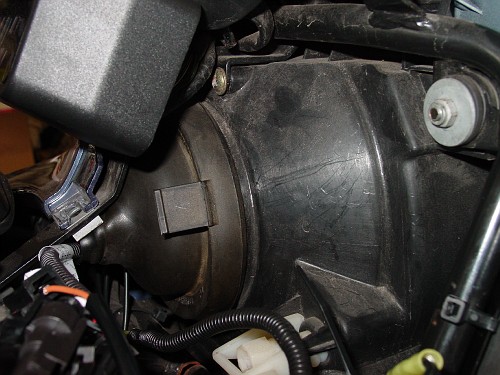
Mount the ballast and the relay. I simply wiretied the ballast to the cowling supports and double side taped the relay to the inside fairing.
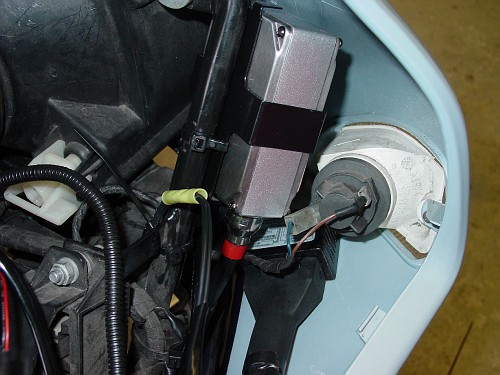
Plug all the connections together. You can’t screw this up as they only go one way.
Run the +12V wire to the battery. I cut the fuse out and mounted it closer to the battery where it belongs. I ran my grounds right back to the battery. I don’t like using the chassis as a ground on a motorcycle. Too much current drop.
I simply cut off the other wires that would normally lead to the other bulb in an automobile and insullated them with electrical tape.
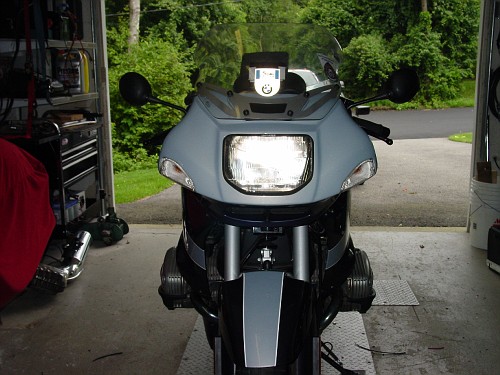
Button it all back up and you’re done! Just about the easiest farkle you’ll do!
ADVERTISEMENT:
This web site is part of my income stream. If this article was helpful
to you, you might want to throw a few bucks at me via paypal
rvb100@comcast.net
Not necessary, but certainly appreciated!
If you have any questions, I can always be reached at rvb100@comcast.net
Thanks
RoyB
