
I recently picked up a set of Klipsch Forte II speakers. The YouTube reviewers all rave about this speaker. Some suggest it is the best speaker in the entire Klipsch line. After listening to them for a few weeks, I’m inclined to agree!
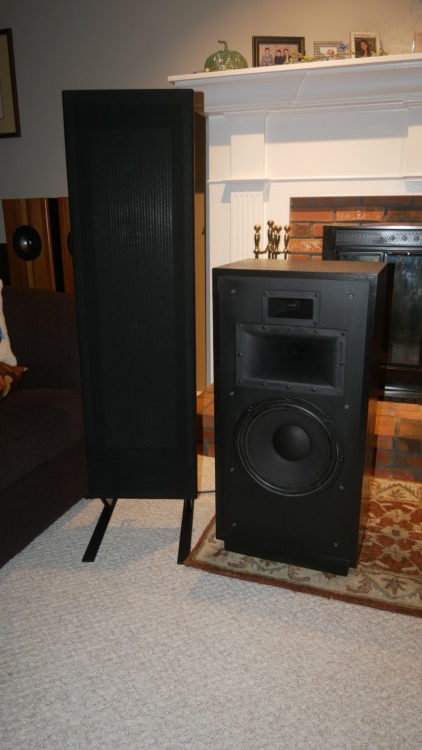
I bought these speakers for a very good price. They worked fine, but the cosmetics needed lots of love. They were the Black Ebony version, so I sanded them down and gave them two coats of a quality, semi gloss black water base enamel. They came out looking great!
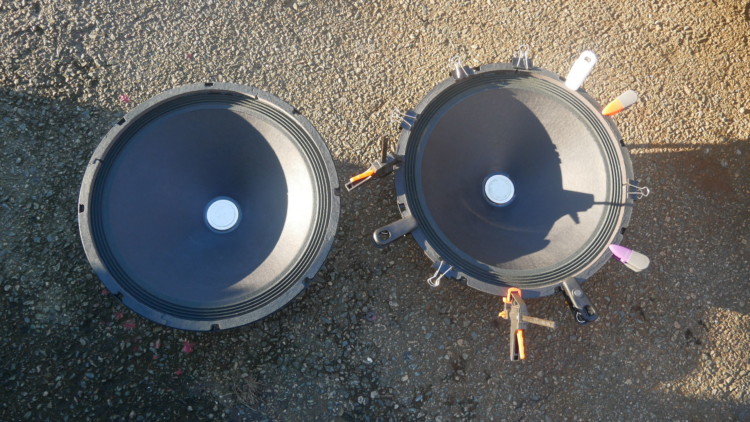
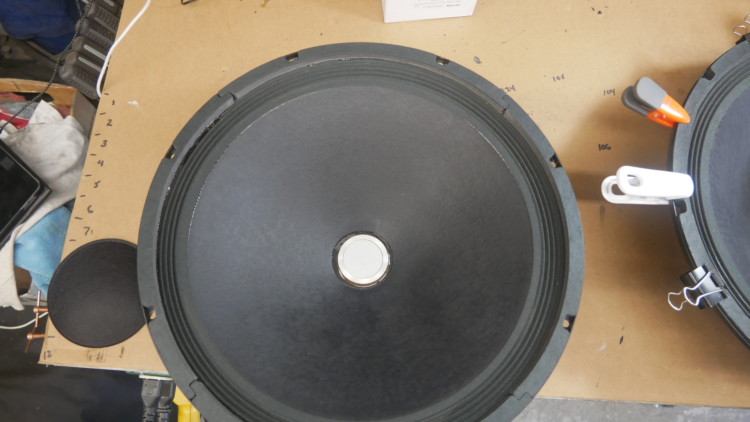
The grill cloth was in perfect condition and it saved the front active woofer from damage.
But the Passive Radiator on the back was not so lucky.
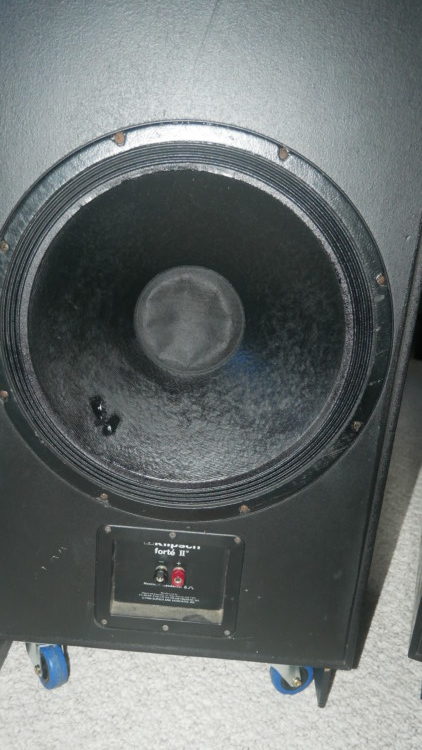
One had the dust cap pushed in and a couple holes in the cone.
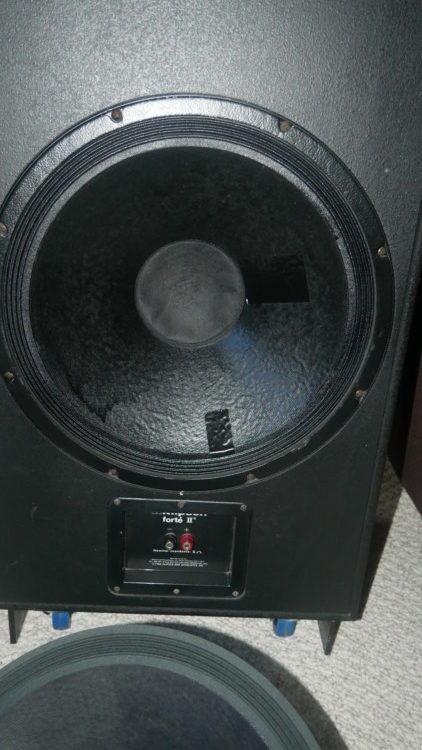
The other had two large rips along with the pushed in dust cap.
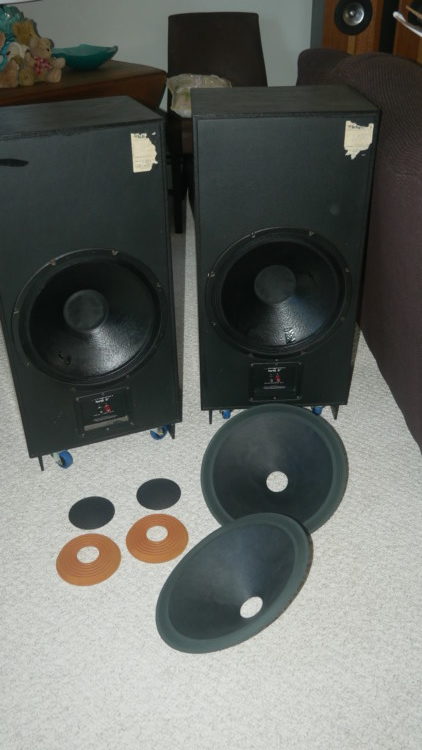
I could buy new drivers from Klipsch for around $100 each……Or I could call “Simply Speakers and for around $100 I could order two recone kits with the adhesive to simply recone these baskets.
https://www.simplyspeakers.com/klipsch-speaker-recone-kits.html
Ordered the kits on a Thursday afternoon and Saturday morning they were on my porch! That’s great service.
So lets have at it!
First I removed all the screws holding the passive radiators in and pulled them out.
In the shop, the first order of business was to remove the cone and the spider. Use Acetone and a single edge razor blade and remove every trace of adhesive. A light sanding of the basket rim and the back plate where the spider will adhere is recommended.

These radiators have a weight that is sealed into the base of the cone where the voice coil would go in a conventional active speaker. I believe this weight is calculated to dampen the motion of the cone.

To get to the weight, this piece of paper covering it needs to be removed

It turns out this weight is simply sitting in a big blob of epoxy. And another smaller weight is added under the big weight…They are not glued in. They simply pop right out.
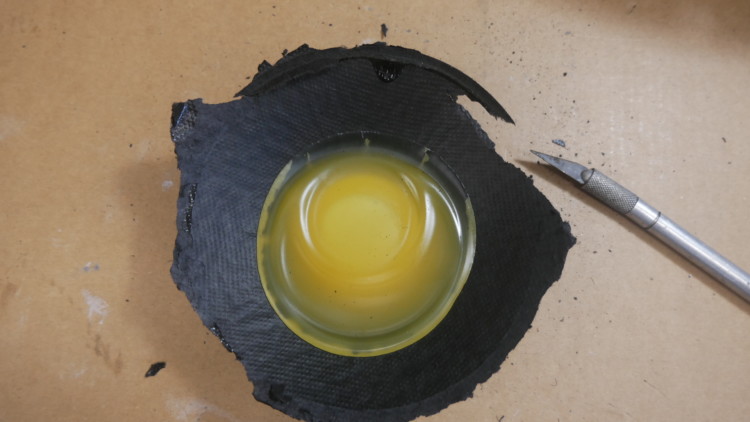
It surprised me that nothing was even close to centered. It appears they fill the space with epoxy and drop the weights in. Maybe it isn’t important that they are not centered, but to my OCD it would drive me crazy!

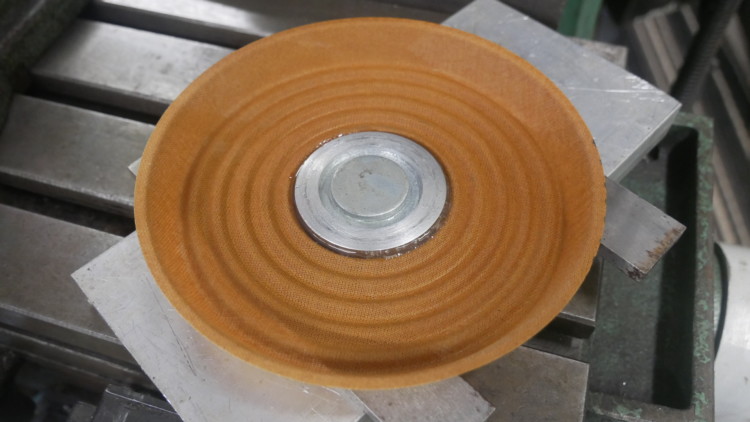
So I decided to turn an aluminum spacer on the metal lathe. To a size that weighs exactly the same as the blob of epoxy. The diameter is 2.0″ and it is .3125″ thick. The recess for the big weight is .30″

The Klipsch weight was press fit and glued into this new aluminum spacer. And the other small weight was glued with Starbond Super Glue to the exact center of the whole assembly


This new piece was bonded with two part epoxy to the spider using two pieces of metal to hold it proud so there was an area to bond the cone later.
Once that epoxy had set it was time to put the whole driver back together
The spider was glued to the frame and the cone glued to the spider and the basket rim

This adhesive was allowed to dry and the paper gasket was then glued to the frame with lots of small clamps holding everything in place while the glue sets. This gasket is not necessary as the basket is mounted from the front. But it does finish it off and secures the rim of the cone better.
Here is a view from the rear of the basket
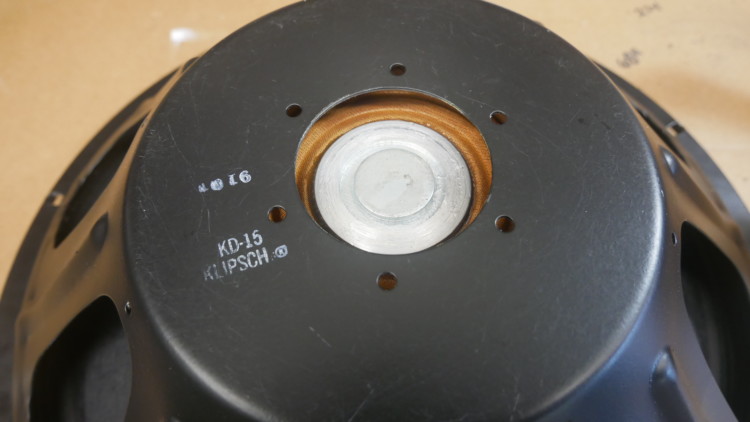
Not sure if I’m going to install the dust cap again. There really is no need for it as in an active speaker it keeps dust out of the voice coil gap. In a passive radiator these is no voice coil or gap….

I kinds like the look of the aluminum “pole piece”
So there you have it……Took maybe two hours start to finish…..A relatively easy job to bring an old pair of Klipsch Forte II back to like new!