
Most newer cars do not include a spare tire any longer. Might not be a big problem with conventional wheels and tires. But my 2020 TESLA Model Y has 21″ wheels and extreme low profile tires. One good pot hole and a punctured sidewall, a tire hole repair kit ain’t going to help. I wanted to carry a spare.
I figured there must be a way to get it into the trunk, under the rear deck cover.
Here’s how I did it….
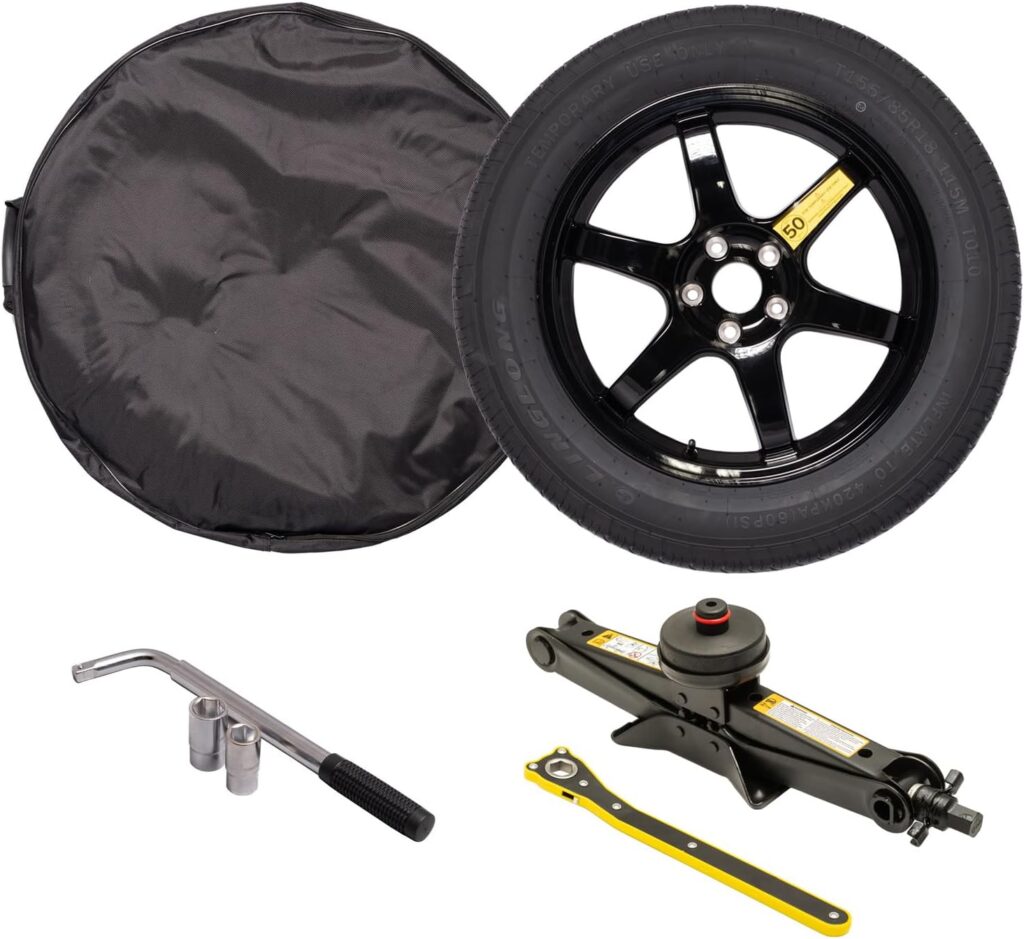
First, order a temporary spare tire kit from an online vendor or AMAZON (around $350 on 1/6/26)
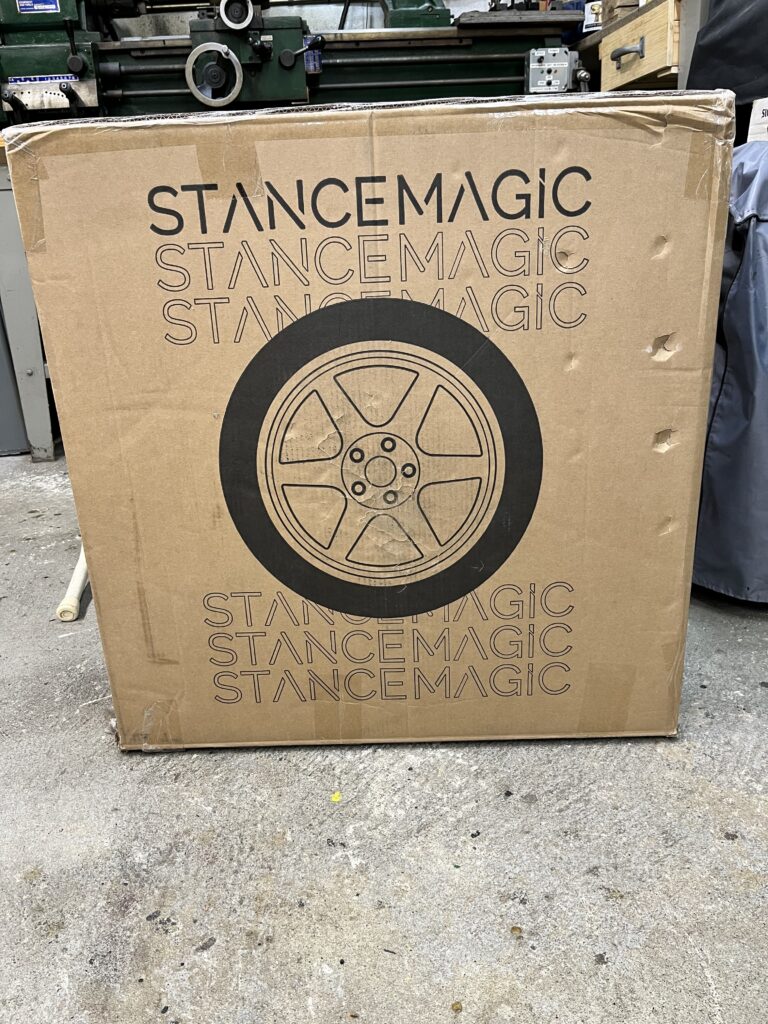
I ordered the “StanceMagic” which included the tire mounted on an alloy rim, a jack, Tesla jack pad, lug wrench, jack wrench, a tire chock, gloves, storage bag and a plastic bag to put the damaged tire in.
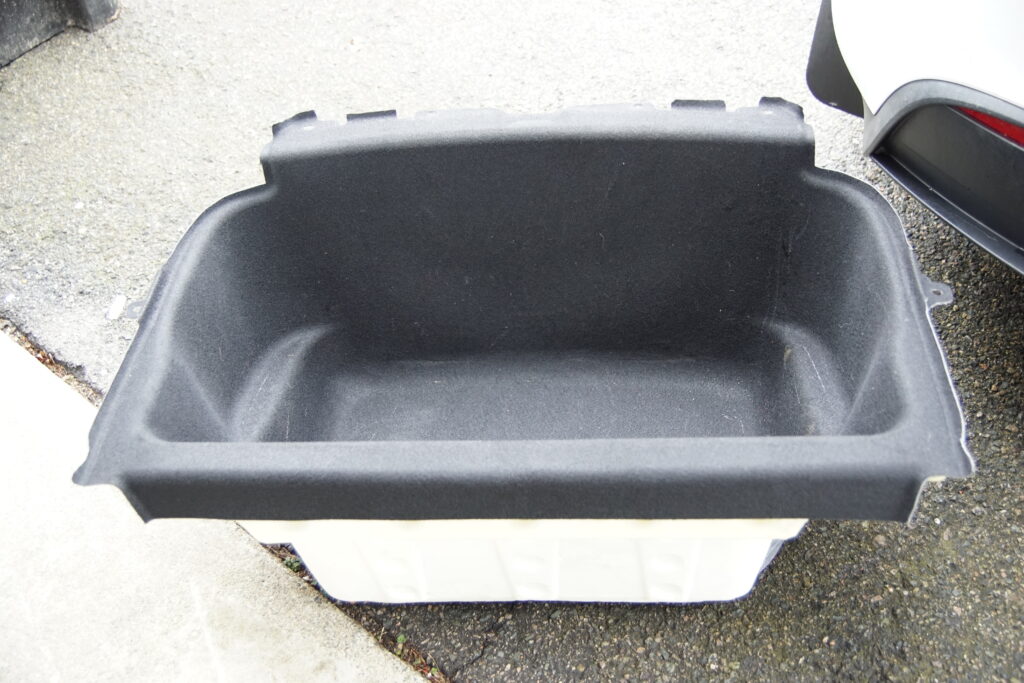
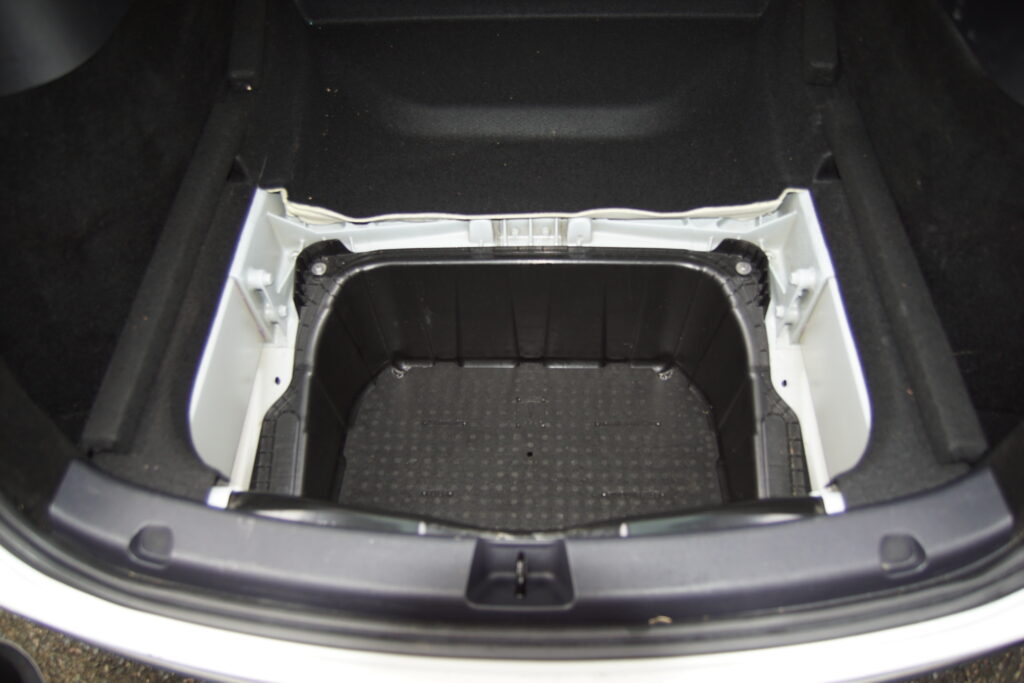
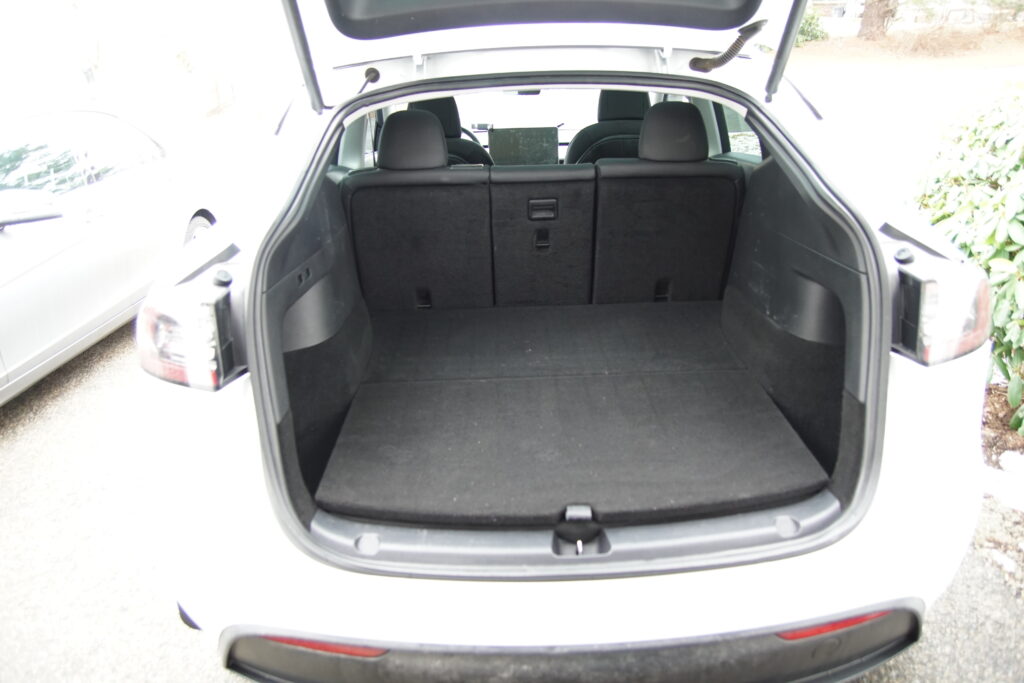
First order of business is to remove the “tub” in the rear trunk . This will not be used. Store it away for the next owner.
Remove the plastic trim along the rear lip. It simply pops off with no screws or fasteners. You might need some kind of spatula to help pry it up. It’s on thier pretty good!

Then you need to remove both side trim pieces. Again, they are attached quite well and take some force to remove. No screws involved, just pop in clips.
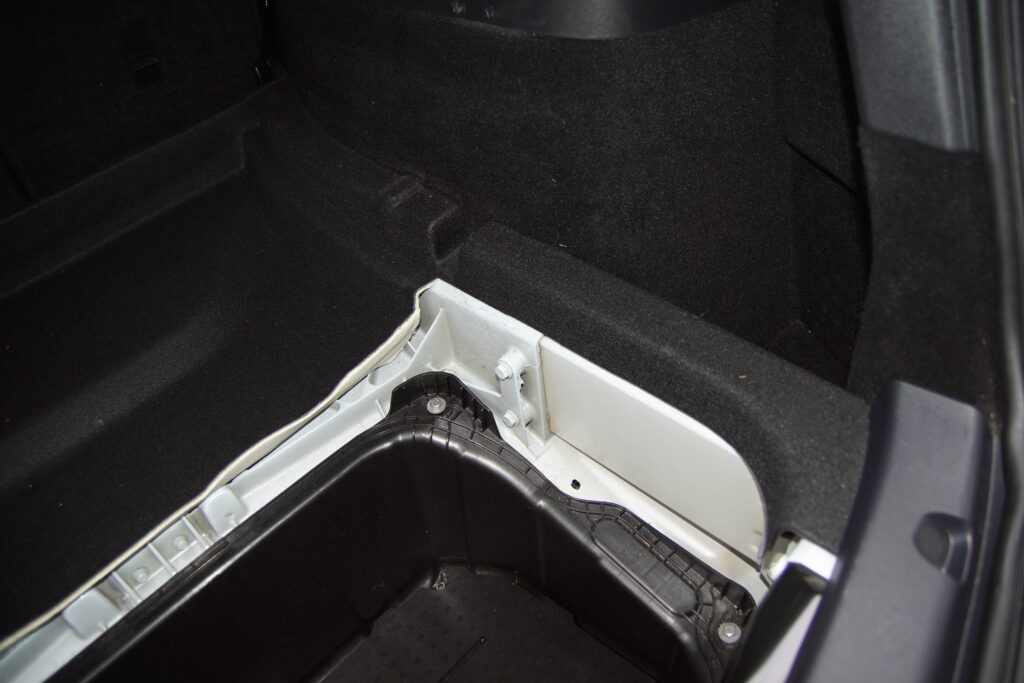
Once they are removed the tub can come out. Plastic Pop-Rivet type plugs hold it in. Pop up the center piece and then the whole plug easily removes
Here is what you are left with.
I chose to spray paint the white area to loon a bit more “factory”

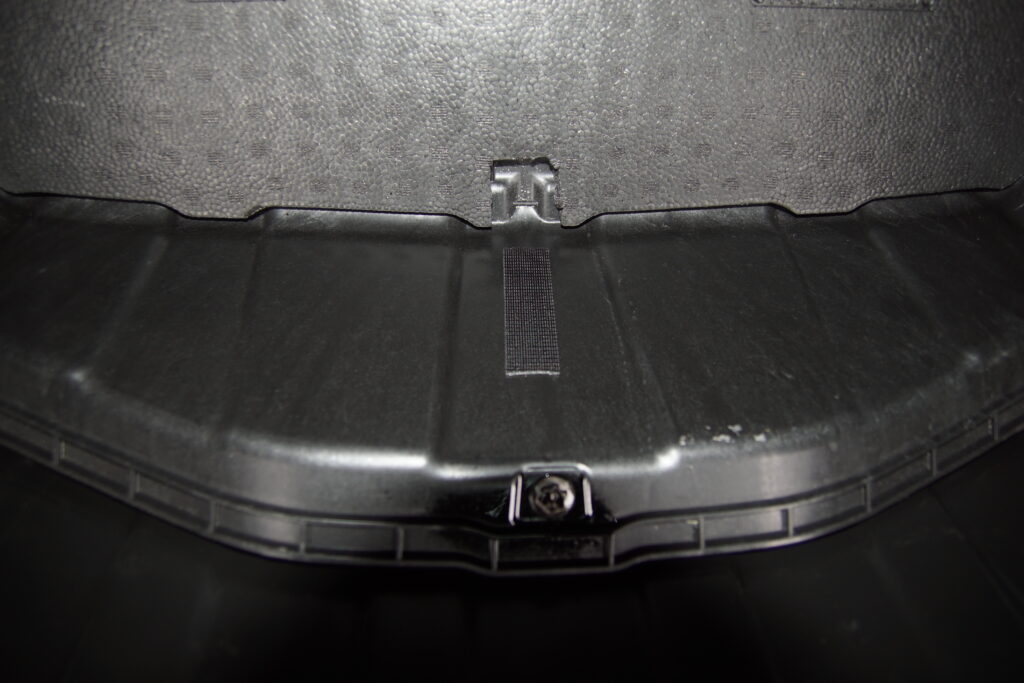
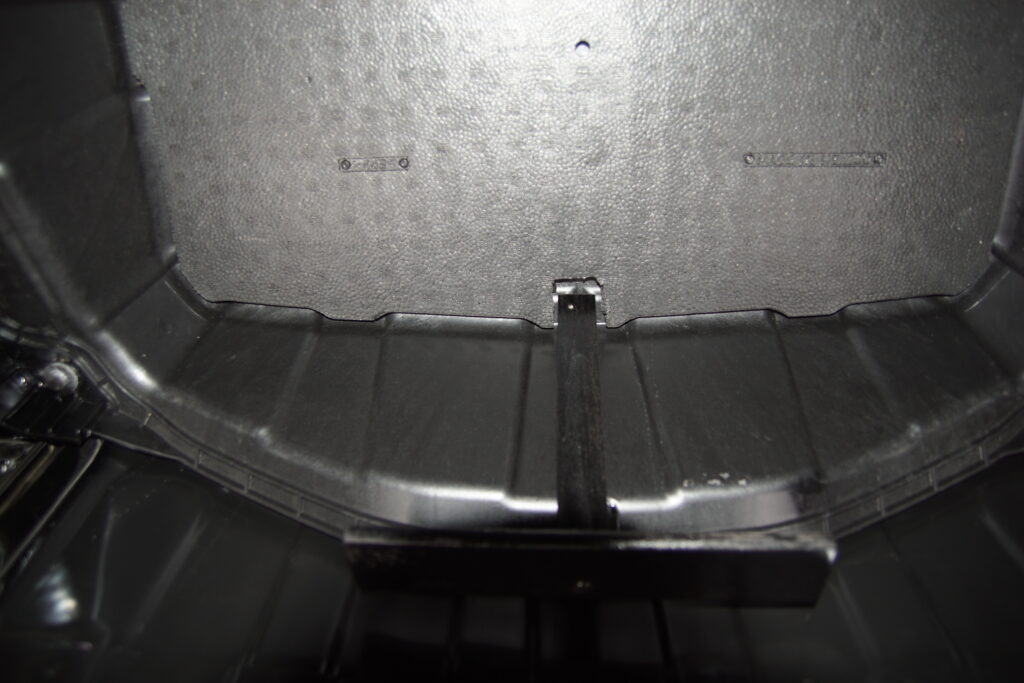
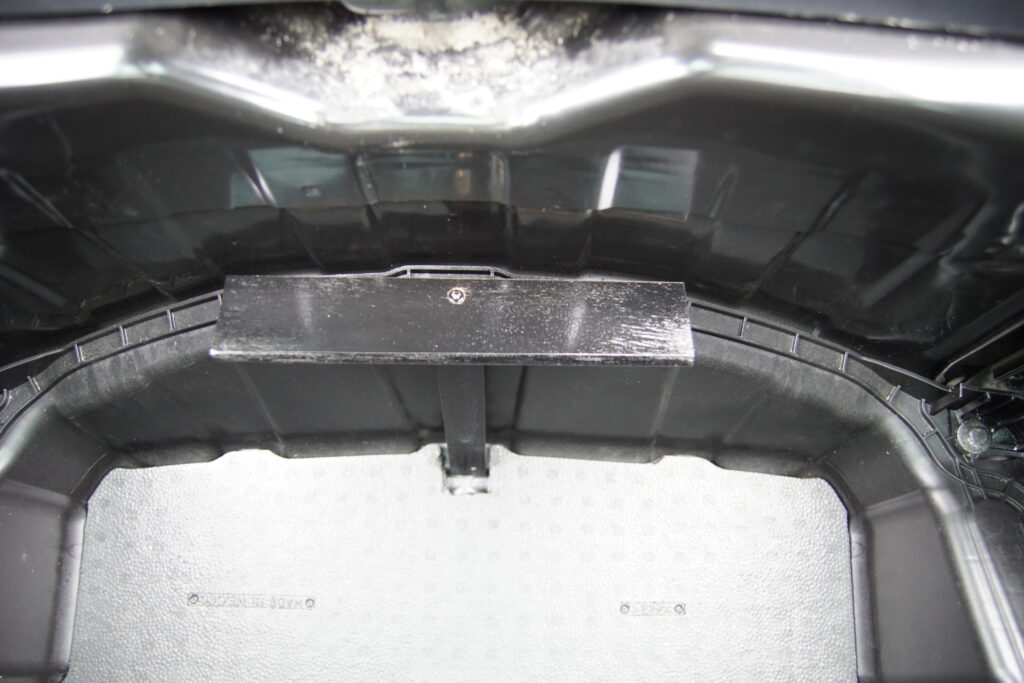
Now fabricate a support for the rear area of the “hole to support the rear of the tire
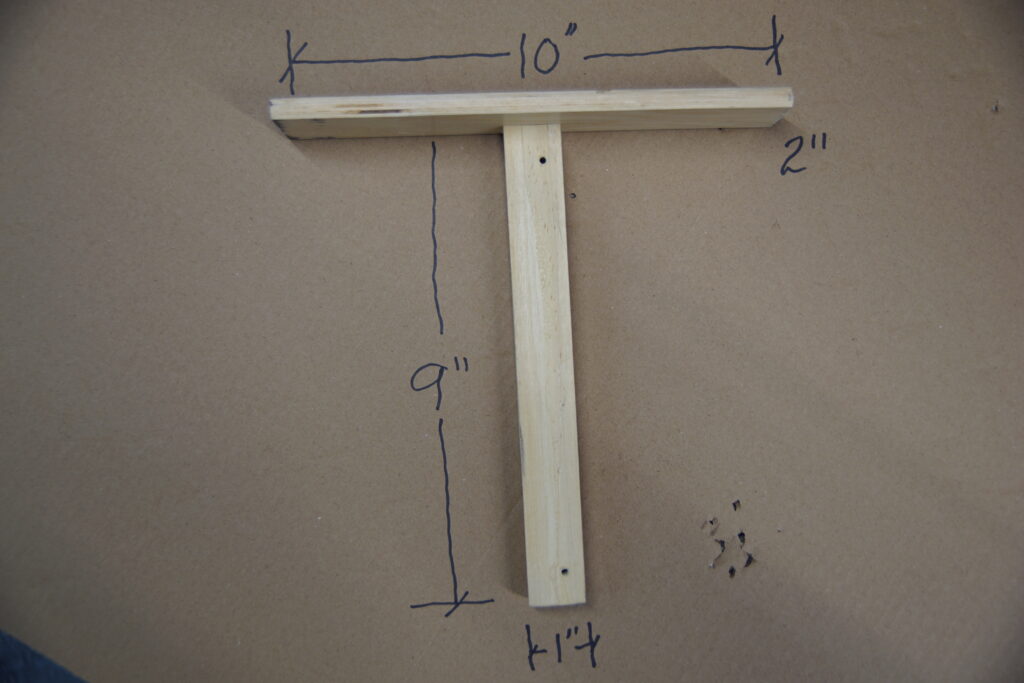
I didn’t want to screw into the rear of the “hole” as I had no idea what was behind there. So I affixed it with heavy duty Velcro/Snap Fastener.
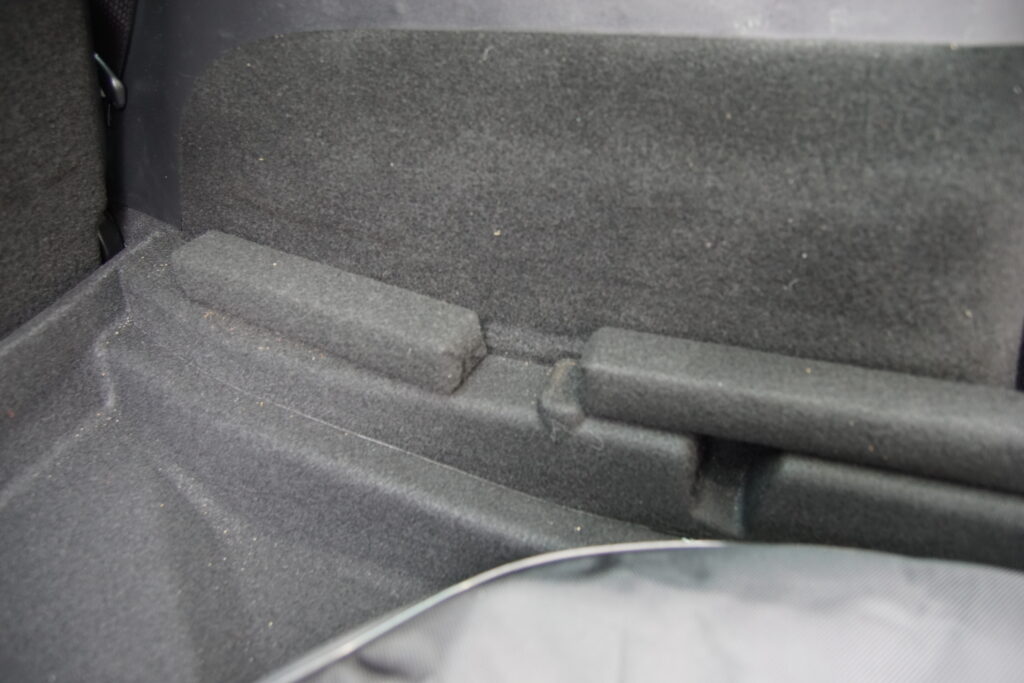
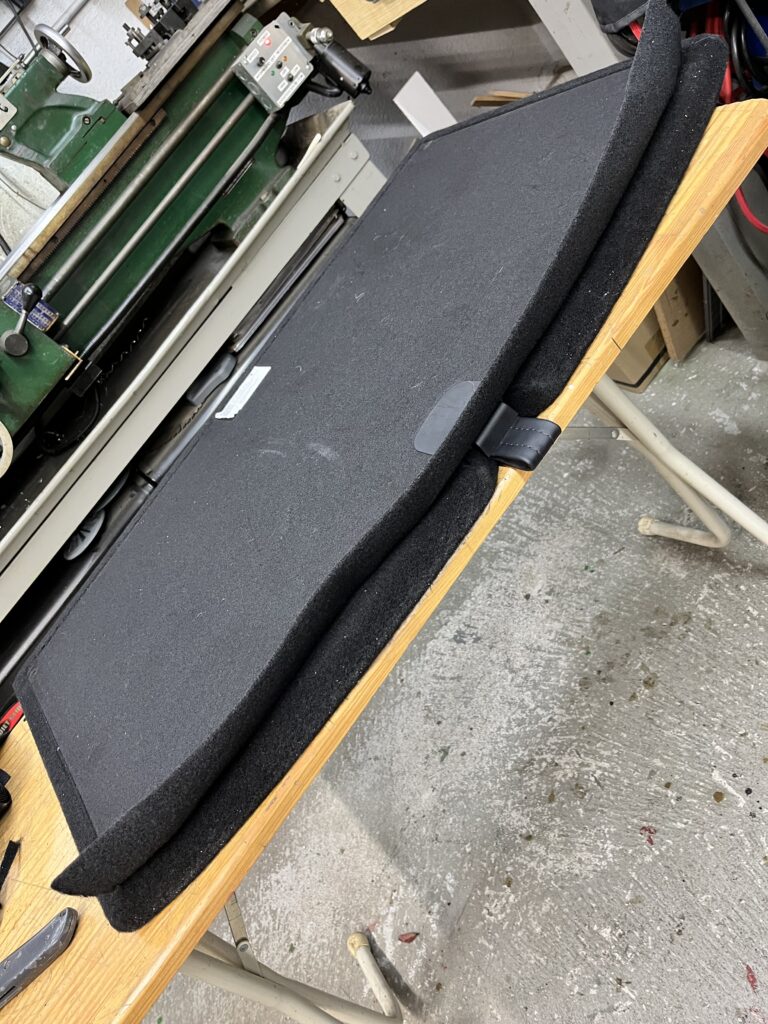
Now you need to fabricate a couple (4) blocks to raise the rear deck up about 2″. I bought 2X2 wood posts at Lowes/Home Depot and black Trunk Lining Carpet at an auto parts store. Stapled the carpet on the risers and then used more Velcro to affix them to the existing side pieces.
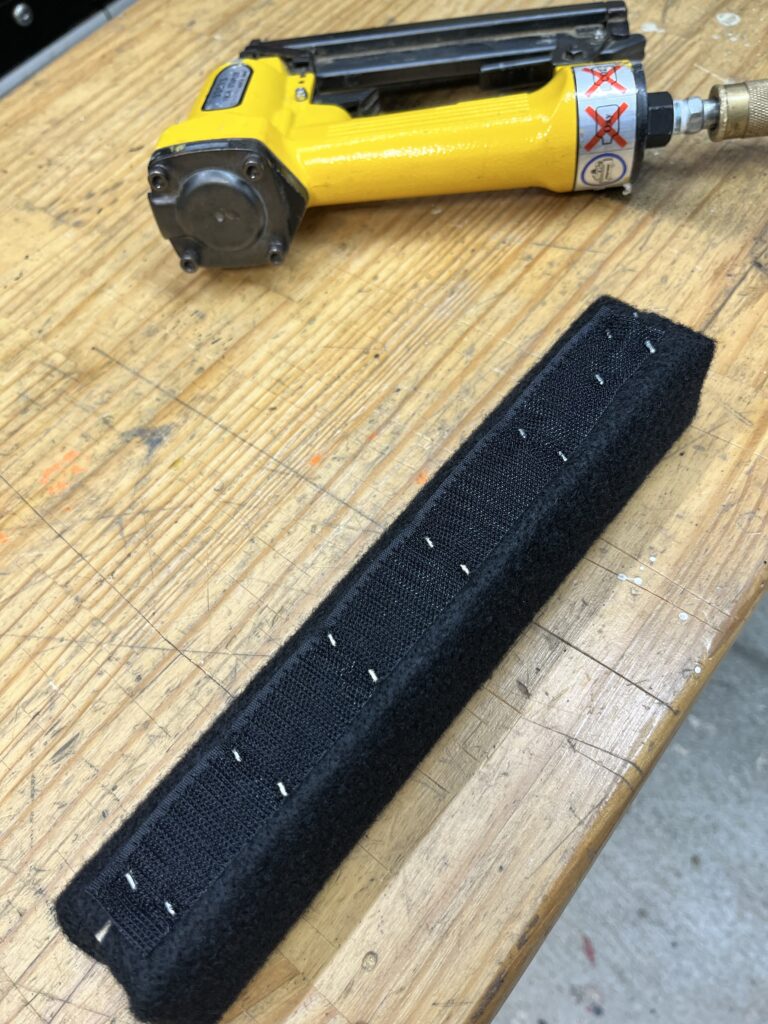

Two small ones towards the front and two longer ones towards the rear.
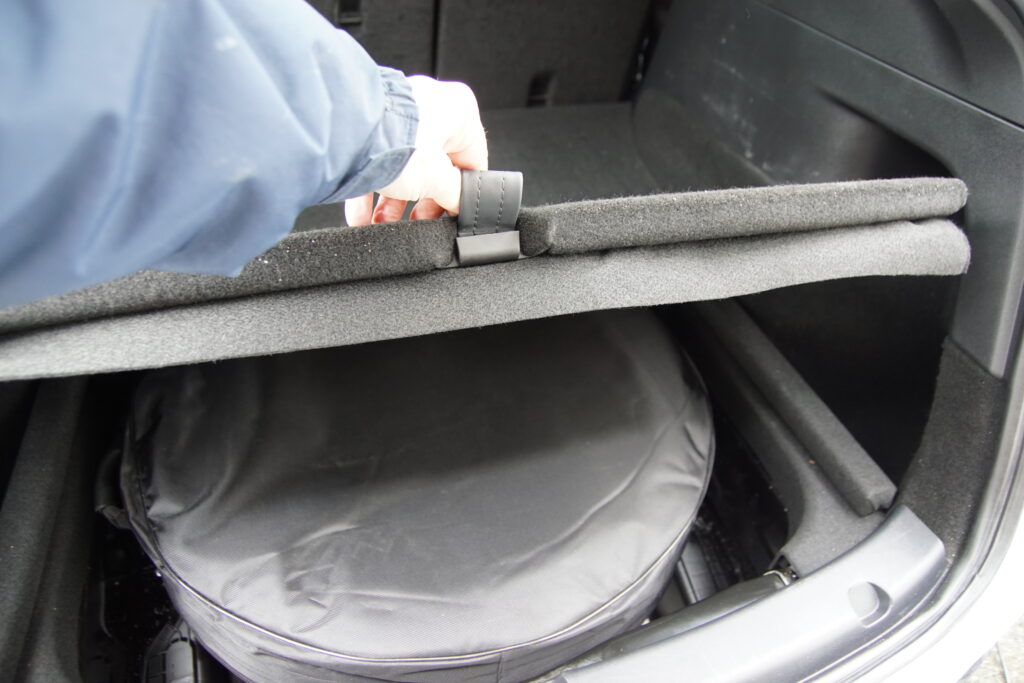
Put the rear trim back on. Be sure the rear edge of the trim goes under the rubber weather seal.
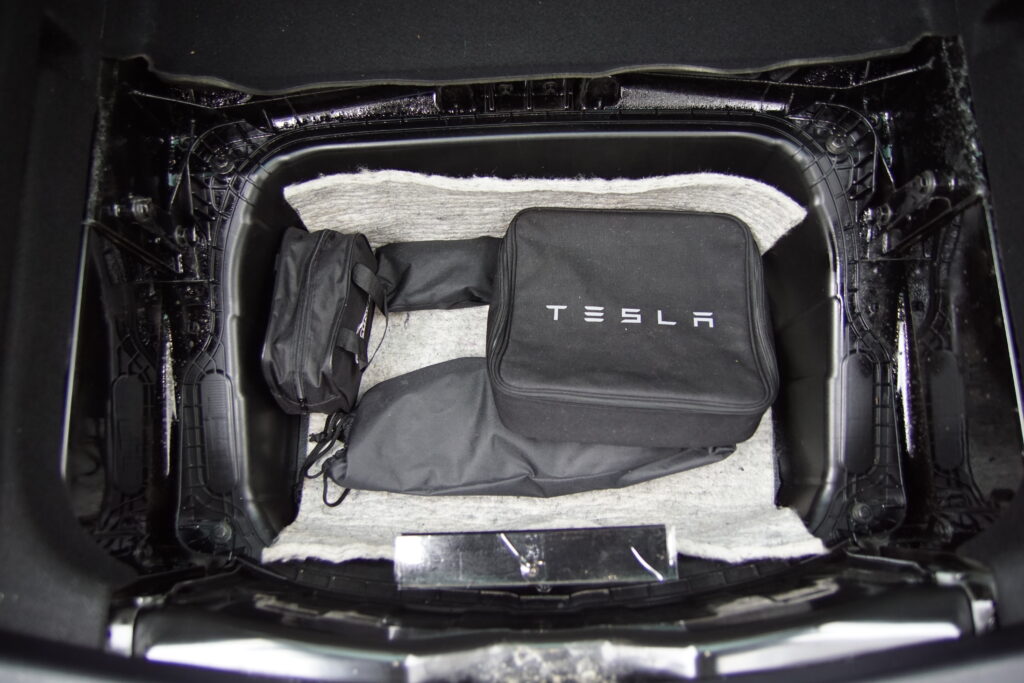
I put a piece of carpet pad I had hanging around in the hole to deaden the sound and keep the accessories from rattling.
This is optional, but it really finished it off. When you install the rear deck cover, there will be about a 1″ gap. I stapled a piece of the trunk lining carpet to this area to fill this gap…NICE!
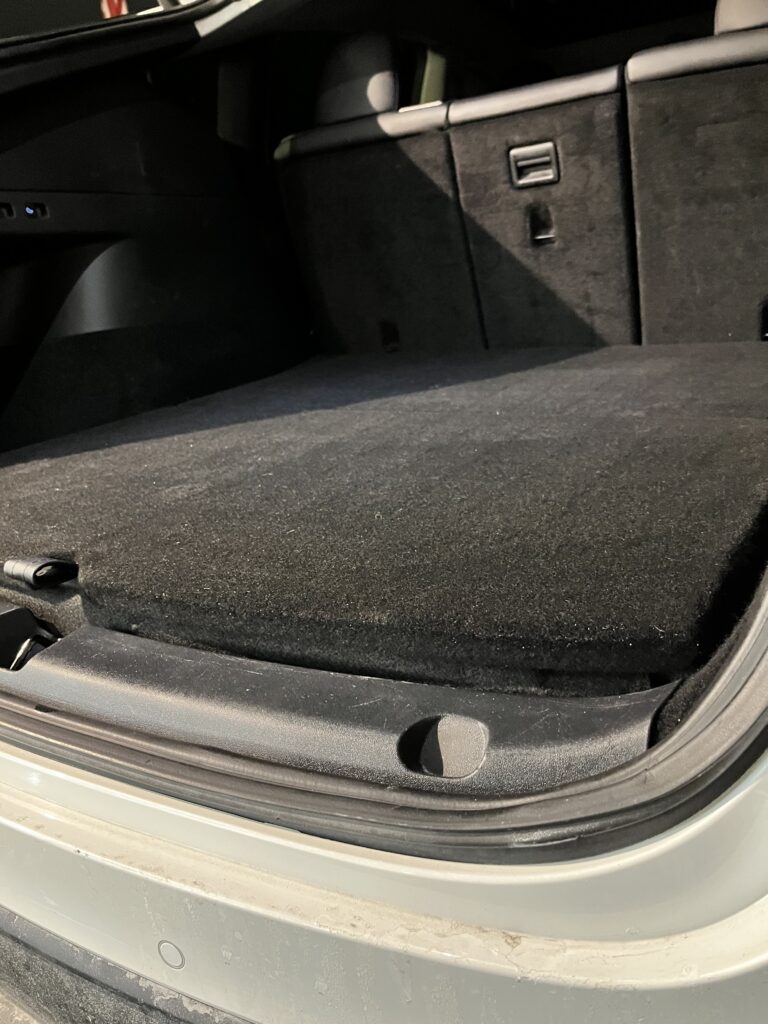
Once in place it looks “finished”.

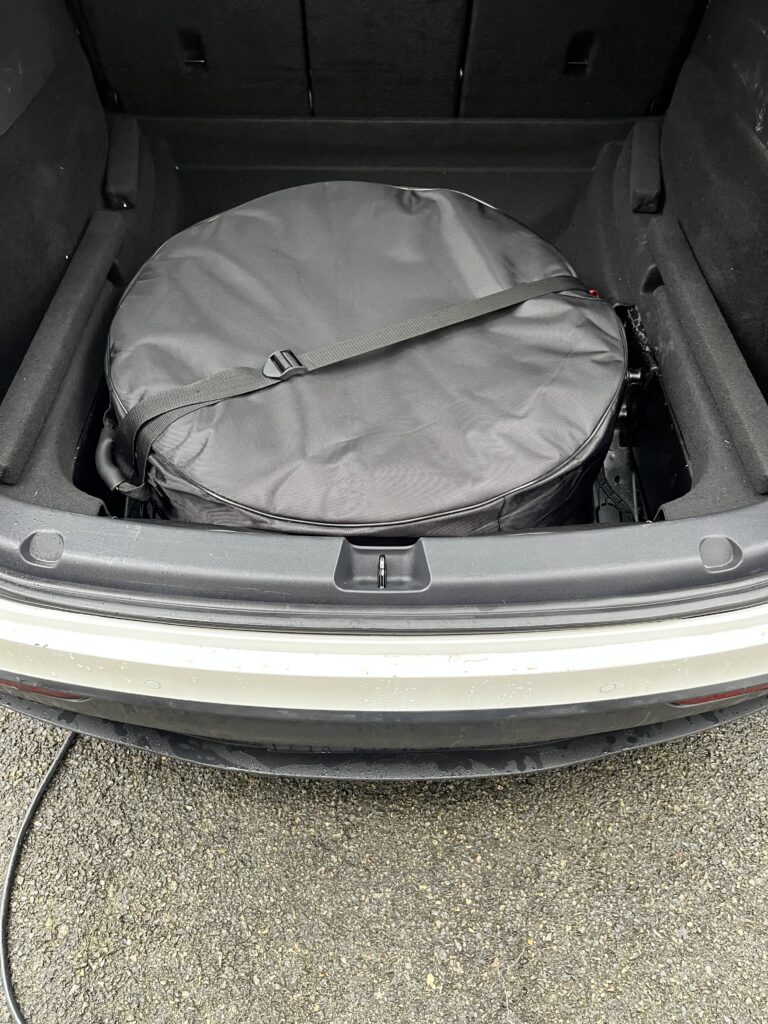
Put the tire in
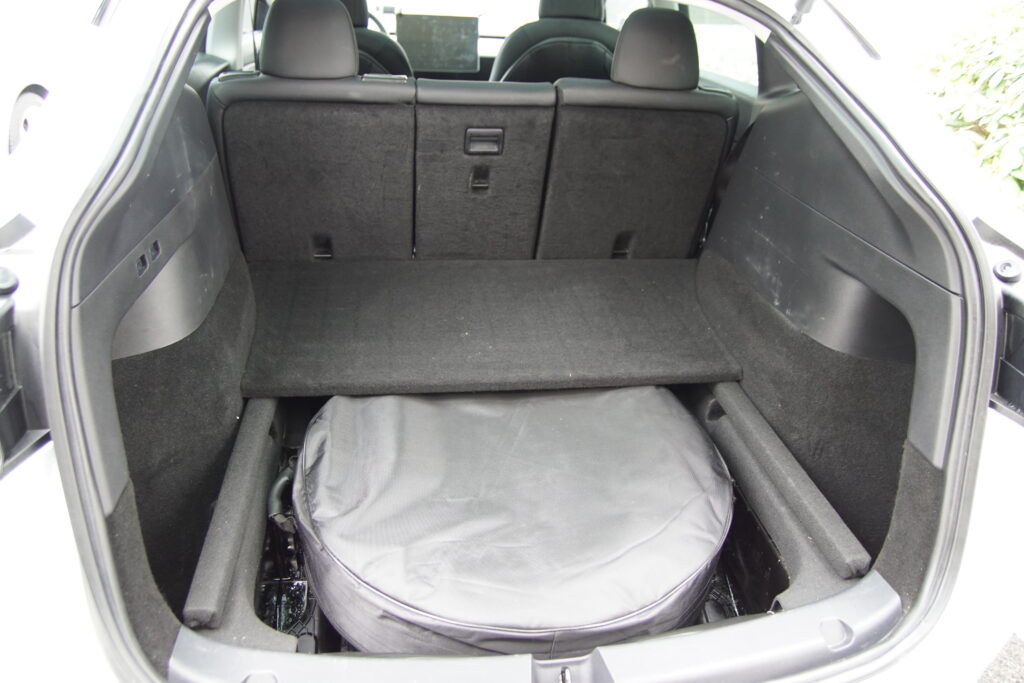
And the covers in place…DONE!
Solid as a rock!
If you are concerned about the spare flying around in a crash, you can secure it with a ratchet strap somehow. I’ll leave that up to your own ingenuity. (I will be doing this to mine)
Hope you find this helpful!
UPDATE:
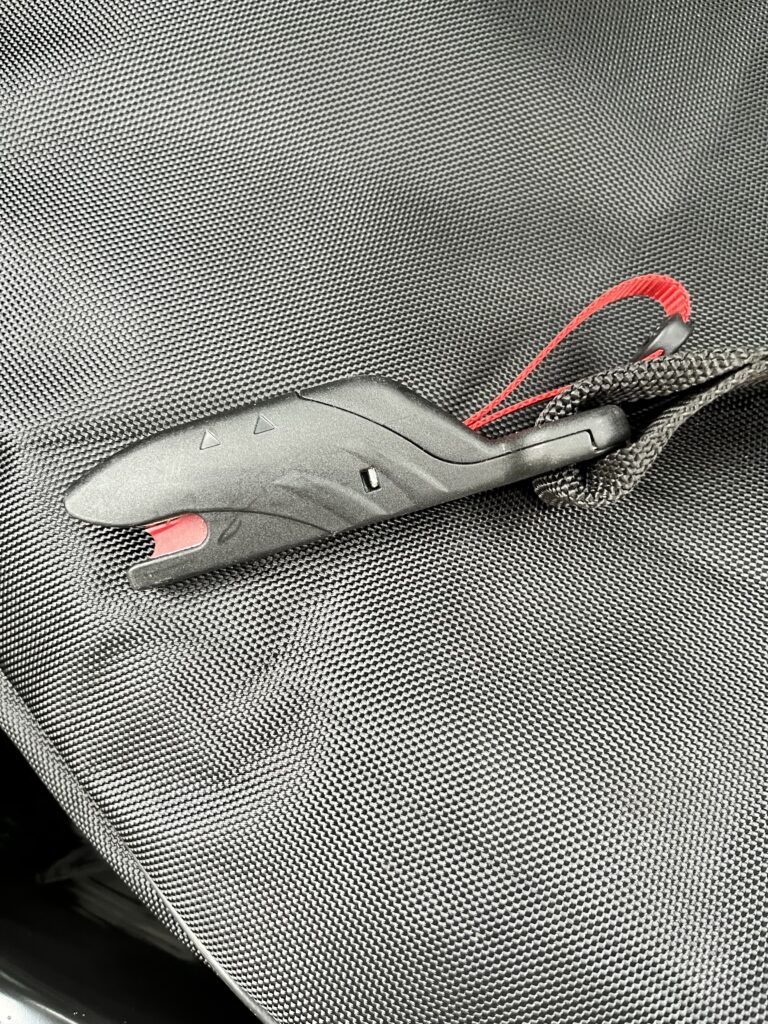
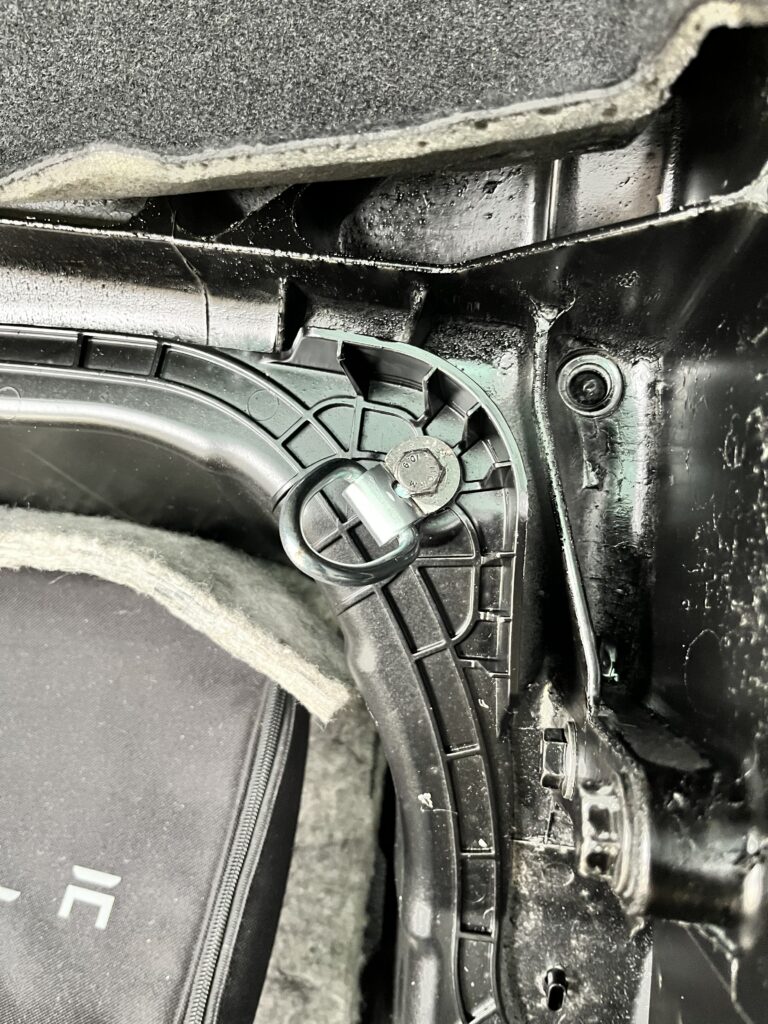
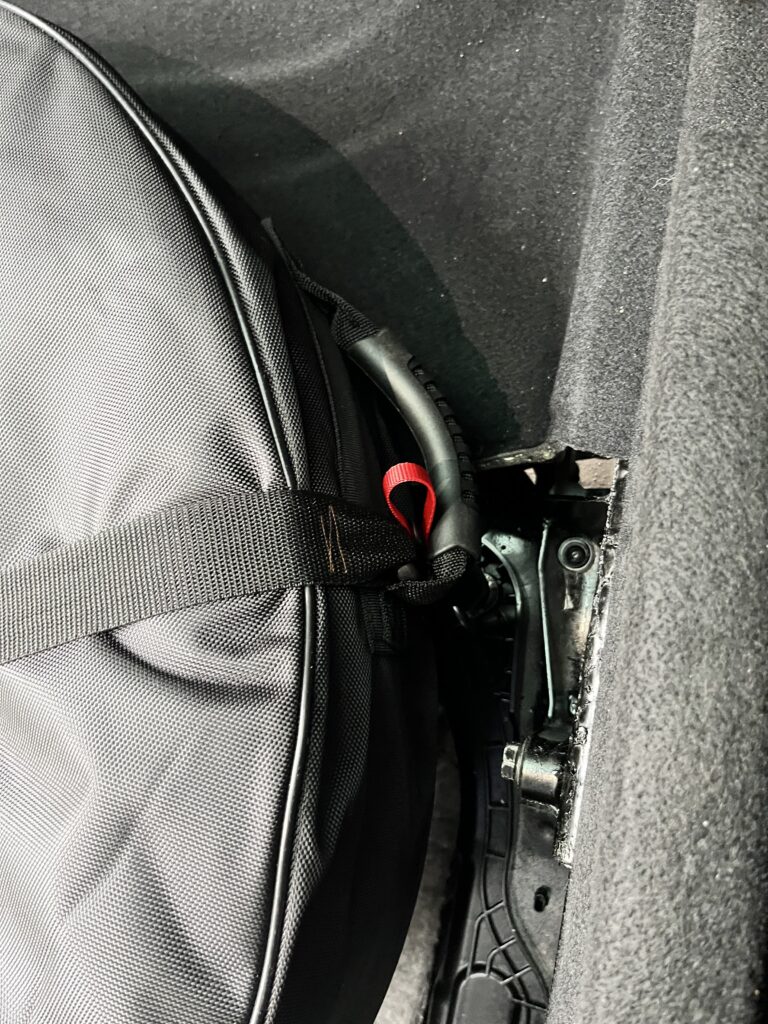
Securing the spare tire…
In my junk box, I found these neat clips. I think they were to secure a child seat in a car. But they worked great to secure the spare tire. A couple anchor points were bolted down to existing bolts in the trunk, the strap attached and tightened down…DONE!
Be sure to visit other articles on my web page… www.rvbprecision.com
THANKS!