First step is to get the engine up to operating temperature. A quick ride or let the bike idle until the fan turns on and then let it run for one minute more.
Shut the engine off. If possible, have the bike supported in an upright position, but you can perform the oil change with the bike on the sidestand.
You can purchase an Oil Change Kit from your BMW dealer. The kit includes the oil filter, an oil filter cover O-Ring and various crush washers.
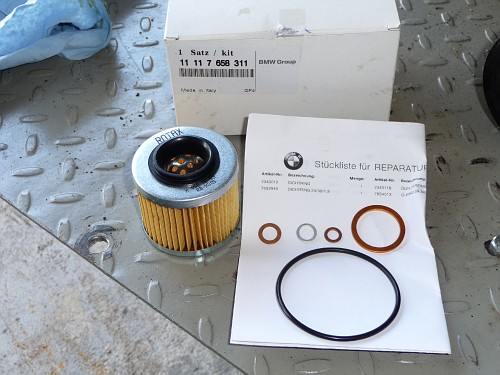
For this procedure you will be using the large O-Ring, the large crush washer and the oil filter. You will not need the three small washers. (I’m still not quite sure what they are for…)
Remove the main drain plug on the bottom of the engine. Have an “oil drain pan” ready to catch the used oil.
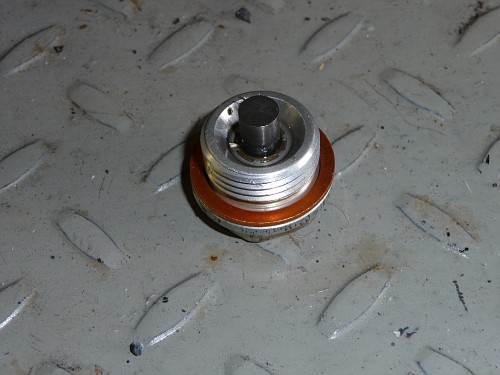
Once the plug is out and the main engine oil is draining, remove the used copper crush washer and discard. The center of the drain plug is a magnet. There will be slight metal “fuzz” on the magnet. Wipe this off and install the new copper crush washer. Once all the oil is drained from the engine you can reinstall this plug. Turn until finger tight and then just a smidge more. Be careful, the bottom of the engine is aluminum and you can strip these threads very easily. Especially if you are using a long handle wrench.
Next, find a piece of rubber hose (5/16″ fuel line works good) about 12″ long. Place one end over the bleed valve from the oil tank. Yup, this bike uses a separate oil tank just like a Harley Davidson. Once this hose is connected and a suitable container is positioned below, open the bleeder valve a couple of turns. Oil will flow out of the oil tank. Be aware, this oil flows VERY slowly. It will take quite a few minutes to empty the tank. The yellow arrows shows the location of the bleeder valve with a piece of hose attached;
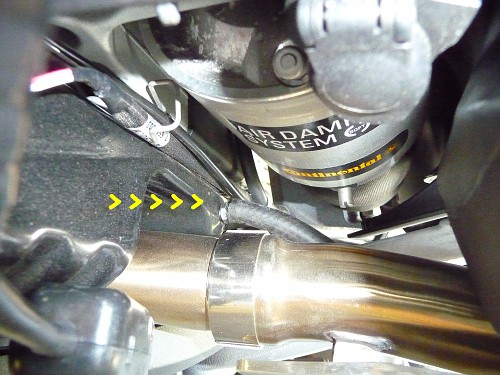
Let it drain into some type of container while we move to the other side of the bike.
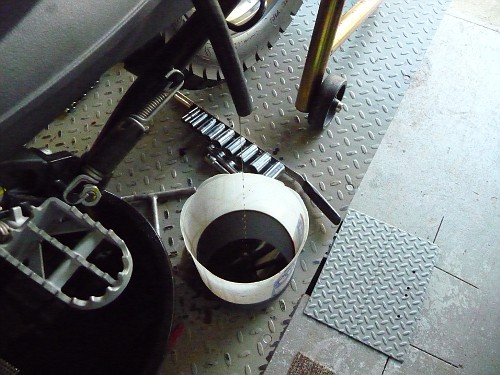
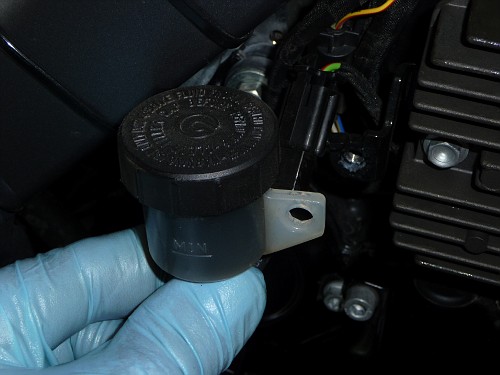
Once on the right side of the motorcycle, remove the bolt holding the rear brake fluid reservoir to get it out of your way.There is a small toothed washer between the plastic tab on the reservor and the frame of the bike. Don’t drop it into the oil catch pan. 🙂
Use a short piece of wire or a piece of string to hold it up and away from the oil filter cover.
Take a piece of tin foil and make a “dam” of some type to direct the oil from the oil filter compartment into your catch pan. I removed the cover from the front chain sprocket to make more room, but this is an optional step. I forced the tin foil into the recess below the oil filter cover to direct the flow of oil into the catch pan below.
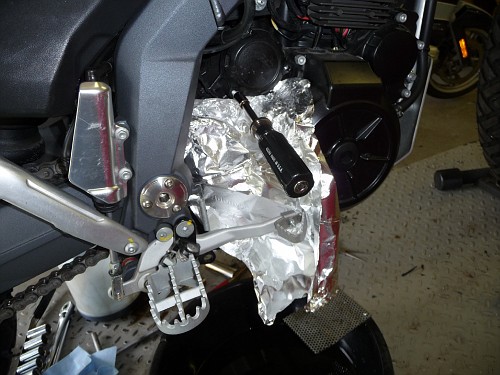
Remove the three bolts holding the oil filter cover in place.
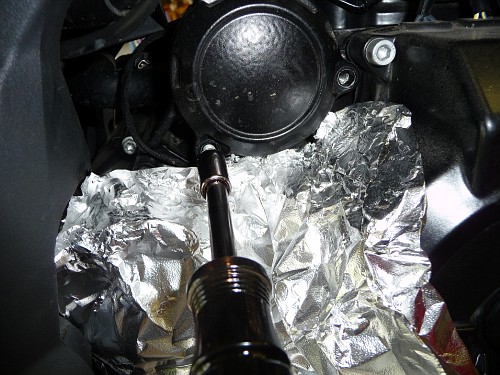
Once the cover is off, you’ll appreciate the tin foils use. Without it this is a terrible mess.
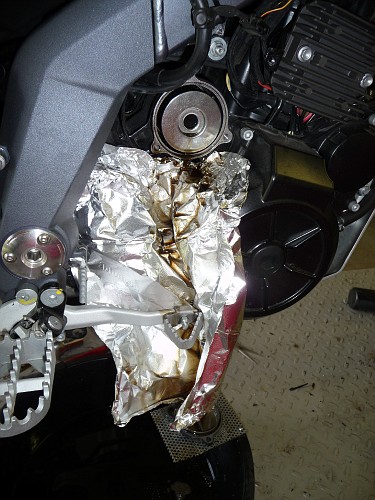
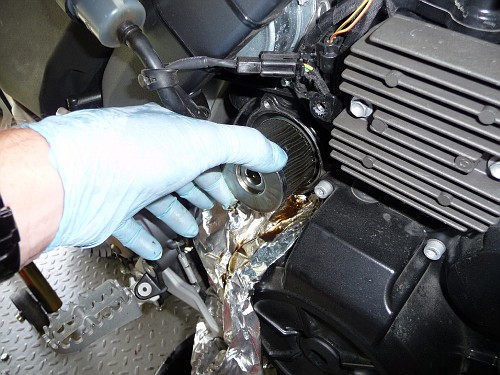
Remove the oil filter
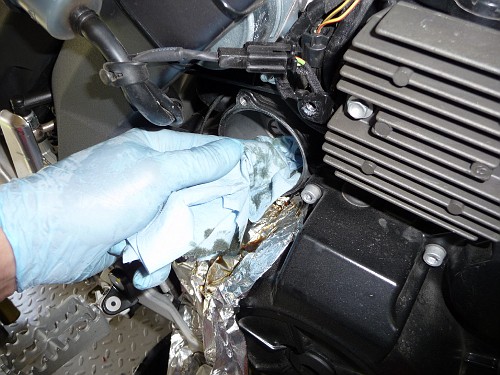
Use a clean rag to wipe out the oil filter compartment.
Remove the old O-Ring from the oil filter cover and install the new one supplied with the kit.
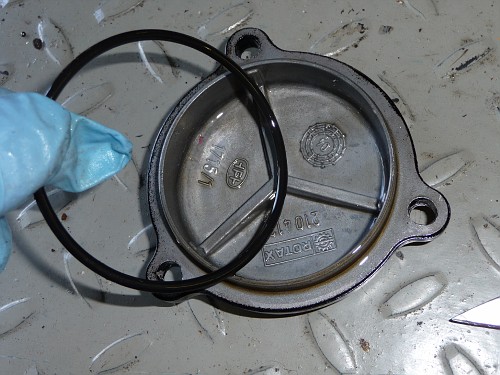
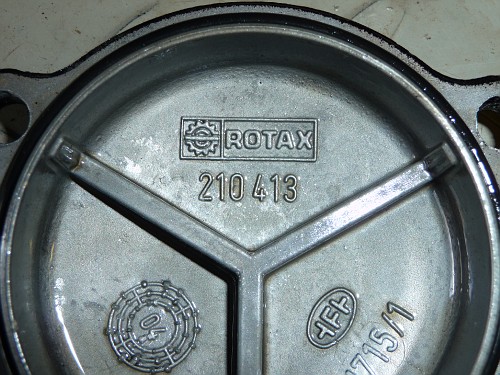
If someone suggests that your engine is made in China, this is proof it isn’t.
Rub a little oil on the rubber seal of the new oil filter and insert it into the oil filter cavity.

Reinstall the oil filter cover being sure the O-Ring is in it’s groove.

Re-install the rear brake fluid reservoir.
Once the oil has finished draining from the oil tank, close the bleeder valve and remove the rubber hose.
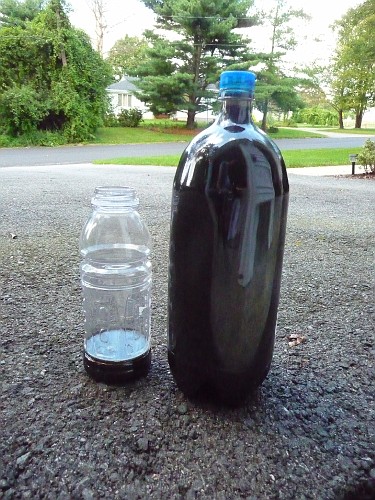
I wanted to be sure I removed all the old oil. The bike holds about 2 1/3 quarts. I poured the old oil into a two quart soda bottle and the remainder into another bottle. Looks like I got 95% of the old oil out.
Pour in one quart of oil and start the bike. Let it run about 10-15 seconds and shut it off.
Pour in another quart and start the bike again. Let it run for about 30 seconds.
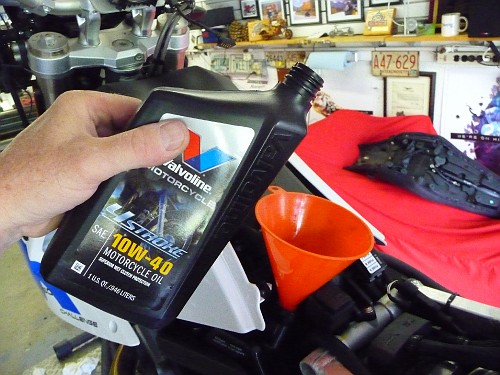
Shut the bike off and pour in about 1/4 of a quart and start the bike again. Let it come up to operating temperature (fan on) and let it run one minute more. Shut the bike off and check oil level as instructed in the owners manual. Fill to proper mark on the dip stick.
Check for leaks. Tighten various drains as needed. Ride it like you stole it!
ADVERTISEMENT:
This web site is part of my income stream. If this article was helpful
to you, you might want to throw a few bucks at me via paypal
rvb100@comcast.net
Not necessary, but certainly appreciated!
If you have any questions, I can always be reached at rvb100@comcast.net
Thanks
RoyB

Pingback: Anonymous