
The Savage 93 series rifles have a relatively large ejector that sits just to the left of the center line of the action. This makes it impossible to use a normal bore guide that you might for a Remington 700 or Winchester Model 70 centerfire rifle.
So, we need something very slim that can bypass this ejector and engage the chamber and allow the insertion of the cleaning rod without damage to the chamber.
This prototype that you see in the pictures is made of very soft copper tubing. I plan on making one out of 6061 Aluminum as soon as it arrives from the supplier. Using copper would be fine as long as you are not using very aggressive cleaning fluids that contain ammonia. After all, we are trying to remove copper fouling from the bore, and if the guide is made of copper, well, you get the picture.
OK, first thing you need is a way to hold the tubing in a vise to be worked. These soft rubber jaws available at any good hardware store are perfect.
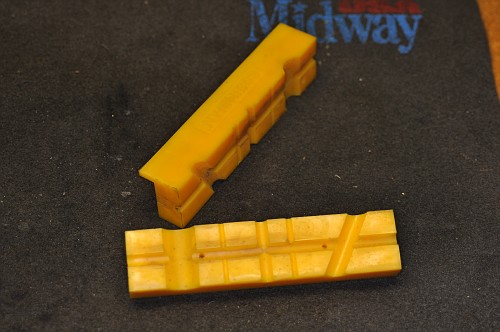
If you do not own a pair of these, and don’t want to purchase them, a simple block of softwood, with a 1/4″ hole drilled and then sawed in half will suffice. But you really should have a pair of these rubber jaws for any type of gunsmithing work.
The tubing we are using is simple 1/4″ soft copper plumbing tubing. Available by the foot at any hardware store. You will need a piece 12″ long.
If the two ends are not cut clean, clean them up with a file and debur the inside of each end. I used an Xacto knife to just shave a very small bevel on each end.
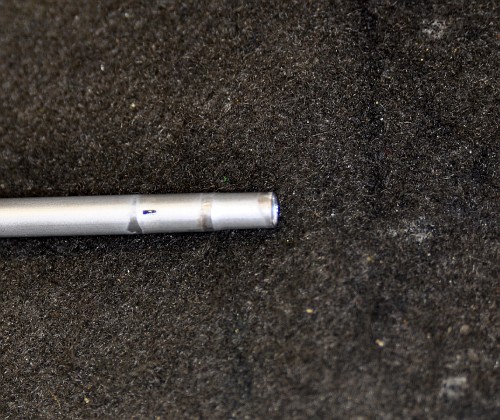
Place the tubing in the jaws with about 1/4″ exposed and using a center punch or a drift, flare this end a bit. This will be the rear end that you insert the cleaning rod into.
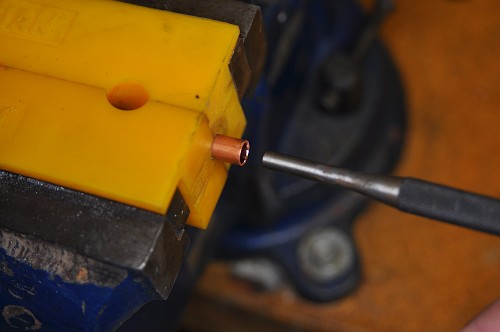
Tap the drift with a plastic hammer VERY gently. It doesn’t take much to flare the soft copper.
It will look like this when you are finished.
The “rear” end is done.
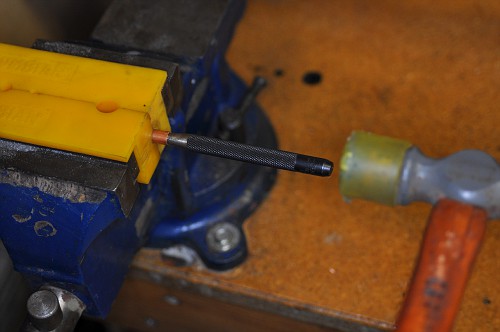
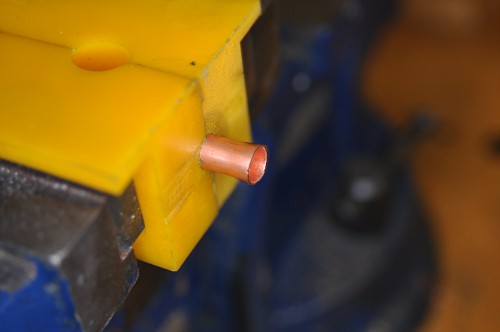
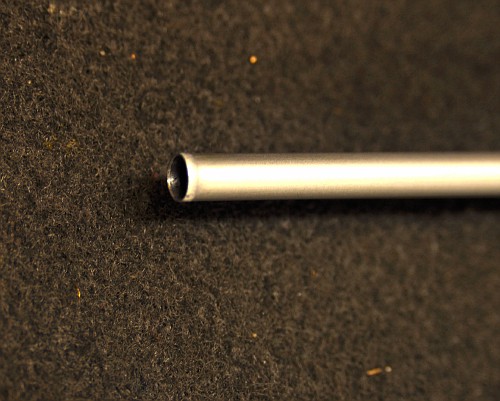
Now flip the tubing around and let roughly 1.5″ of tubing hang out of the soft jaws.

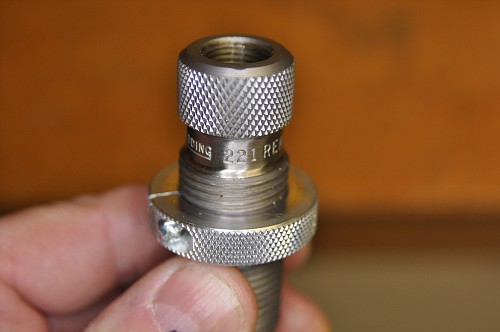
Using some type of lubricant (case lube works great) like Vaseline, PAM, etc, lube up the tubing hanging out of the soft jaws. Grab any 22 caliber reloading sizing die with the de-primer removed. I used my 221 Fireball AND my 20 Tactical, but a 223 die would be fine.
Place the die over this exposed end of tubing.
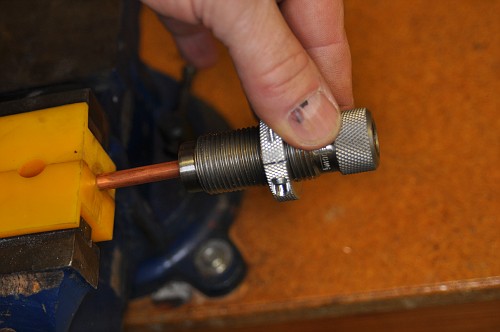
Using your plastic hammer again, tap-tap-tap the die to swag the end of the tubing down. I did it in two steps. 22 caliber die first, and then to obtain a lose fit in the chamber, I swagged it down again with a 20 caliber die.

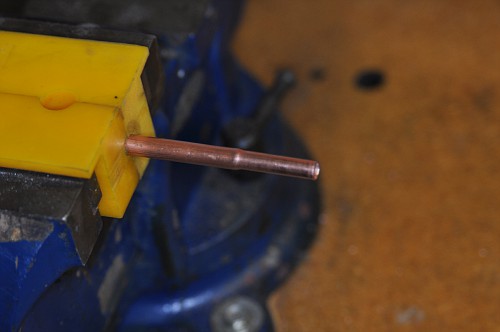
Keep this die centered as you do your tapping. You will end up with a chamber end of your DIY Bore Guide that looks like this.
Having access to a lathe, I turned a Delrin action guide. It is nice and keeps the bore guide nice and stable, but it isn’t necessary. The bore guide works fine without it.

This is the finished product
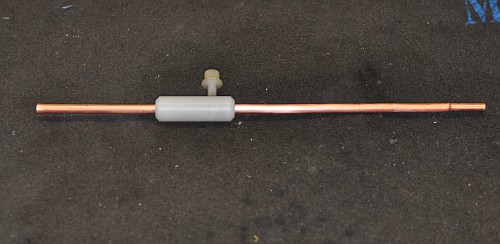
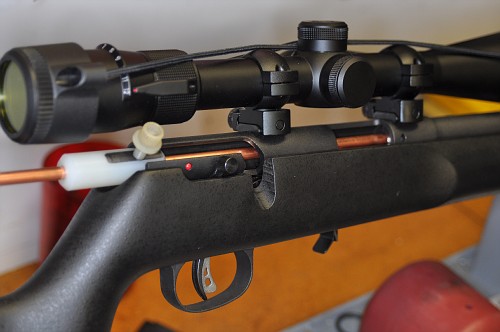
And here it is in use.

The black marking on the action guide was simply so I knew where to drill and tap the hole for the Delrin bolt.

I cut a 12″ piece out of it and swagged one end and flared the other with no issues. Aluminum will work much better than copper as the chemicals we use to clean bores are designed to attack copper…..And this
arrow” is very stiff and won’t bend as the cleaning rod is stroked back and forth….. Cost of arrow…$2.29

I hope you liked this article. More pictures here: http://public.fotki.com/Rbertalotto/bang!/
If you did and you feel generous you might want to drop a couple bucks into my paypal account. Not necessary, but greatly appreciated!
Paypal account     rvb100@comcast.net
5 comments on “Savage 93r17 Diy Bore Guide”